
Screen Making, Mesh and Exposure Control for Glass Printing
Control the screen as a calibrated imaging and metering tool.
Engineering note: Typical starting values are provided for reference. Final tolerances and process parameters should be confirmed through sample trials using the specified glass, ink system, artwork and firing conditions.
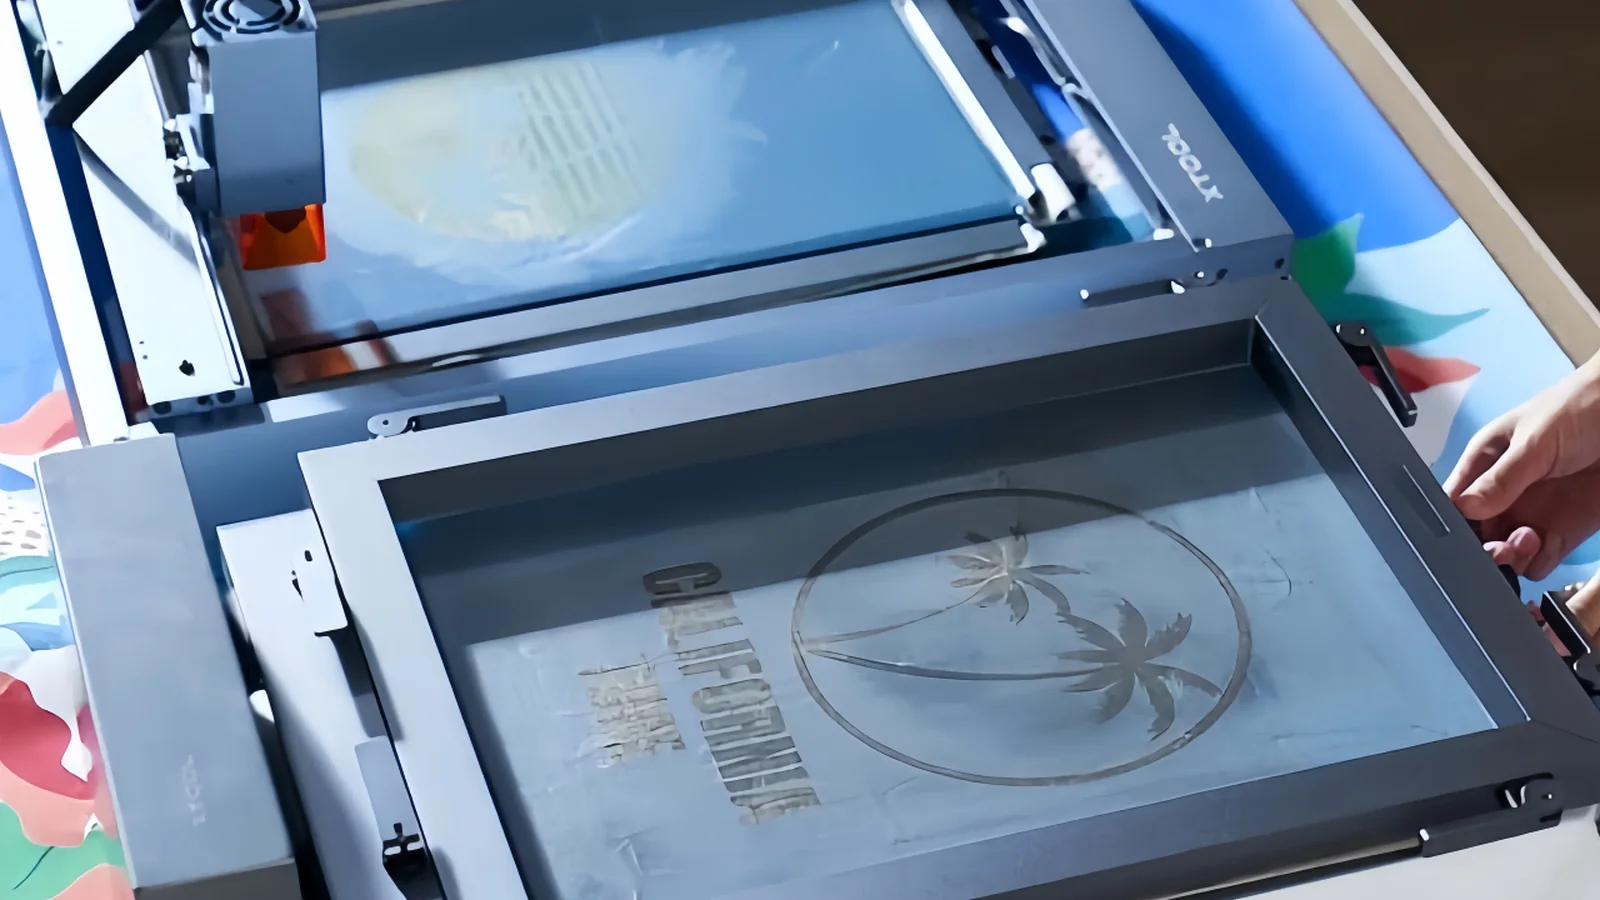
Specify the geometry, not only the material
Mesh count alone does not define a screen. Thread diameter, weave, open area, mesh thickness, material, surface treatment, tension and frame stability affect resolution and deposit. Record the full mesh designation and the orientation used for critical artwork.
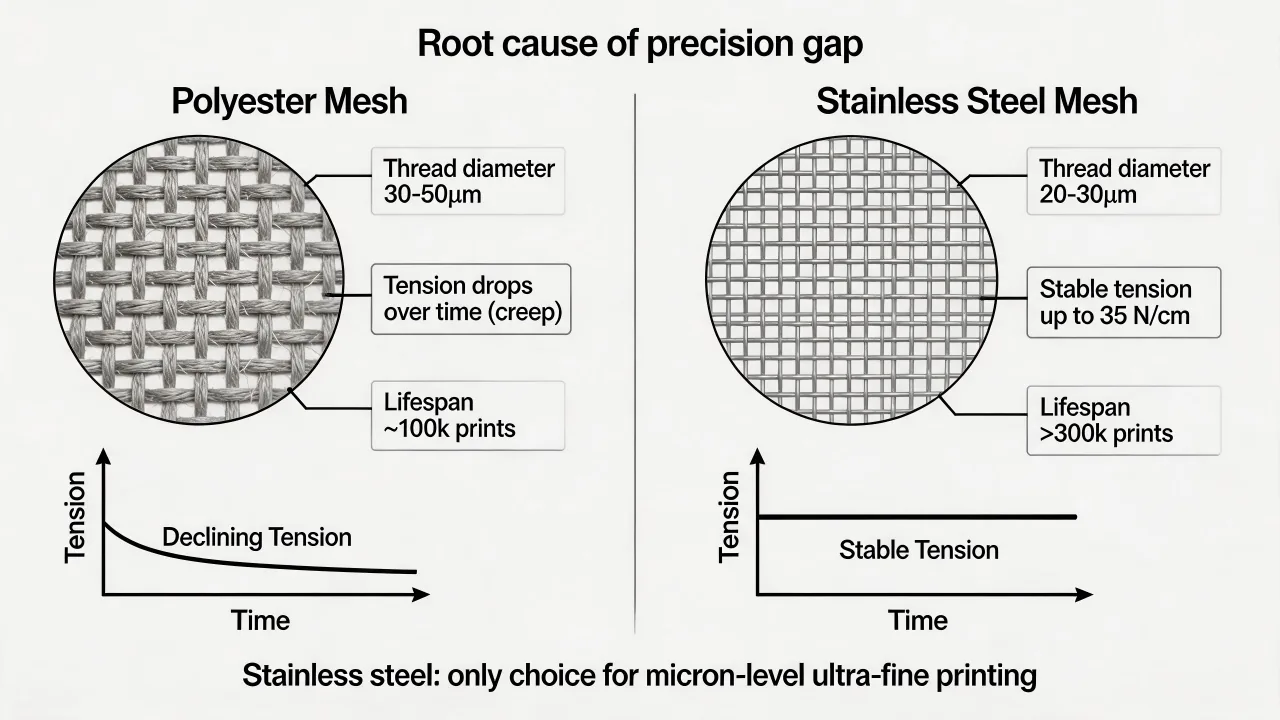
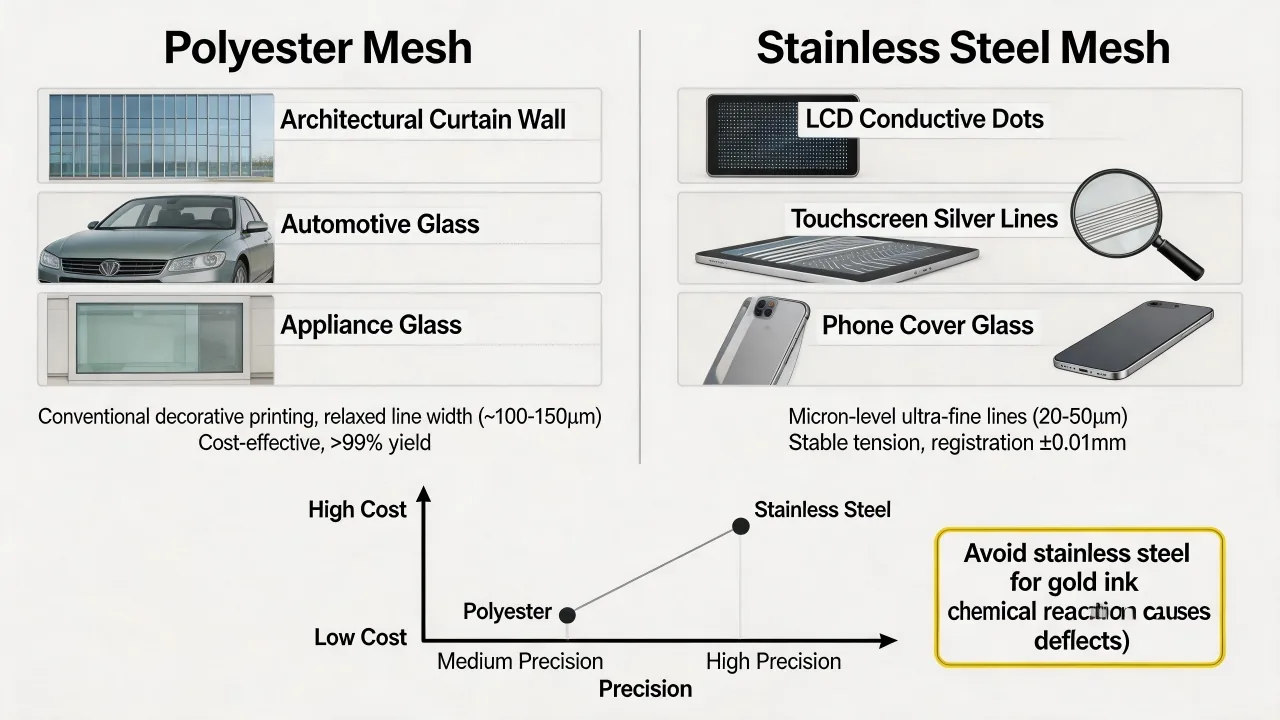
Stainless-steel mesh can offer dimensional stability and fine openings in suitable applications, while modern polyester meshes are widely used and may provide adequate precision with easier handling and lower cost. Neither material is the “only option” in the abstract. Select from required feature resolution, deposit, registration stability, ink chemistry, press conditions, expected run length and screen supplier capability.
The ink must pass through the chosen opening without filtering or bridging. Ceramic-enamel particle distribution and metallic or functional fillers may constrain the usable mesh. Confirm with the ink supplier and print a deposit target rather than choosing the finest available mesh by habit.
| Input | Why it matters | Evidence |
|---|---|---|
| Smallest feature | Limits opening and stencil reproduction needs | Artwork test target |
| Target deposit | Affects opacity, cure and edge profile | Wet/dry film or mass-per-area study |
| Ink solids/particles | May restrict passage through mesh | Supplier data and print trial |
| Registration/run length | Drives dimensional-stability needs | Capability study over the planned run |
| Part geometry | Influences peel, off-contact and support | Tooling trial on production glass |
Trend tension against print results
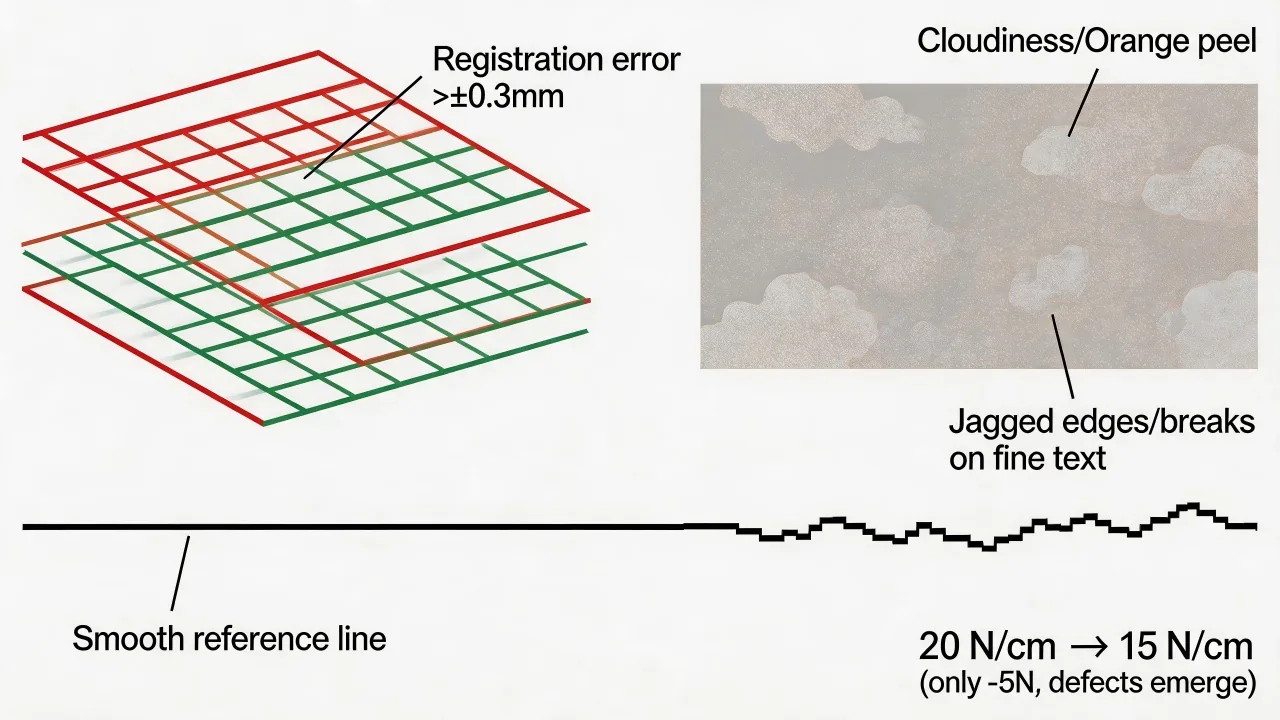
A tension reading such as 15 N/cm or 20 N/cm is not a universal predictor of screen life or print count. The meter, calibration, mesh, frame, measurement locations, screen size, print load, off-contact and storage history all affect interpretation. Record a tension map rather than one point.
Reduced or non-uniform tension can contribute to slower snap-off, image growth, smearing, registration drift and uneven deposit. Those symptoms can also come from excessive off-contact, fixture compliance, squeegee wear or ink rheology. Diagnose the system instead of attributing every defect to a threshold number.
Set an internal operating window from a new-screen baseline and production data. Measure at consistent locations and conditions. Retire or re-stretch a screen when capability or physical condition falls outside the agreed limit—not solely because a generic online value has been crossed.
If registration drift or jagged edges are already visible, compare their signatures in Defects and Troubleshooting →
Match stencil profile to the image and deposit
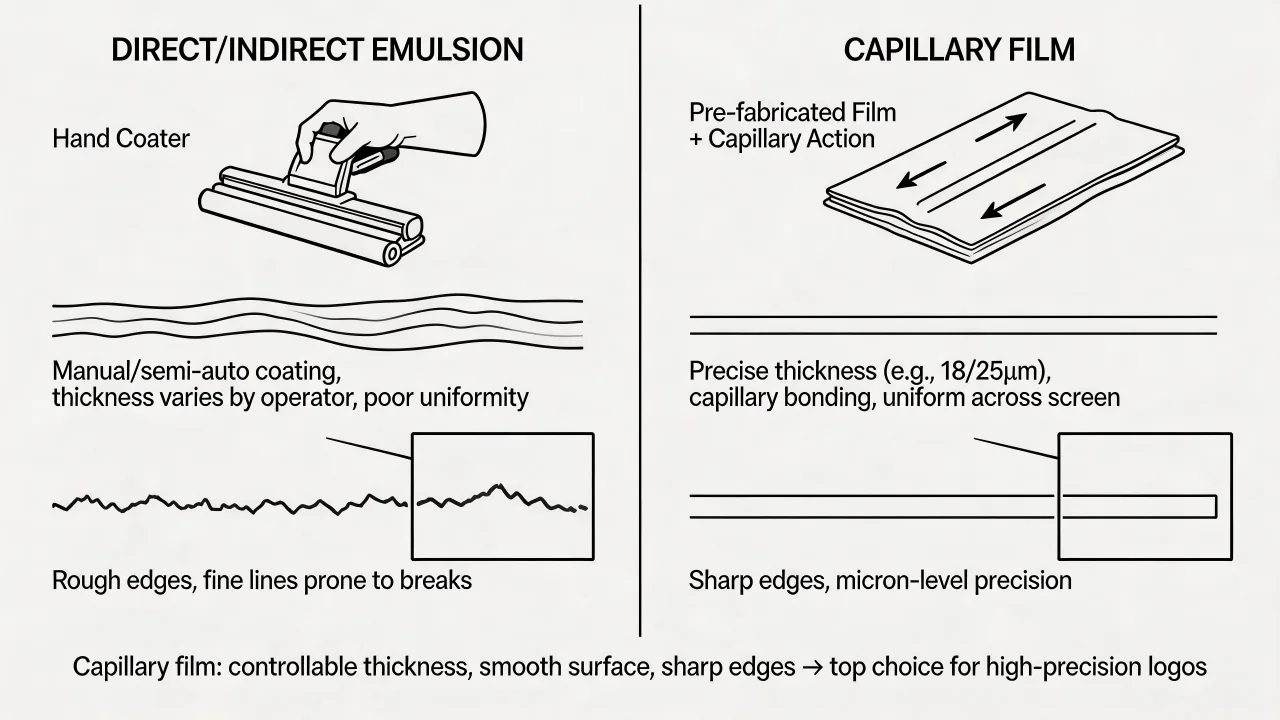
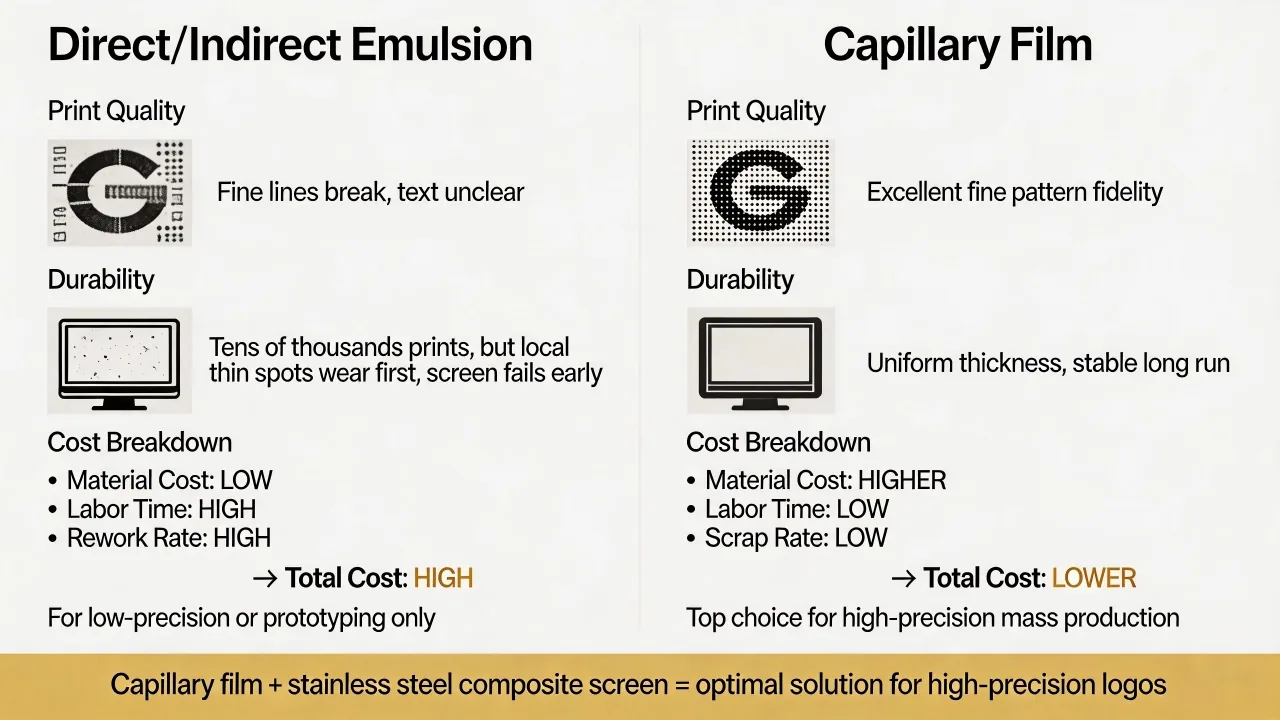
Direct emulsion, capillary film and combined systems each offer useful process characteristics. Capillary film can provide controlled thickness and a smooth surface; direct emulsion can be flexible and economical; a properly controlled combination can serve specialized needs. No single route is automatically superior for every high-precision logo.
Control dry stencil thickness, emulsion-over-mesh, coating uniformity, edge definition and resistance to the ink and cleaning chemistry. A thicker stencil may increase deposit or improve gasket behavior but can reduce fine-feature latitude. Measure it on the finished screen and connect the value to the approved print.
Drying conditions before exposure matter. Residual moisture, coating-room contamination and uneven airflow change exposure response. Store coated screens away from uncontrolled humidity and stray UV, then use them within a defined window.
Establish exposure with a test, not a percentage slogan
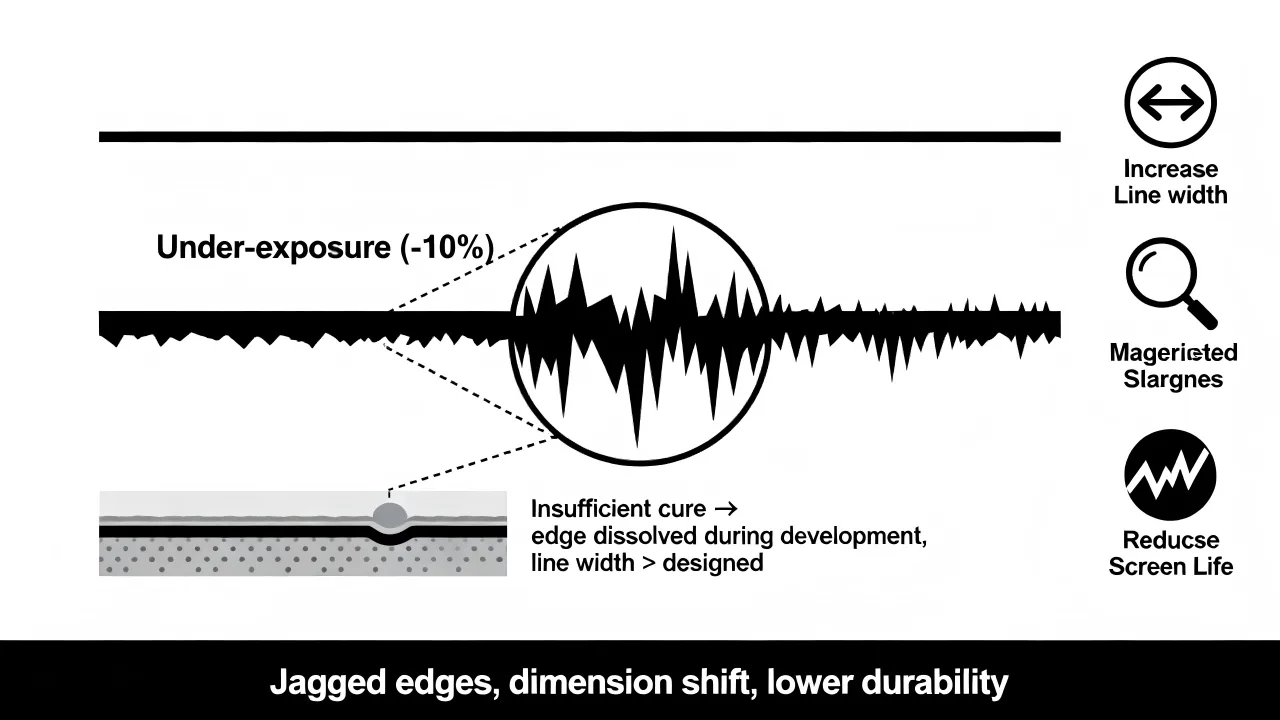
A 10% exposure-time change does not cause one predictable loss of edge sharpness across all systems. Lamp spectrum and age, irradiance, distance, positive density, emulsion, coating thickness, humidity and vacuum contact alter the result. Underexposure may leave weak or tacky stencil walls; overexposure can close fine openings. Poor contact can create undercutting even when total energy is correct.
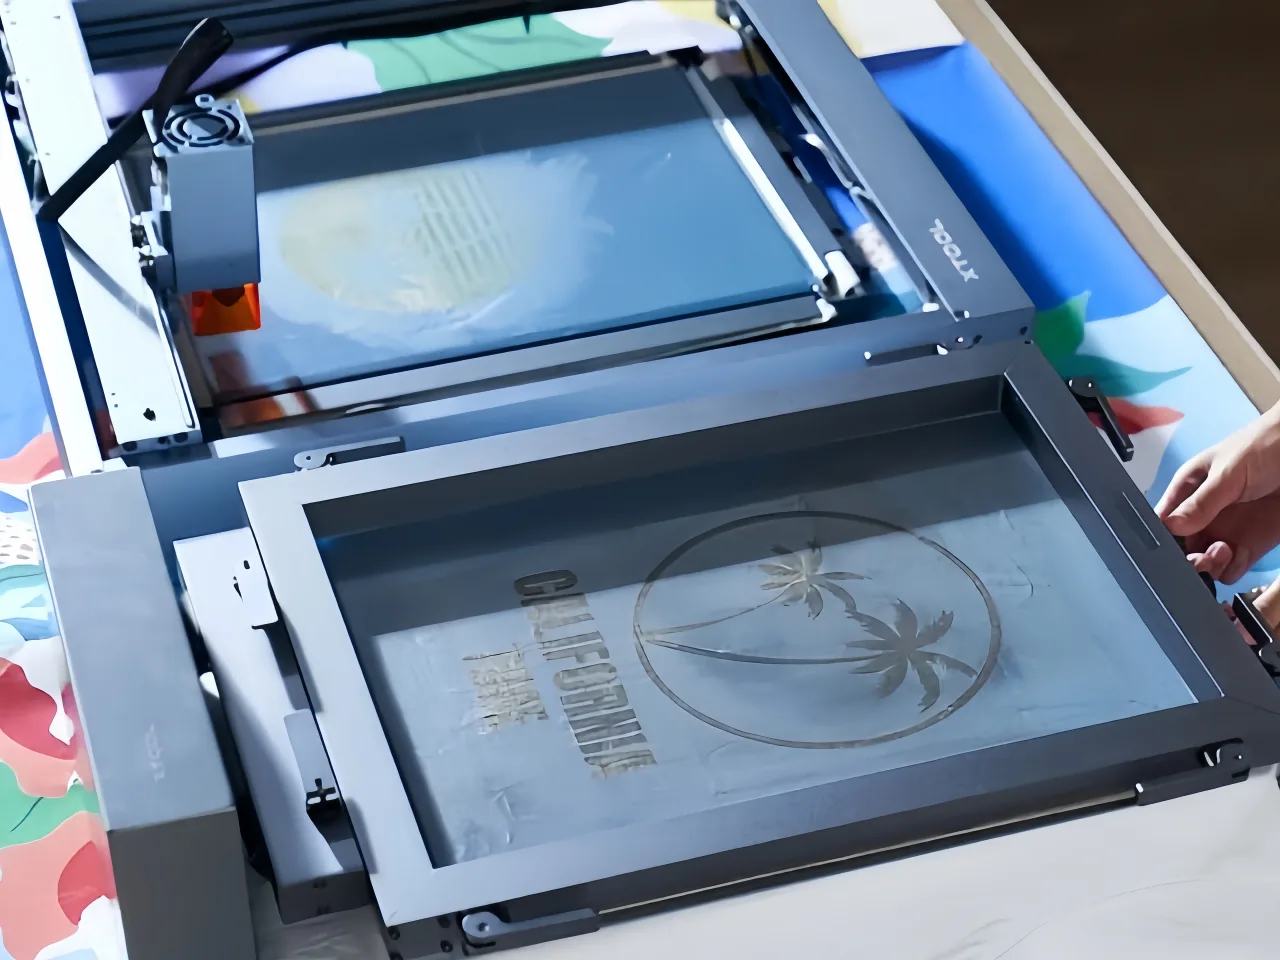
Use an exposure calculator or stepped target and record delivered energy when equipment permits. Inspect fine positives, fine reverses, shoulder profile and washout. Confirm that the chosen exposure survives the planned ink and cleaning cycle without sacrificing required detail.
Control the positive as well as the lamp. Verify scale, density, edge quality and orientation. For registered colors, include common fiducials and confirm image placement on the frame relative to the production fixture.
Treat every screen as a controlled production tool
A screen traveler should identify mesh, frame, tension map, stencil system, thickness, exposure setting or energy, image revision, inspection results and date. Photograph or archive key measurement locations. Protect the image during storage and establish a cleaning method that does not damage the stencil or leave ghost contamination.
Before production, verify registration marks, pinholes, blocked openings, edge damage and stencil adhesion. A print on transparent film can confirm image integrity, but the final release should use the specified glass and ink because wetting and support differ.
After a run, record changes in tension and print behavior. This turns screen-life decisions into process knowledge and prevents an unsupported promise that a certain tension will print only “a few thousand” parts.
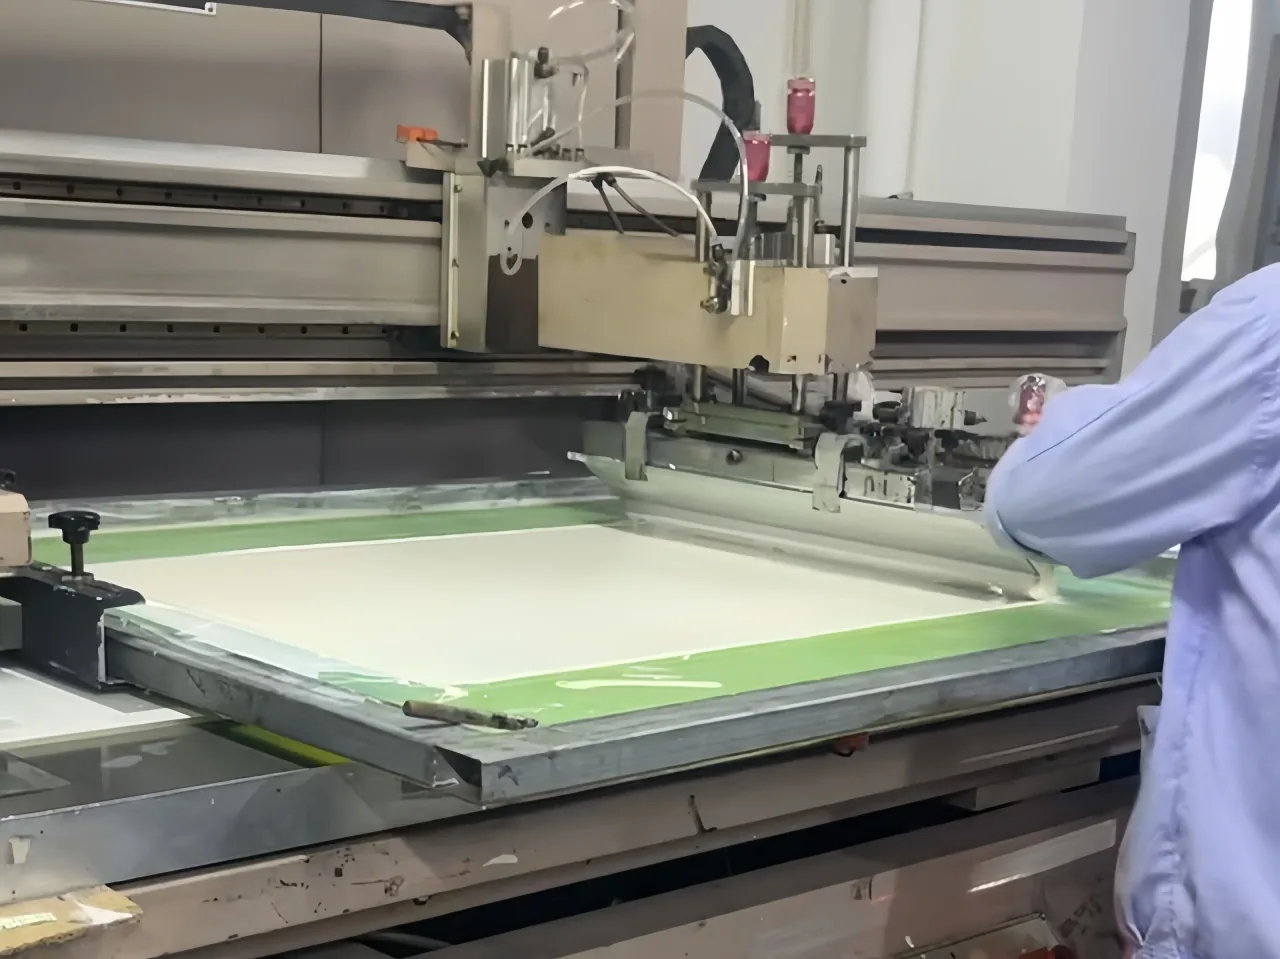
Build a screen specification that production can reproduce
A released screen should be defined by more than a supplier name or nominal mesh count. Use a revision-controlled record that connects the artwork, screen construction, measured condition and approved print result. The values belong to the specific ink, glass, image and press setup; they become production limits only after the trial demonstrates repeatable output.
Measurements should state the instrument, method and locations. For example, a tension result is useful when it includes the calibrated meter, a consistent map and an agreed conditioning state. Stencil thickness, exposure and image position need the same traceability. Attach the first-off inspection result or an approved sample reference so a replacement screen can be compared with the screen that produced the accepted part.
| Record item | What to capture | Release evidence |
|---|---|---|
| Artwork and orientation | Revision, scale, print side, reading direction and registration marks | Approved production artwork |
| Frame and mesh | Frame ID, material, full mesh designation, thread and orientation | Supplier record and incoming check |
| Tension condition | Meter ID, measurement map, conditioning state and internal limits | Recorded map within the qualified window |
| Stencil construction | System, coating sequence, measured thickness and image placement | Thickness and dimensional checks |
| Exposure and washout | Equipment, energy or setting, test target and drying conditions | Resolved target without weak or blocked areas |
| Final screen inspection | Pinholes, edge damage, blocked openings and registration | Signed inspection with repair history |
| Print confirmation | Ink, glass, press setup and first-off result | Approved sample or inspection report |
Before releasing a replacement or repaired screen, confirm the items that affect the customer drawing:
- critical positive and reverse features are open and dimensionally correct;
- registration targets align with the production fixture and other colors;
- the stencil and mesh show no damage inside the active print area;
- the first-off deposit, edge definition and position meet the agreed inspection method; and
- the screen record identifies any repair, re-stretch or parameter change.
This record supports repeat builds without presenting a previous screen specification as a universal rule. If mesh, stencil chemistry, frame, exposure unit or ink changes, review the affected evidence before the screen returns to production.
← Screen Printing Ink Selection and Durability | Main guide | Glass Screen Printing Process Control →
Contact Us
Your feedback fuels our growth, and your questions drive our solutions.
We value your feedback, inquiries, and suggestions. Please feel free to get in touch with us
General inquiries
Please contact us via sales@bo-glass.com, and we will reply to you as soon as possible.
Interested to work with us
Drop your resume at info@bo-glass.com
and we will get back to you shortly.
We uses the contact information you provide to us to contact you about our relevent content, products, and services.