
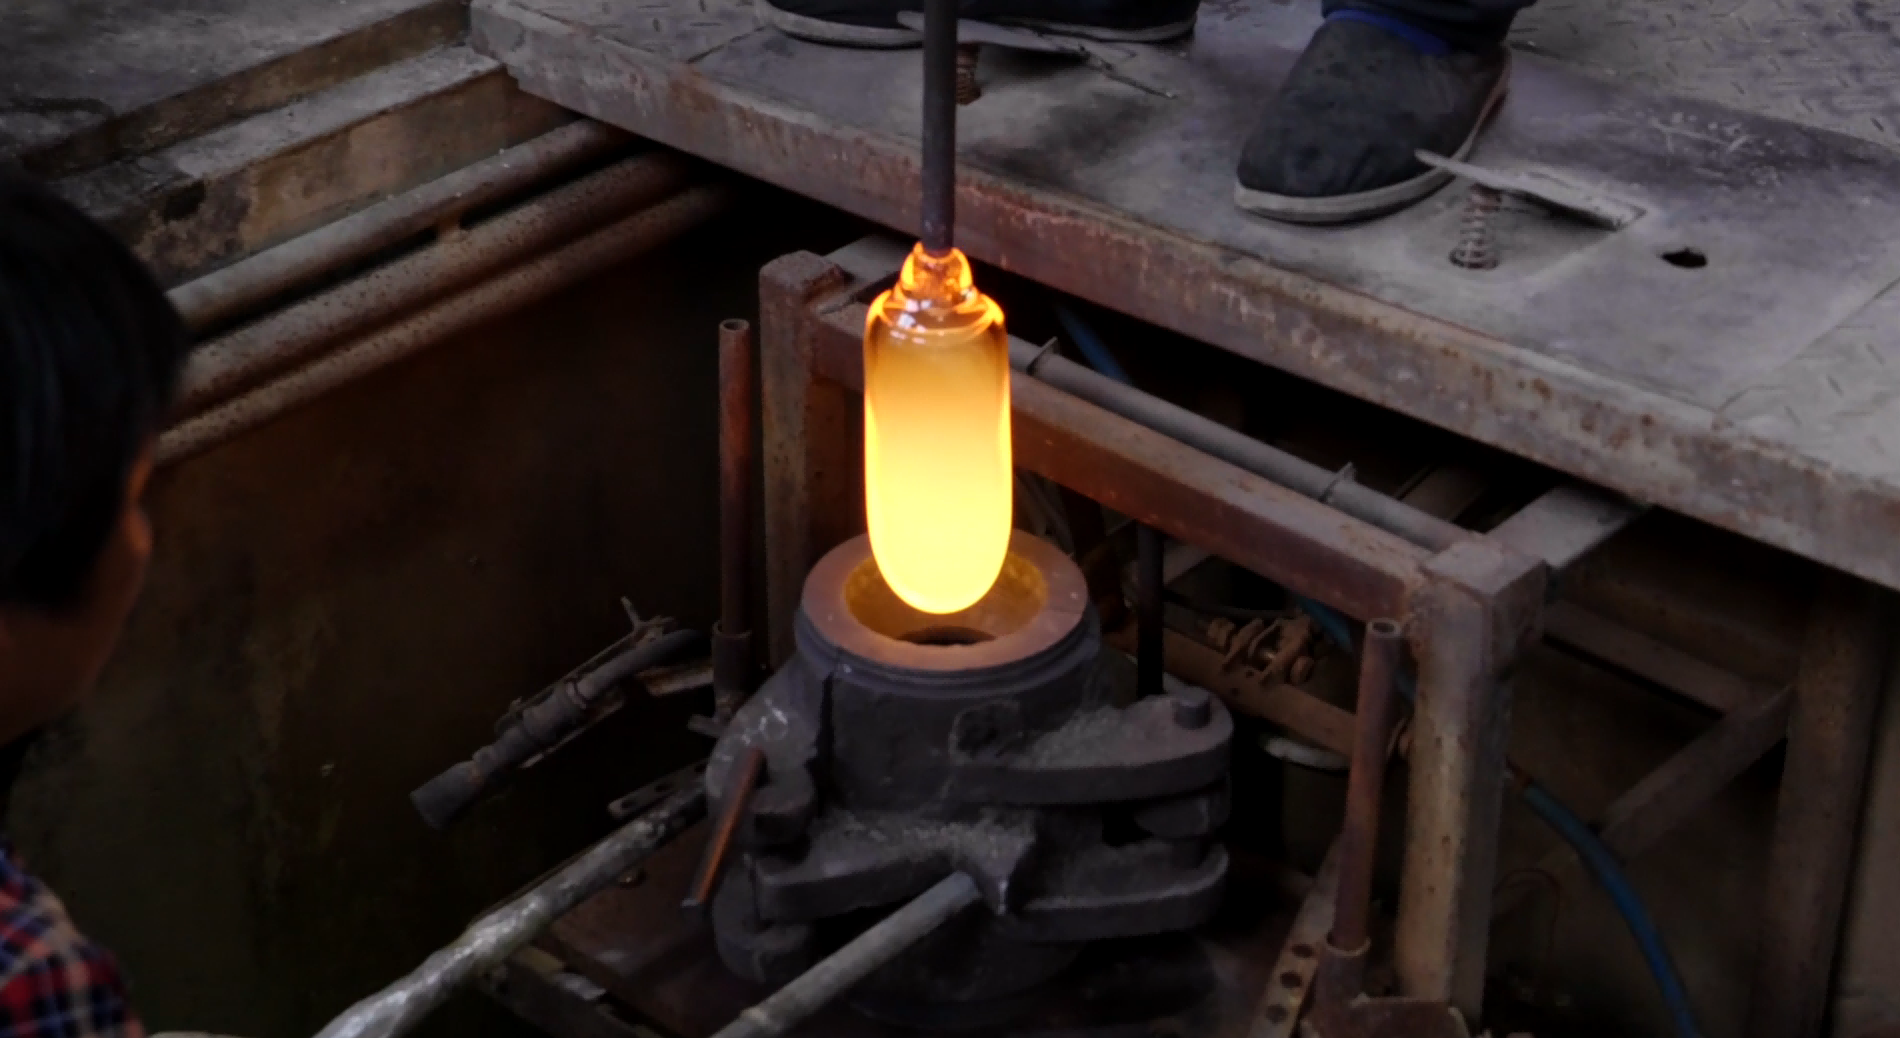
Manual blowing nesting process
All uploads are secure and confidential
Manual blowing nesting process
Measurement method: Some materials suggest that the glass to be tested needs to be made into a flat shovel with a blowtorch and drawing pliers. Here is a simpler and more practical method: you don’t need to use drawing pliers.
The glass to be tested and the standard glass with known linear expansion coefficient are made into glass rods with a length of 200-400mm and a diameter of 1-3mm. The two glass rods are overlapped at the joints with an overlap of 5-10mm. The two glass rods are melted together with the help of a blowtorch flame, as shown in Figure 4-17 (a) and (b). The flame is removed while the glass is softening, and the glass is immediately pulled parallel to both sides without deflection or rotation. The glass rods are pulled into double wires with a length of 400-800mm and a diameter of 0.1-0.3mm. The wires are then cut from the middle. When the linear expansion coefficients of the two glasses are the same, the double wire is a straight line after cooling; otherwise, the double wire will bend. The linear expansion coefficients of the two glasses are compared based on the chord length and chord height of the glass wire when bent.
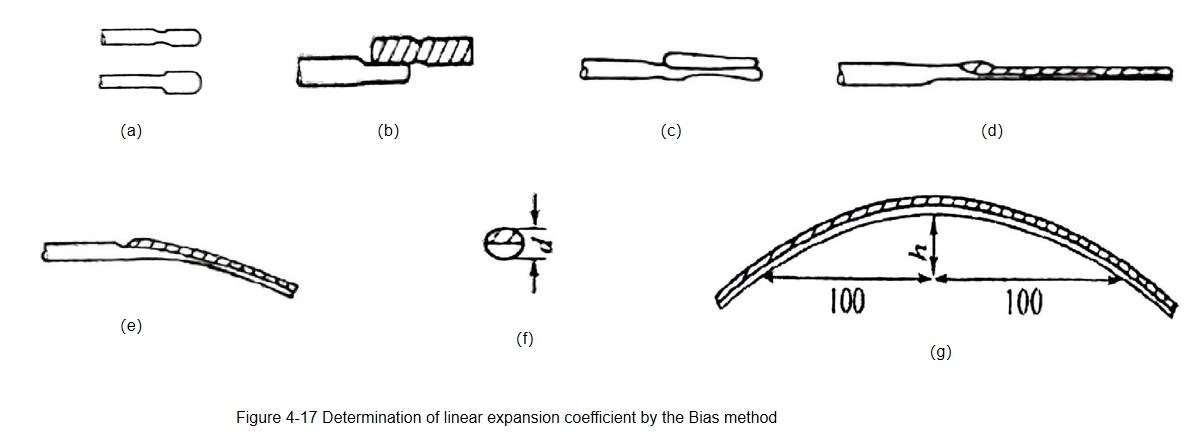
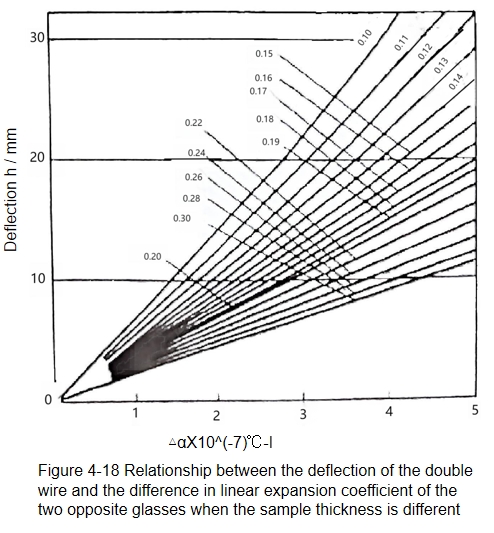
When the glass on the wire side is bent, the linear expansion coefficient of the glass on this side is larger. The curvature of the double wire becomes proportional to the thickness of the wire and inversely proportional to the difference in linear expansion coefficients of the two glasses.
Use a mirror scale to measure the deflection h of the double wire with a chord length of 200mm (Figure 4-18). Place the double wire on a 250mmX 300mm glass plate, and adjust the glass plate with wire (200mm×250mm) according to the mirror dividing plate until the wire in the mirror coincides with the 200mm long chord end. When moving the glass plate with wire, it is necessary to make sure that the wire is perpendicular to the glass surface so that the reflection of the wire in the mirror can be seen.
Cut the filament from the middle. If the filament is straight, the two glass materials match. If the filament is bent, the bending degree can be used to judge whether the two glass materials are usable. Draw a ruler on the glass plate or other flat surface. The ruler length is 200mm, and the two sides of the centre are 100mm each. Hold the glass rod to overlap the bent glass filament with the two ends of the ruler, and measure the bending height. When the bending height between the general soda-lime glass explicit material and the colour glass material is less than 5mm, the two materials will not burst when used together. Otherwise, the glass products will still be damaged no matter how long the annealing time is. The bending height between the explicit material and the opal porcelain material is more variable, and the maximum limit varies according to the glass composition and annealing temperature. This needs to be determined by the manufacturer according to the glass composition, and the maximum limit is determined by the double-wire method.
When the linear expansion coefficient of the transparent material changes by the double wire method, it can be inferred that the composition of the explicit material fluctuates. Many samples of the transparent material rods are kept as standard rods at a particular time. After that, samples are taken daily or at intervals for matching tests with the standard rods to check whether the expansion coefficient of the transparent material changes.
They take the explicit material and the colour material on the day of production and use the double wire method to determine whether the two materials match, which has excellent guiding significance for production. If the two materials do not match, the production department can be notified to stop using this colour material before production to prevent losses.
What are the methods of glass nesting?
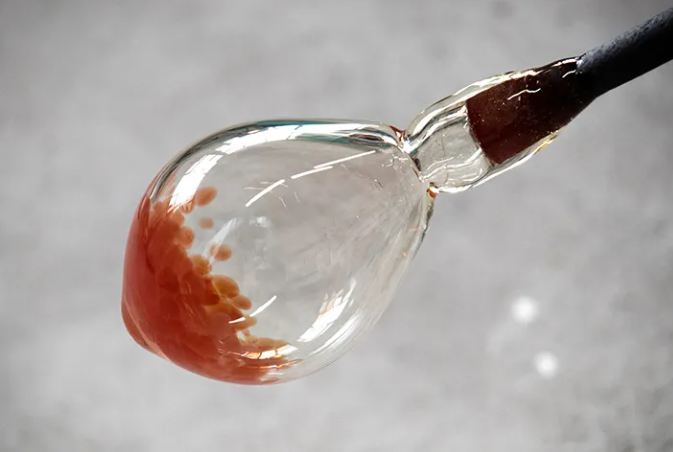
The skin method is to dip a large amount of coloured glass into the small bubble of the selected material and then make it into a trumpet shape by blowing, baking, and opening it. Then another worker dips the blowpipe into a large amount of colourless transparent material in the clear material crucible, inserts it into the trumpet-shaped coloured glass skin, makes it adhere, and then puts it together at the mouth of the crucible to bake the sample (to soften the glass), roll the material, blow the material, repeat several times, and put it into the model to blow it into shape. The skin can form more oversized glass products and engraved blanks.
The skin-blowing method uses a blowpipe to dip a proper amount of coloured glass material, put it in a semi-elliptical mould, and blow it into a uniform bowl-shaped skin. The thickness depends on the product and the colour depth. Then, another technician dips a certain amount of colourless transparent glass from the clear material crucible
and inserts it into the bowl-shaped iron mould. At the same time, it is red hot, adheres to the colour glass material skin, and then takes out the clear material bubble with the colour material skin as a whole, heats it to the moulding temperature at the crucible mouth or in the oven, and then puts it into the mould for blowing. When inserting the clear material bubble into the skin, prevent air bubbles from being sandwiched between the colour glass skin and the explicit material. The outer sleeve method is suitable for small glass products and has high production efficiency.
Although the skin-blowing and skin-covering methods involve more processes, they can evenly distribute the colour layer, and multiple layers of materials can be used, such as the first layer being explicit material, the second layer being milky white material, the third layer being colour material, and the fourth layer being explicit material. Multiple layers of colour material can also be used.
If the skin is not blown or covered, the transparent material bubble can be directly dipped into a thin layer of colour material and then baked for moulding. Although this method is simple, it quickly causes uneven distribution of the colour material layer, which is unsuitable for large, deep products.
The glass products made by the outer coating method have a multi-layered colour effect after carving or grinding, with a strong three-dimensional sense and rich colours.

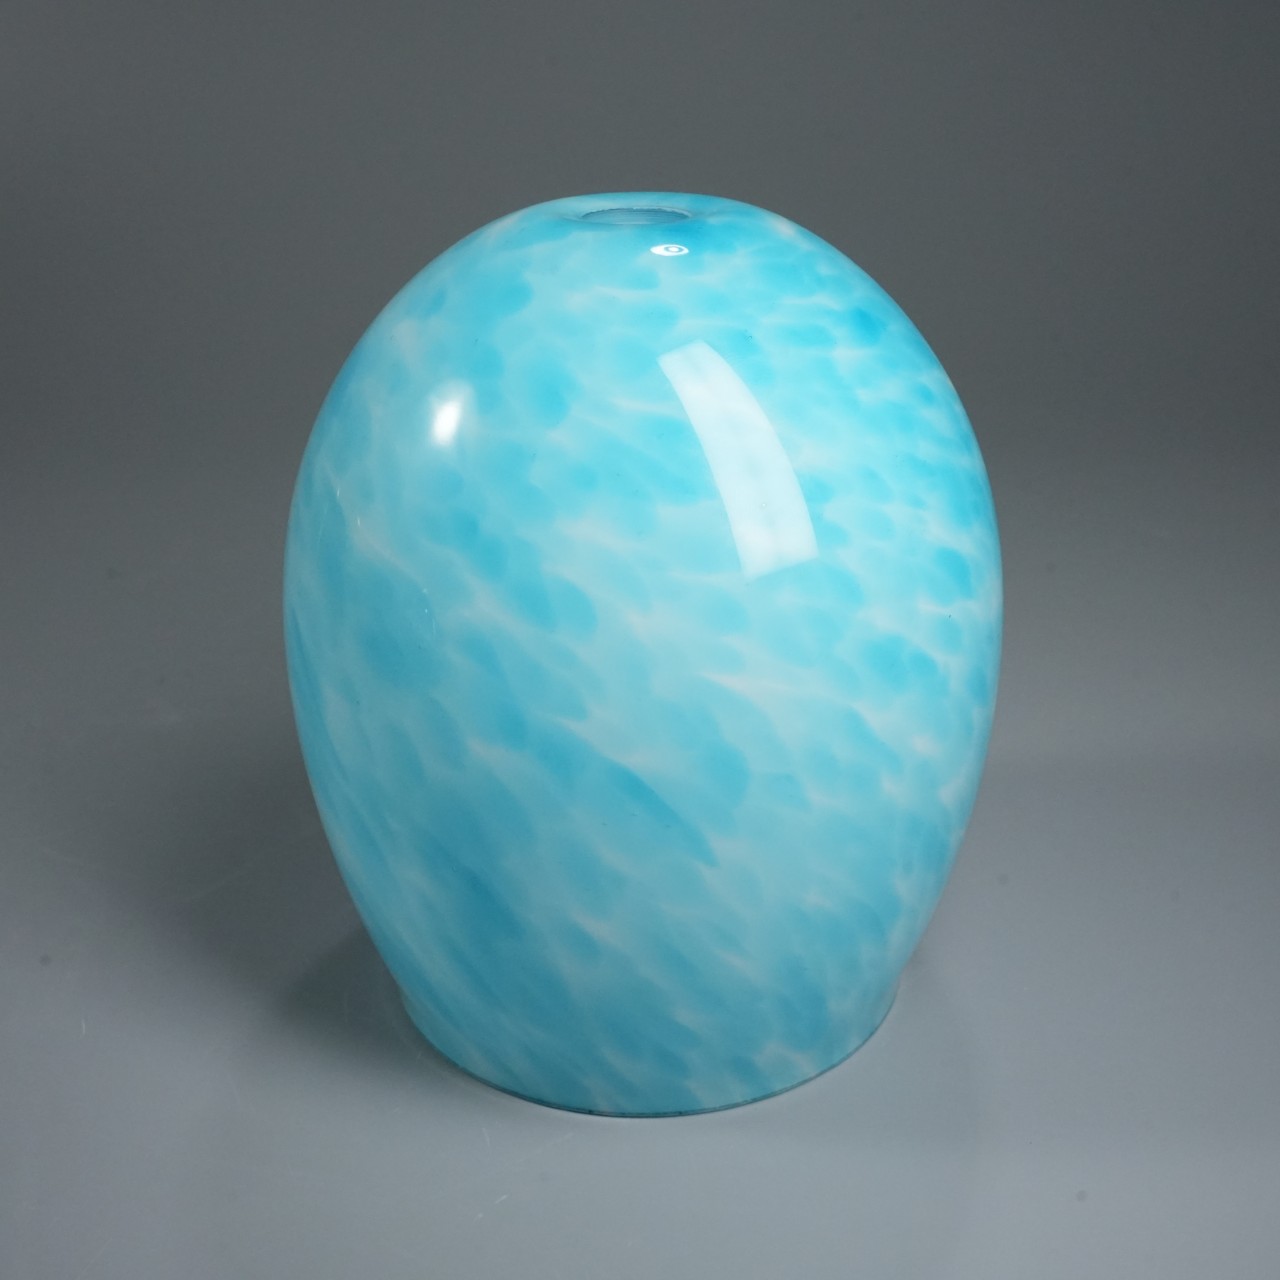
(3) Glass powder method The glass powder method refers to crushing various glass pigments into glass powder, sprinkling them on the glass bubble, baking and heating to melt the pigment glass powder, forming a partially coloured glass layer where the pigment powder adheres to the bubble, and then covering it with transparent material to blow it into a vase or other handicraft. You can sprinkle transparent-coloured glass powder or opalescent glass powder. After using transparent coloured glass powder, the effect is similar to the colour coating when viewed from a distance, but it will have a granular feel when viewed from close up, which is not as good as the glass rod method; when using opalescent coloured glass to cover and blow, the opalescent glass has a porcelain-like effect that prevents light from penetrating, while the floating coloured glass powder has a particular gap between the particles or powders, so light can penetrate, thus creating a sense of transparency. The use of glass powder is more flexible, or a single colour of glass powder is covered all over the product, or multiple colours of glass powder appear crosswise, decorated into colour bands, or sprinkled into patterns on the iron plate in advance. The glass powder is attached to the glass bubble, forming the pattern after melting and diffusion. The decorative effect is powerful, flexible and beautiful. Sprinkling different colourants separately can also achieve the effect of multi-layer nesting. Some glass powders contain more metal oxides, which stick to the most significant layer of the glass bubble. When blowing, they react with the “smoke ash” on the mould; they are reduced to maintain mental by charcoal powder, forming a metal effect on the surface of the glass product.
Using sieves of particular specifications, glass powder can be processed into different specifications, such as 200 mesh sieves for powder, 5-10 mesh sieves for granules , 30-80 mesh sieves , etc. To reduce costs, enrich colours, and facilitate use, some domestic glass factories make their glass colour powder. The colour glass that matches the linear expansion coefficient of the transparent glass material is fully melted in the crucible, taken out and quenched in cold water. After controlling the water, it is dried, crushed, and sieved into glass powders of different meshes for use.
① It is necessary to ensure that the linear expansion coefficient of the glass powder and the glass material used match and fully melt; otherwise, it is easy to cause cracking. When the expansion coefficient between the glass powder and the glass material used does not match, the product will not be directly damaged, but scattered visible fine cracks will appear on the glass powder, the product strength will be reduced, there will be safety hazards, and it will be unqualified.
② You can use a spoon to dig out the material to improve efficiency. There is information about using a blowpipe to pick up the material. This method is inefficient, and the workers have a high work intensity. Using a spoon solves this problem, but no matter whether the spoon is cast iron or stainless steel. Repeated contact with glass liquid above 1000℃ will produce an oxide layer that sticks to the glass liquid, forming inclusions in the glass powder, which appear as black spots. The solution is to cool the spoon in water before digging each time so the glass liquid will not stick to the spoon.
③ During the processing, keep the glass powder block clean and do not introduce other impurities. Place high-strength magnets where glass powder must pass during machining to remove iron filings introduced during machining.
④ Store in a dry environment.
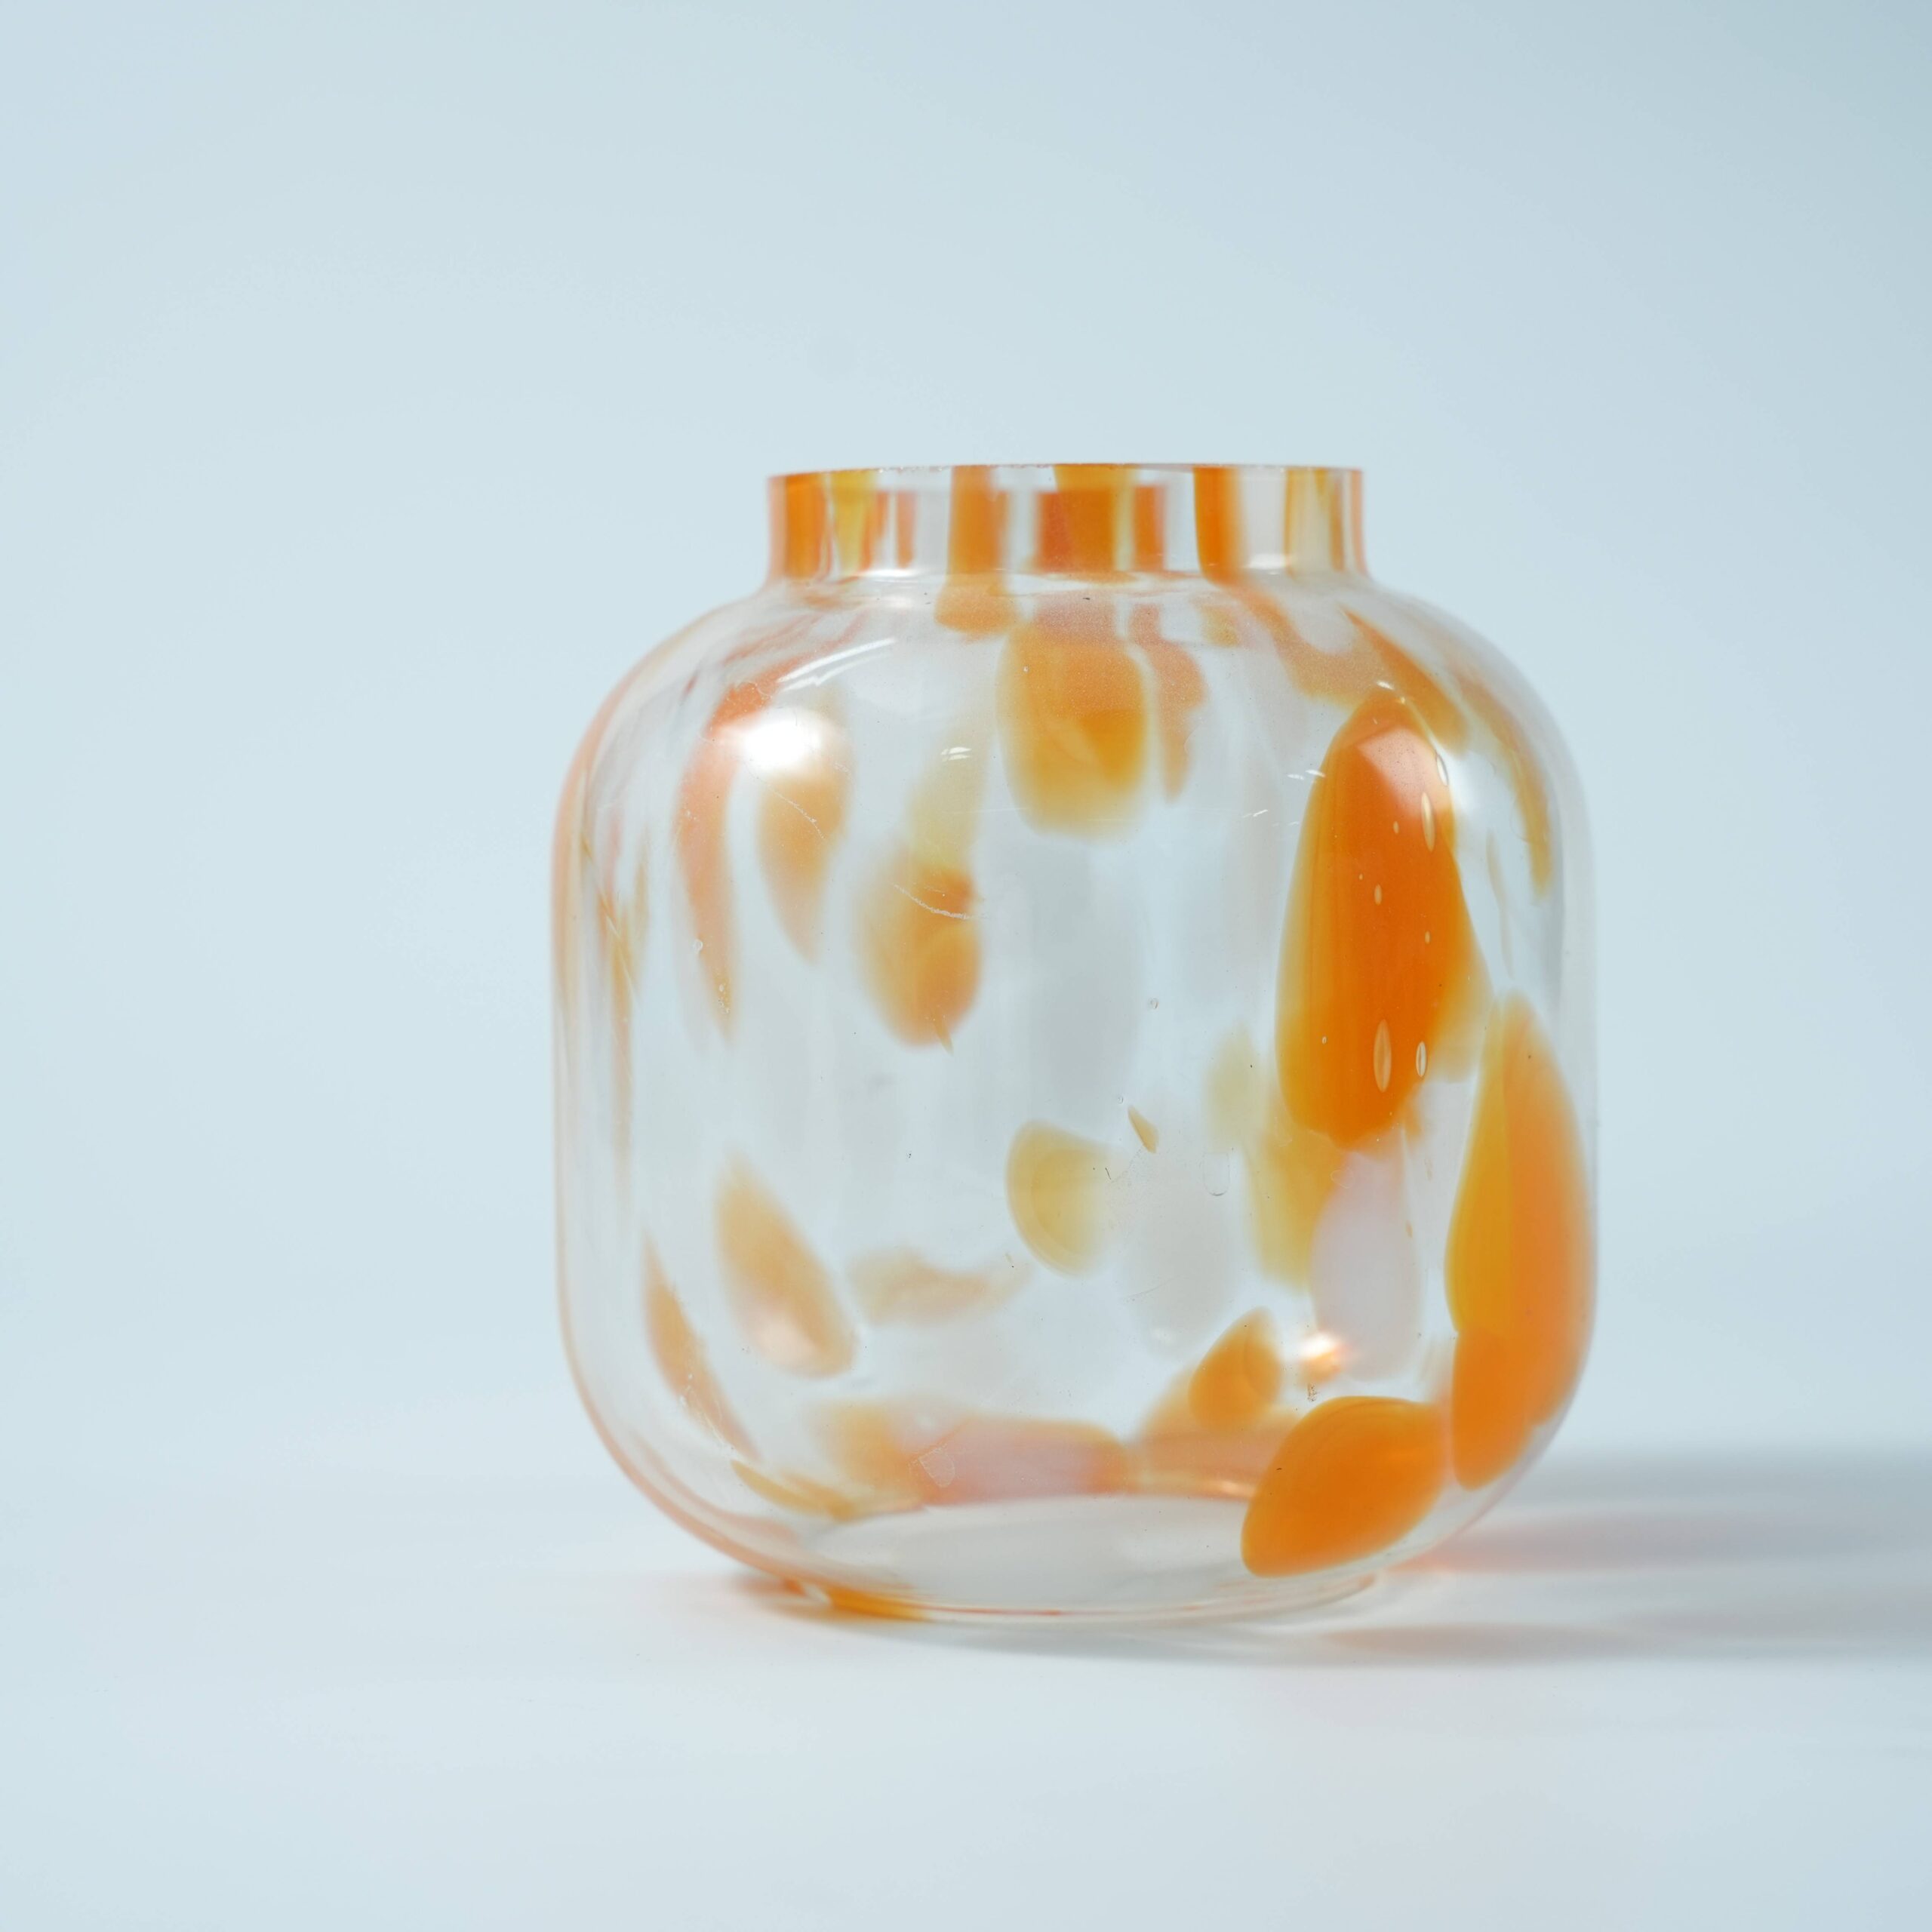
(4) Rod method: When using the nesting method, a crucible must be used for each colour. This is not economical for producing artistic glass that requires a large number of colours but a small amount. Therefore, the coloured glass is first drawn into a glass rod , annealed and stored. When used, the coloured glass rod is attached to the rod head, sent to the oven, heated to a softened state, and then blown. This method does not require the melting of colour materials, and multiple colours of glass products can be blown simultaneously. Only colourless transparent glass can be melted in the pool kiln. However, this method is more suitable for small glass products. For large glass products, the colour is not easy to be uniform. The glass powder method and glass rod method can be used for nesting and covering, which is more flexible and independent.
Contact Us
Your feedback fuels our growth, and your questions drive our solutions.
We value your feedback, inquiries, and suggestions. Please feel free to get in touch with us
General inquiries
Please contact us via sales@bo-glass.com, and we will reply to you as soon as possible.
Interested to work with us
Drop your resume at info@bo-glass.com
and we will get back to you shortly.
We uses the contact information you provide to us to contact you about our relevent content, products, and services.