
Manufacturing and Design Guidelines
Borosilicate Lampworking

This guide explains everything you need to know about Borosilicate Lampworking. Understand the fundamentals of the technology and quickly learn practical design techniques to save time and reduce costs.
Borosilicate Lampworking basics
Borosilicate Lampworking process
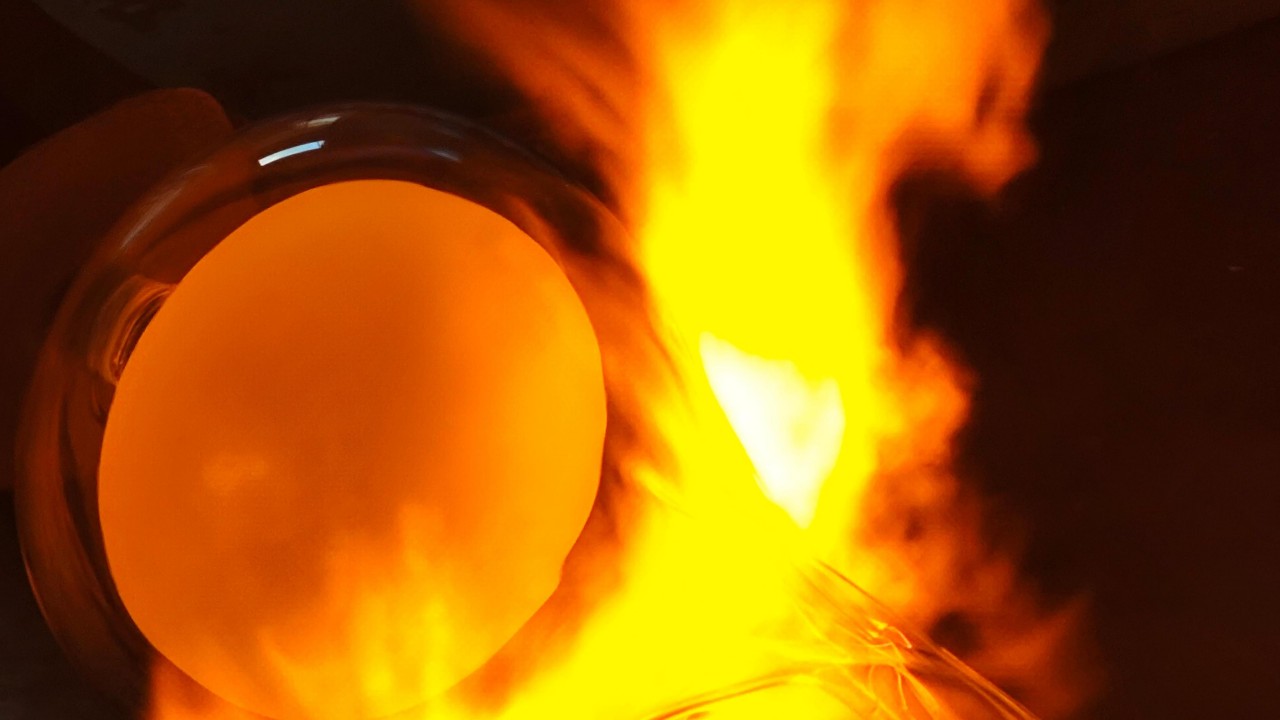
Advantages and disadvantages
Company Standards for Molten Glass Pressing
Understand our company’s standards to provide professional data guidance to our clients.
Molten Glass Pressing cost introduction
Use these 6 tips to minimize the costs of glass billet pressing technology
Company Process for Borosilicate Lampworking
Part 1
Borosilicate Lampworking basics
In this section, we’ll answer these questions and showcase some common precision glass molding products to familiarize you with the basic principles and applications of this technology.
What is Borosilicate Lampworking?
What is the Principle of Borosilicate Glass Lampworking
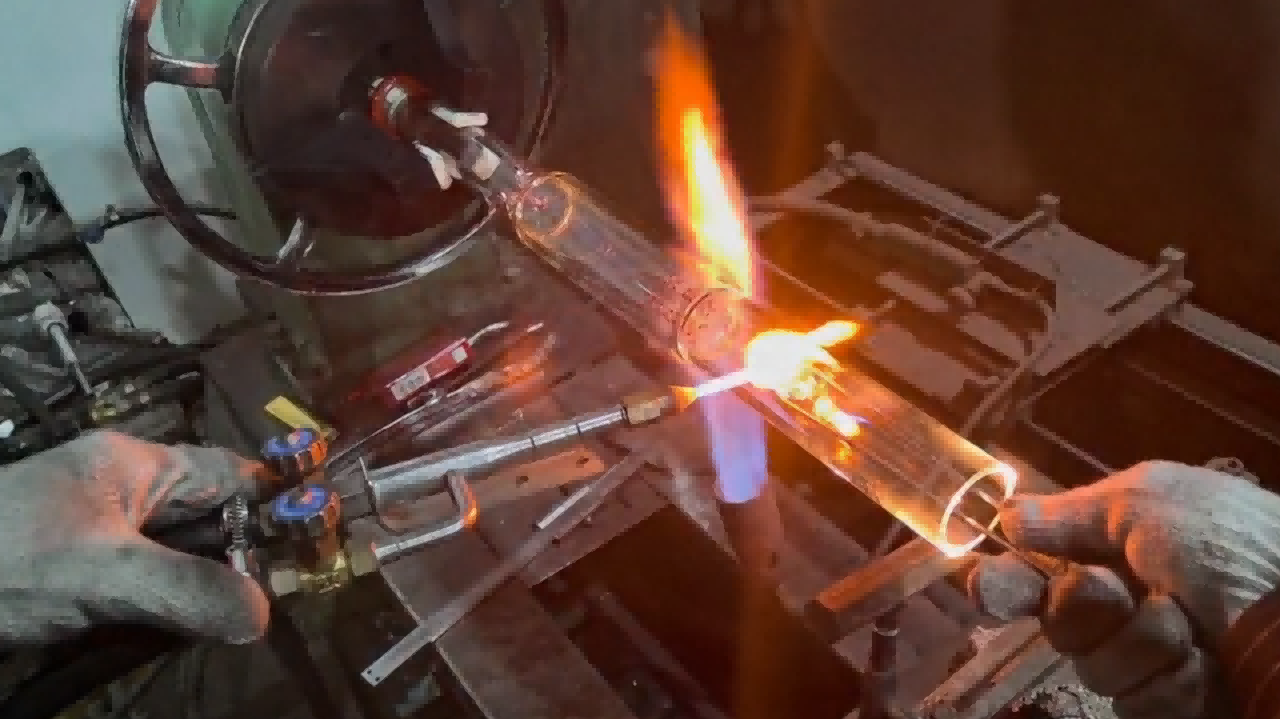
The principle of borosilicate glass lampworking is based on the viscoelastic behavior of the glass when heated in a high-temperature flame. Through the synergistic action of localized heating, manual blowing, and hand tools, a three-dimensional free-forming process transforms glass tubes or rods into complex hollow objects. Its core lies in leveraging the material’s unique low coefficient of thermal expansion, which allows artisans to rapidly and intensively heat specific areas of the glass without causing the entire piece to crack, enabling precise fusion, stretching, and inflation.
Stage 1: Material Properties and Heat Source Preparation
Borosilicate glass (containing approximately 12%-15% boron oxide) has an extremely low coefficient of linear thermal expansion (approx. 3.3 × 10⁻⁶/K). This characteristic allows it to withstand severe localized temperature differences without breaking. The process uses a torch that mixes oxygen and fuel gas (such as LPG or natural gas) to produce a high-temperature flame reaching 1000°C to 1600°C, providing a precisely controllable heat source. By adjusting the oxygen-to-gas ratio, the artisan can create flames with different characteristics (oxidizing, neutral, reducing) and temperatures to suit various operational needs.
Stage 2: Gathering and Localized Heating
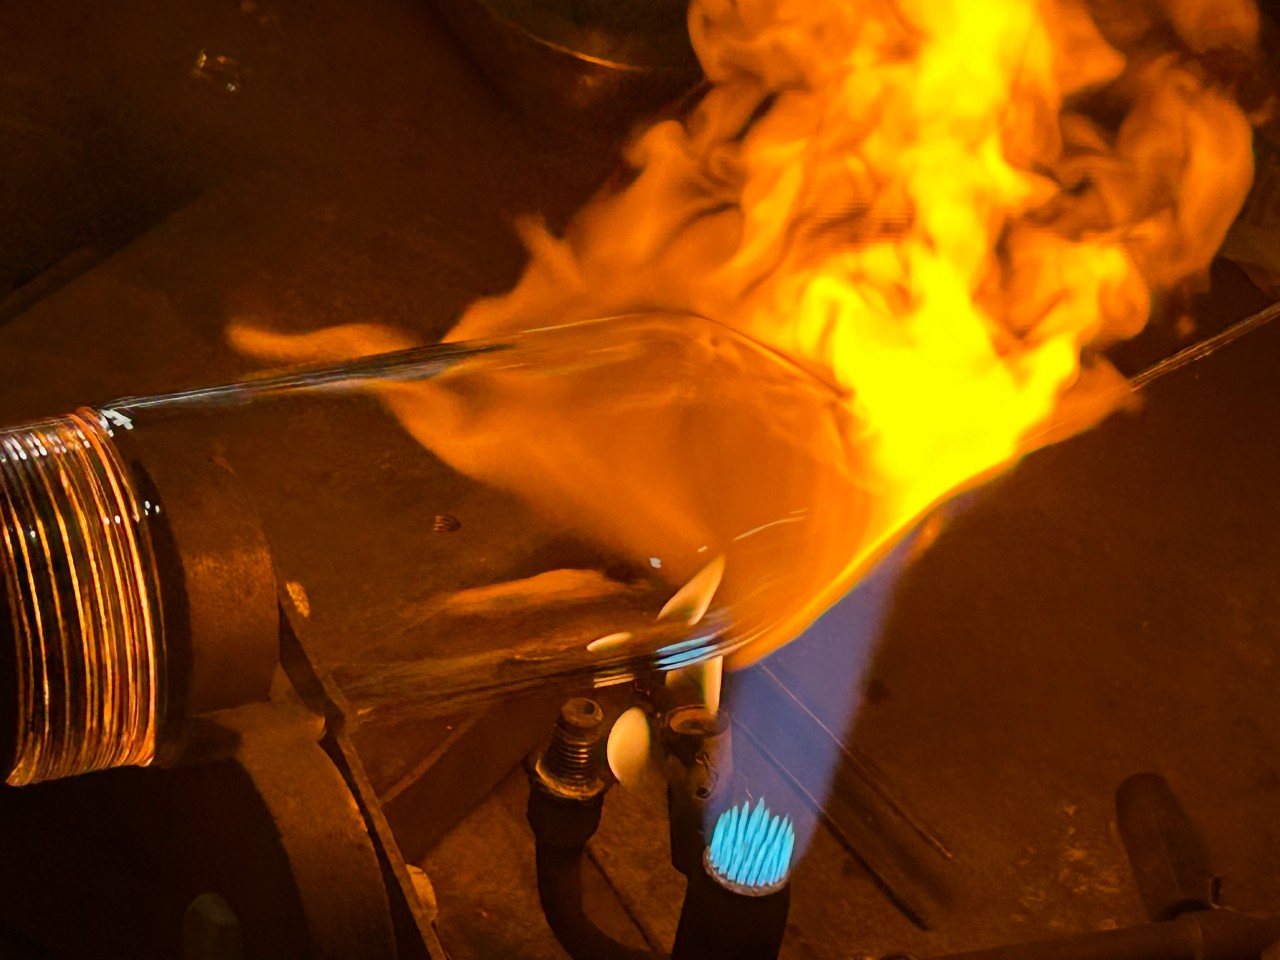
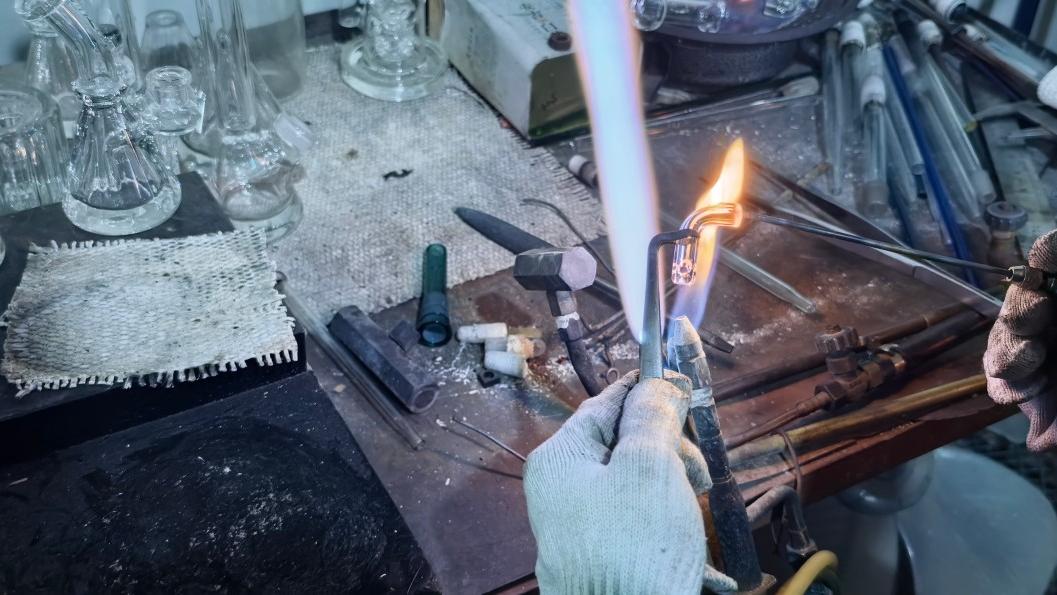
The artisan holds a hollow blowing pipe (approximately 1.5 meters long) and places one end of a borosilicate glass tube or rod into the hottest part of the flame (approx. 1200-1400°C) , rotating it continuously. Due to borosilicate glass’s low thermal conductivity and low expansion, the heat is highly concentrated on the area to be worked, while the rest of the piece remains cool and solid. When the localized temperature exceeds the glass’s softening point (approx. 820°C) , that region transforms into a viscoelastic state (viscosity approx. 10³-10⁴ Pa·s). At this point, the glass behaves like thick honey—fluid enough to be shaped under pressure, yet viscous enough to hold its form.
Stage 3: Inflation and Manual Shaping
This is the core of the process, involving the synergistic action of internal air pressure and external tools:Inflation by Blowing: The artisan blows air through the pipe into the softened glass. Following Pascal’s principle, this internal pressure acts uniformly on the glass’s inner walls, driving viscous expansion. The force, speed, and continuity of the blowing directly influence the wall thickness distribution and final shape.
Gravity and Rotation: Simultaneously with blowing, the artisan rotates the pipe continuously and uniformly. This utilizes gravity and centrifugal force to allow the softened glass to sag or expand evenly, preventing deformation caused by uneven gravitational pull.
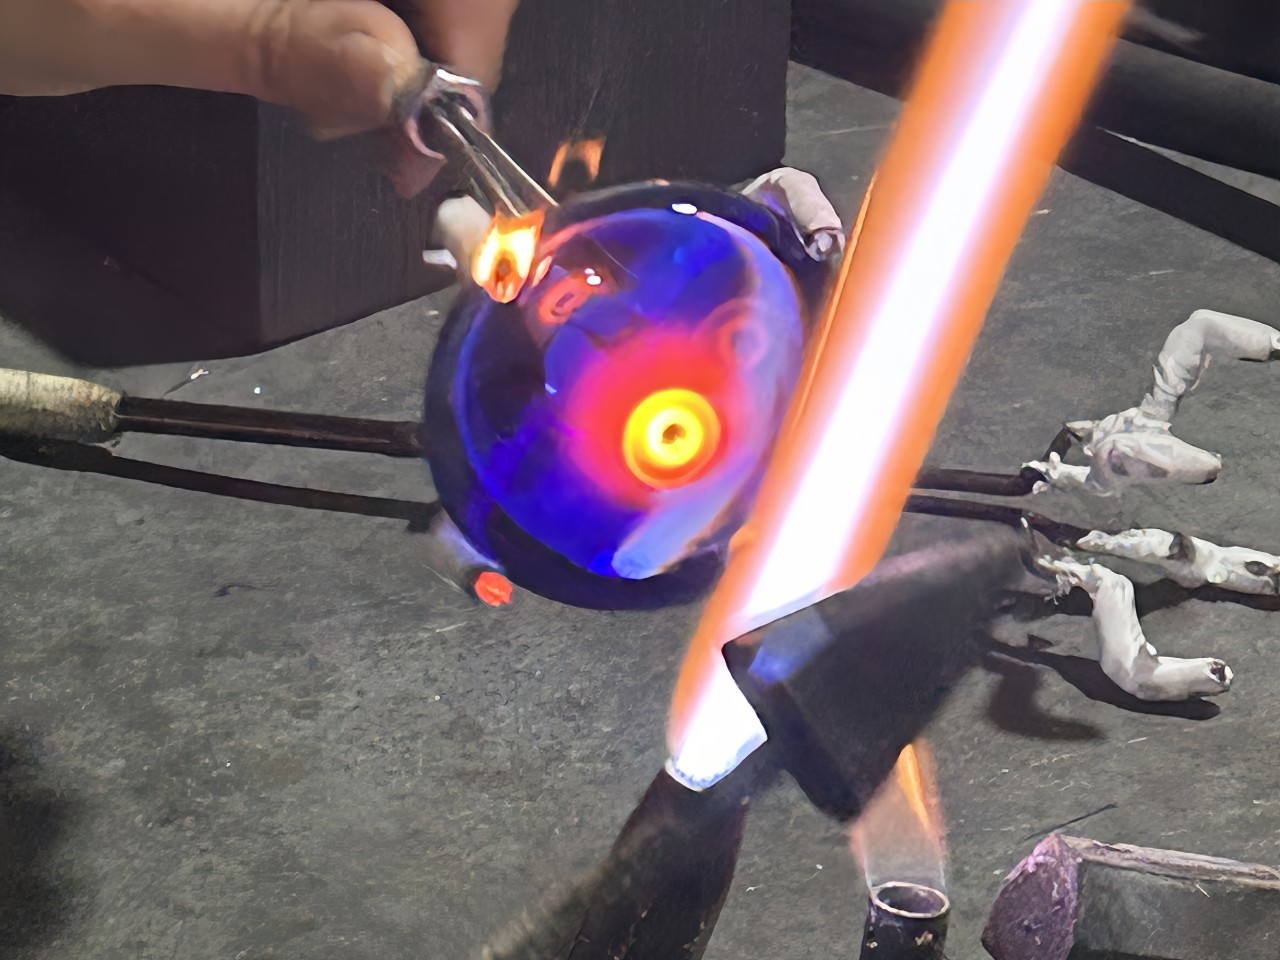
Tool-Assisted Shaping: Preheated tools such as graphite paddles, carbon steel tweezers, and forceps are used to pull, press, bend, shear, and join the glass. These tools apply mechanical force through localized contact, guiding the flow of the glass and shaping fine details (e.g., flower petals, animal limbs, threaded joints). Due to the relatively high surface tension of borosilicate glass in its viscoelastic state, the shaped surface naturally tends to become smooth (the “fire polish” effect).
Stage 4: Joining and Assembly
For complex, multi-part pieces, several pre-softened glass components are brought together in the flame. Their contact surfaces must be heated until they are fully molten and flow together, fusing into a single piece. This requires the temperature and viscosity of the parts to be highly compatible. After joining, the piece is reheated in the flame until the seam line disappears, and may be slightly pulled or compressed to strengthen the bond. The joint area must be re-annealed in the flame to relieve stress and prevent future cracking.
Stage 5: Annealing and Stress Relief
Although the shaped piece is solid, it contains permanent thermal stresses generated by the localized heating and cooling. If left unaddressed, these stresses can cause the piece to crack spontaneously during cooling or later use. Therefore, the finished piece must be placed immediately into a programmable annealing kiln. It is held for an extended period within the annealing point temperature range (520°C-560°C) —typically for 1-2 minutes per millimeter of thickness—and then cooled at an extremely slow rate (e.g., 1-5°C/min) to room temperature. This process allows the molecular structure of the glass time to reorganize, relieving internal stresses and restoring the glass’s mechanical strength and thermal stability.
Part 2
Borosilicate Lampworking process
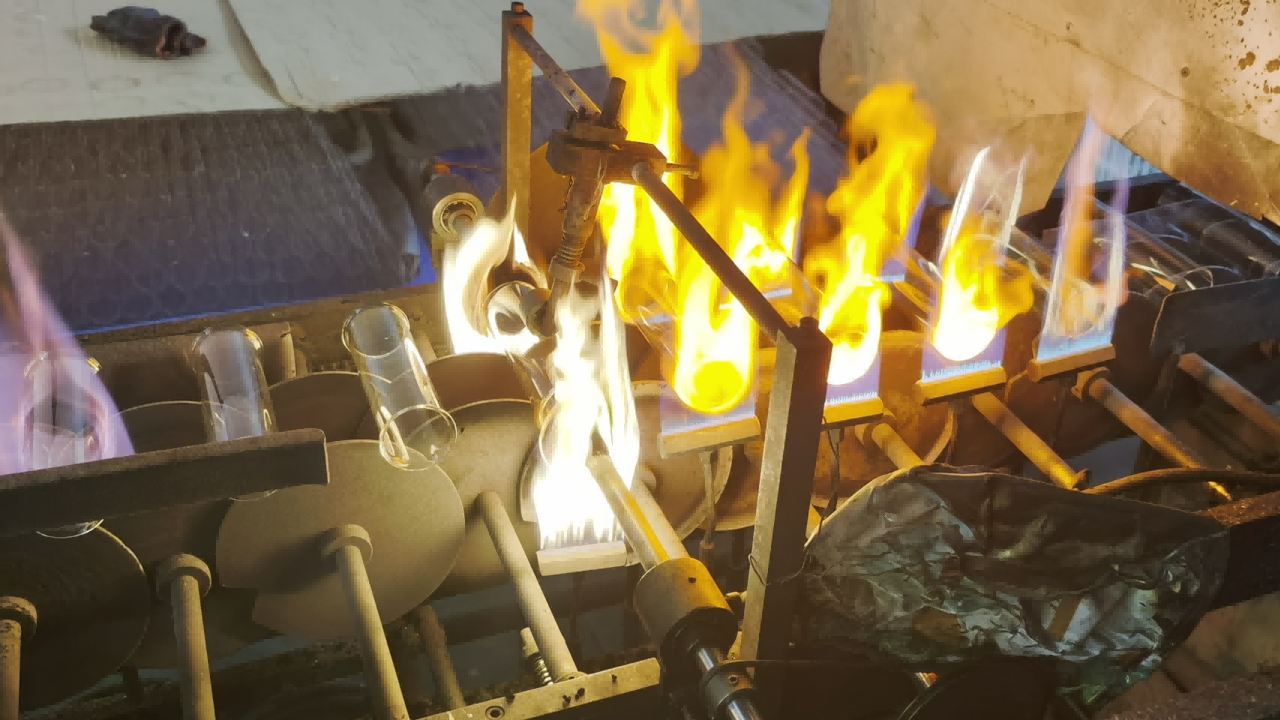
Over the past 100 years, borosilicate glass lampworking has transformed completely. What once started as a rudimentary technique for crafting simple laboratory tubes is now a sophisticated art form and precision manufacturing method.
This evolution has been driven by the growing demands from the scientific, industrial, and artistic communities for more complex and reliable glass structures. As research and technology advanced, so did the capabilities of the artisans and their tools.
The progress rests on four key developments:
Better glass materials, particularly the invention of low-expansion borosilicate glass, which made localized heating possible without cracking.
More powerful and precise torches, evolving from simple air-fuel flames to high-temperature oxygen-fuel burners that allow for cleaner, more controlled work.
Standardized techniques, transforming individual craftsmanship into a repeatable and teachable body of knowledge for complex joints, seals, and assemblies.
Expanded applications, moving from basic labware into semiconductor manufacturing, fiber optics, life sciences, and contemporary art.
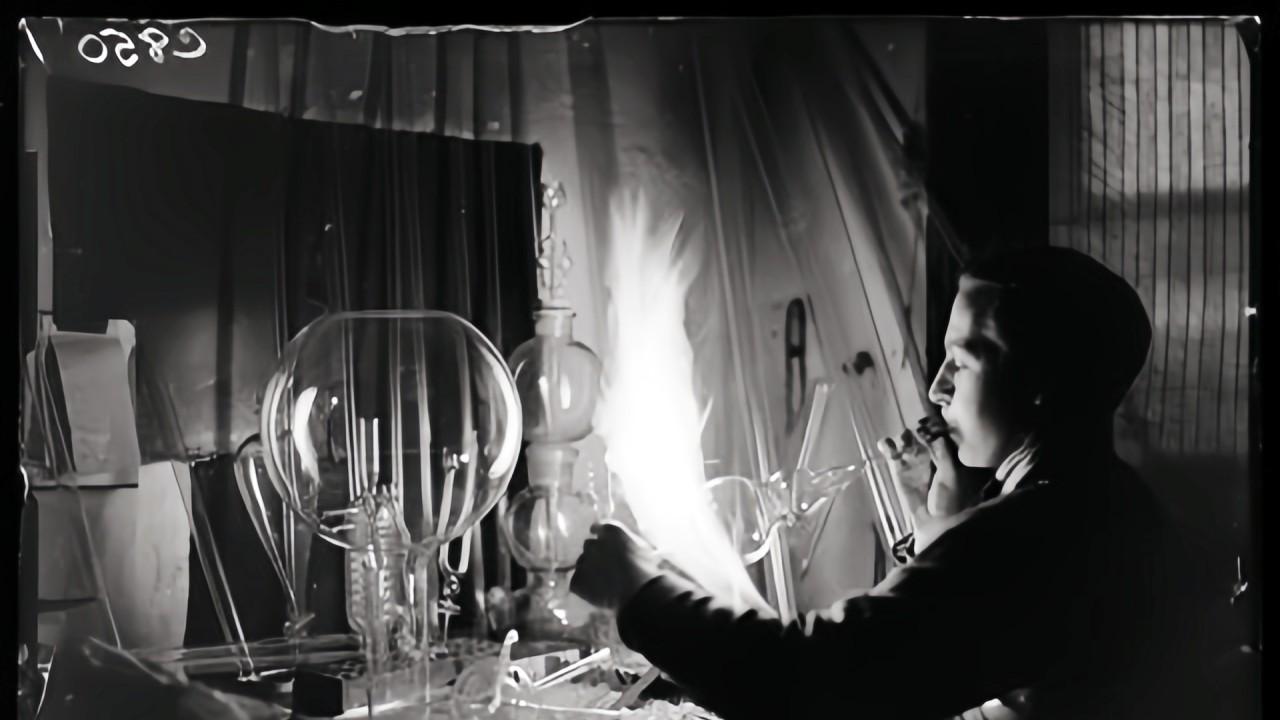
Phase 1: The Pre-Borosilicate Era (Pre-1930s) – Limitations of Traditional Lampworking
Materials: Primarily ordinary soda-lime glass or lead glass.
Capability Characteristics and Limitations:
Poor Thermal Performance: These glasses have a high coefficient of thermal expansion and are extremely susceptible to thermal shock. Heating and cooling had to be extremely slow and uniform, otherwise, the glass would crack easily.
Narrow Working Range: This restricted the complexity and speed of operations, making rapid localized heating and detailed manipulation difficult.
Limited Applications: Mainly used for creating simple decorative items, toys, and low-end vessels. They were unsuitable for manufacturing scientific instruments requiring thermal and chemical stability.
Nature of the Capability: It was a traditional craft oriented towards decoration and simple containers, with its processing capabilities severely constrained by the physical properties of the material.
Phase 2: Material Revolution and Capability Liberation (1930s-1950s)
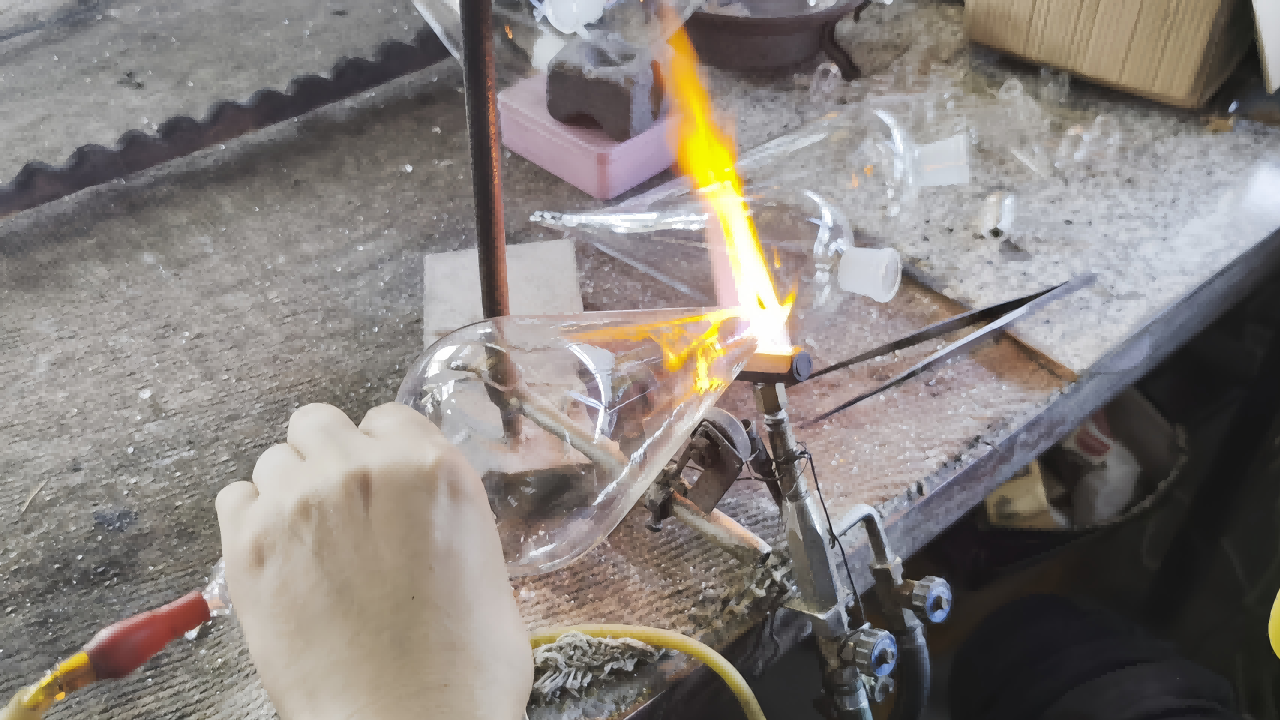
Pivotal Event: Corning Glass Works’ “Pyrex” brand of borosilicate glass was invented in 1915 and saw widespread adoption after the 1930s, driven by patent expirations and the demands of World War II.
Key Leaps in Capability:
Thermal Shock Resistance Revolution: The low expansion characteristic allowed the glass to withstand the instantaneous temperature difference between concentrated flame heating and the room-temperature environment. This made “rapid, localized heating operations” possible, vastly expanding the process’s freedom.
Enhanced Chemical Stability: High corrosion resistance enabled its use for holding strong acids and bases, opening up the vast market for laboratory glassware.
Emergence of New Capabilities:
Custom Manufacturing of Complex Scientific Instruments: It became possible to create distillation apparatus, reaction vessels, and customized tubing on-site for laboratories. This marked the turning point for lampworking, evolving from a “craft” into a “precision manufacturing technology.”
More Refined Operations: Artisans could perform wire drawing, sealing, and blow complex joints with greater safety and precision.
Phase 3: Tool Specialization and Systematization of Techniques (1960s-1990s)
Core Driver: The flourishing of post-war scientific research and the electronics industry.
Refinement of Capabilities:
Tool Innovation: Specialized oxygen-fuel torches (e.g., natural gas/oxygen, hydrogen/oxygen) replaced older air-fuel torches. These new torches provided higher flame temperatures (reaching over 2000°C), greater concentration, cleaner combustion, and more precise control.
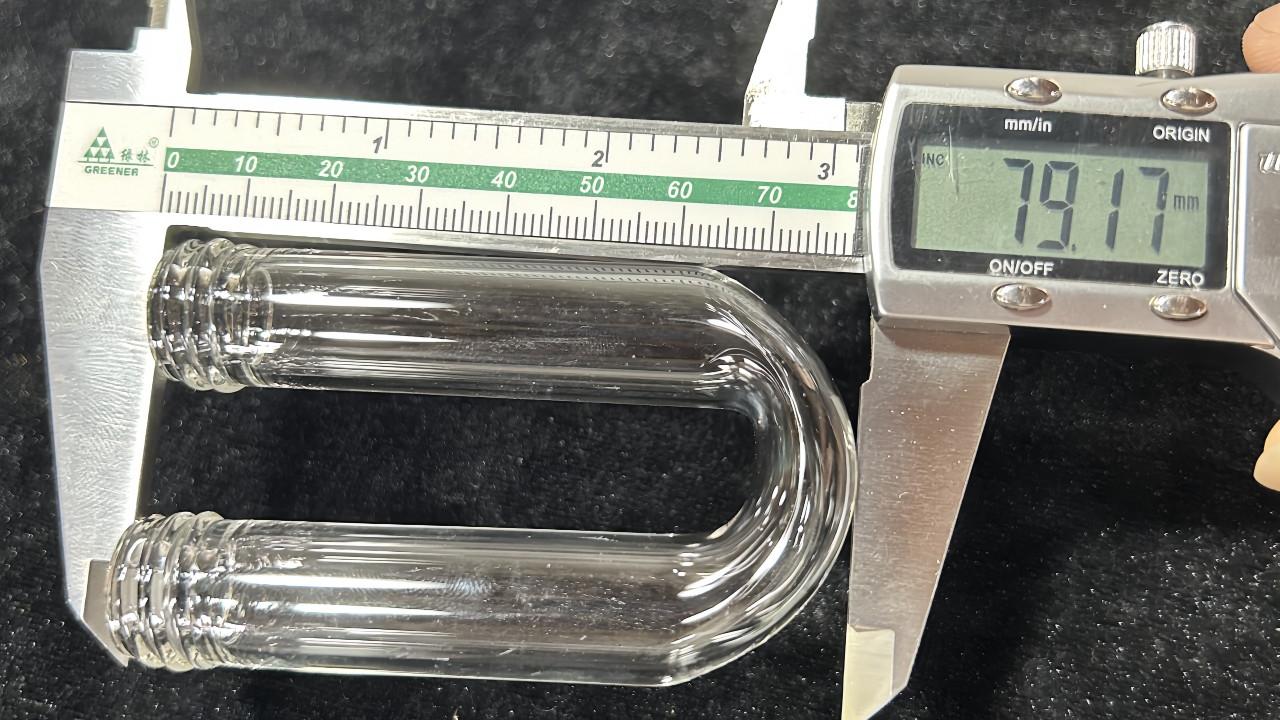
Standardization of Techniques: With widespread use in universities, research institutes, and electronics factories, a set of standardized operational techniques (e.g., T-seals, ring cuts, vacuum tube electrode lead-ins) was developed for manufacturing high-performance components such as vacuum systems, semiconductor diffusion tubes, microwave tube envelopes, and specialized light sources.
Precision Enhancement: The process began to incorporate simple measuring tools, fixtures, and graphite molds, achieving greater dimensional repeatability.
Nature of the Capability: It had evolved into a precision manufacturing technology serving modern scientific research and high-end industry, where the artisan combined an artist’s touch with an engineer’s rigor.
Phase 4: Material Diversification and Artistic Revival (1990s – Present)
Core Drivers: The rise of personalized consumption, contemporary art movements, and advancements in materials science.
Expansion of Capabilities into New Dimensions:
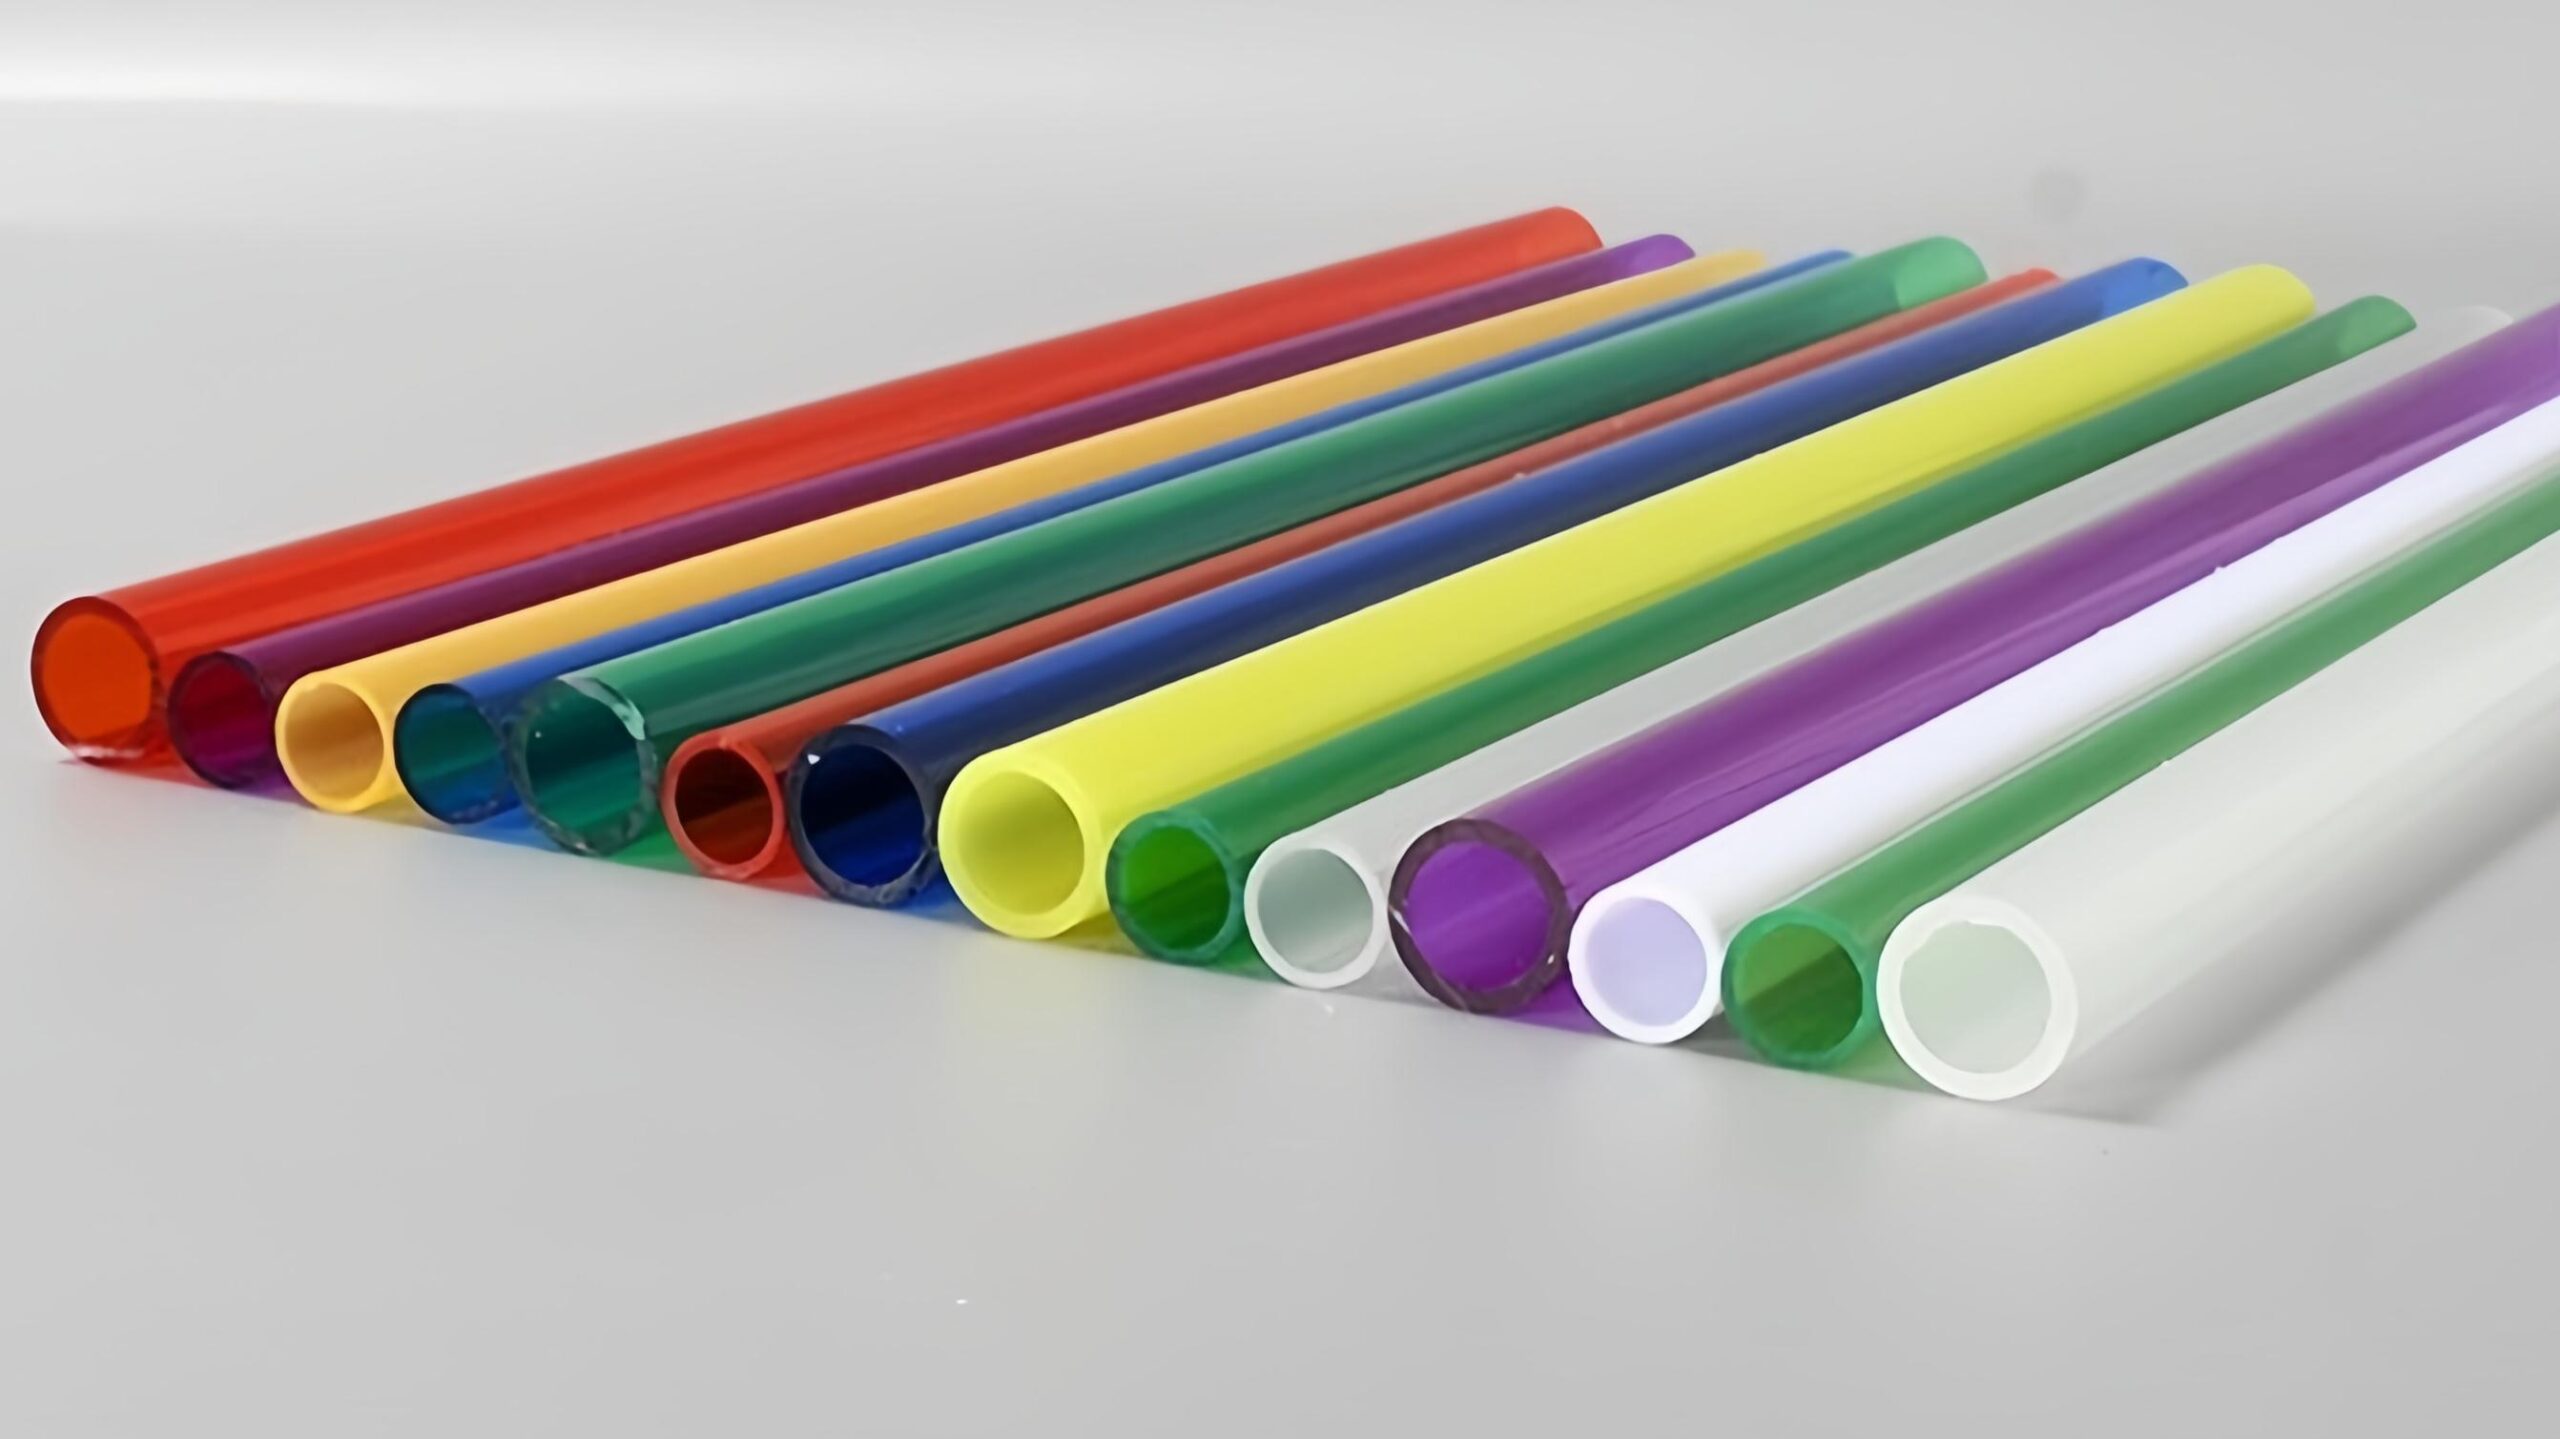
Expanded Material Palette: Processable borosilicate glass diversified into multi-colored variants (via metal ion coloring), UV-blocking/transmitting types, and laser-active (e.g., erbium-doped) glasses, greatly expanding the possibilities for artistic and functional design.
Peak of Art and Design: In the contemporary glass art movement, borosilicate became the material of choice for artists to express complex ideas and demonstrate masterful techniques, thanks to its rich color potential and exceptional workability. Its processing capabilities are showcased in the creation of large-scale, complex, and vividly colored sculptures and installations.
New Industrial Applications: It found applications in fields like life sciences (DNA sequencer flow cells), fiber optic communications (preform handling), and high-end decoration (designer lighting, furniture).
Integration with Auxiliary Technologies: It began to integrate with CAD design for advanced planning and utilized CNC lathe-assisted graphite molds for the repeatable shaping of specific forms, enhancing precision and efficiency in certain stages while retaining manual flexibility.
Core Processing Capabilities of Borosilicate Glass Lampworking
The fundamental manufacturing capability of molten glass pressing lies in its ability to rapidly form viscous glass melt—which flows readily at high temperatures—by pressing it into shape with molds within a short cycle time. This enables the efficient, highly consistent replication of complex geometric shapes. These capabilities are embodied in the following aspects:
1. Geometric Shape Shaping Capability: Nearly Unlimited Freedom
This is its most core capability, far surpassing any mechanized mold-forming process.
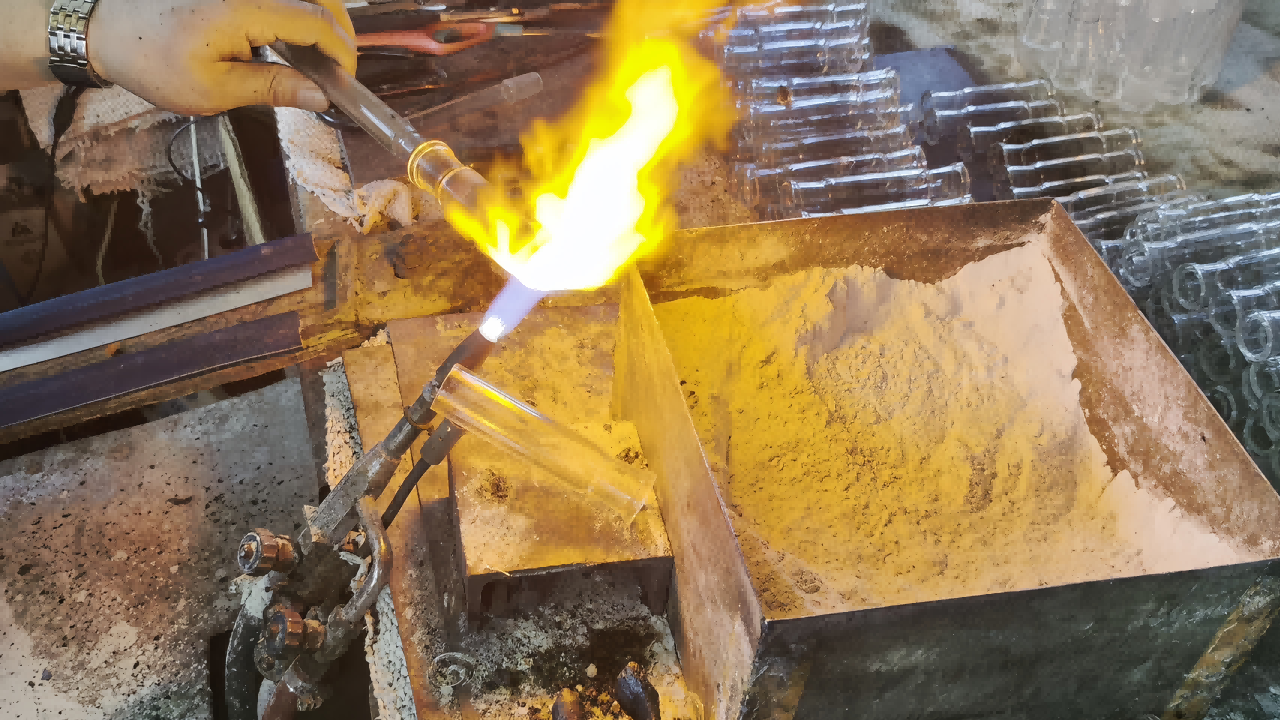
Complex Three-Dimensional Hollow Structures: It can easily create closed or semi-closed containers with multiple chambers, branch tubes, and irregular curved surfaces (such as experimental reactors and customized piping systems).
Integration of Fine Features: Micro or irregularly shaped accessories such as capillaries, needle tips, valve interfaces, flanges, and observation windows can be directly fused and drawn onto the main structure, achieving a truly integrated, seamless construction.
Dynamic Shaping: It can perform continuous, changing operations such as spiraling, twisting, bending, inflating, and localized flattening, creating organic shapes that are difficult for machines to achieve.
Material Combination: Glass components of different colors, transparencies, or even different properties (e.g., joining with quartz or metal sealing rings) can be fused at high temperatures.
2. Dimensional Range and Precision Capability
Broad Dimensional Range: It can process everything from micro-devices (e.g., capillaries with an inner diameter as small as 0.1 mm, jewelry components) to large installations (e.g., customized glass piping systems over 2 meters in length, large-scale art installations).
Precision Characteristics: Precision is highly dependent on the artisan’s skill level. In the hands of a skilled technician:
Dimensional Control: Key dimensions (such as tube diameter and length) can be controlled within the range of ±0.2mm to ±1mm.
Wall Thickness Control: Relatively uniform wall thickness can be achieved through rotational blowing and stretching. However, for complex shapes, wall thickness uniformity is not as good as with molded products.
This is a type of precision achieved through “hand-eye coordination,” not the digital precision of a machine tool.
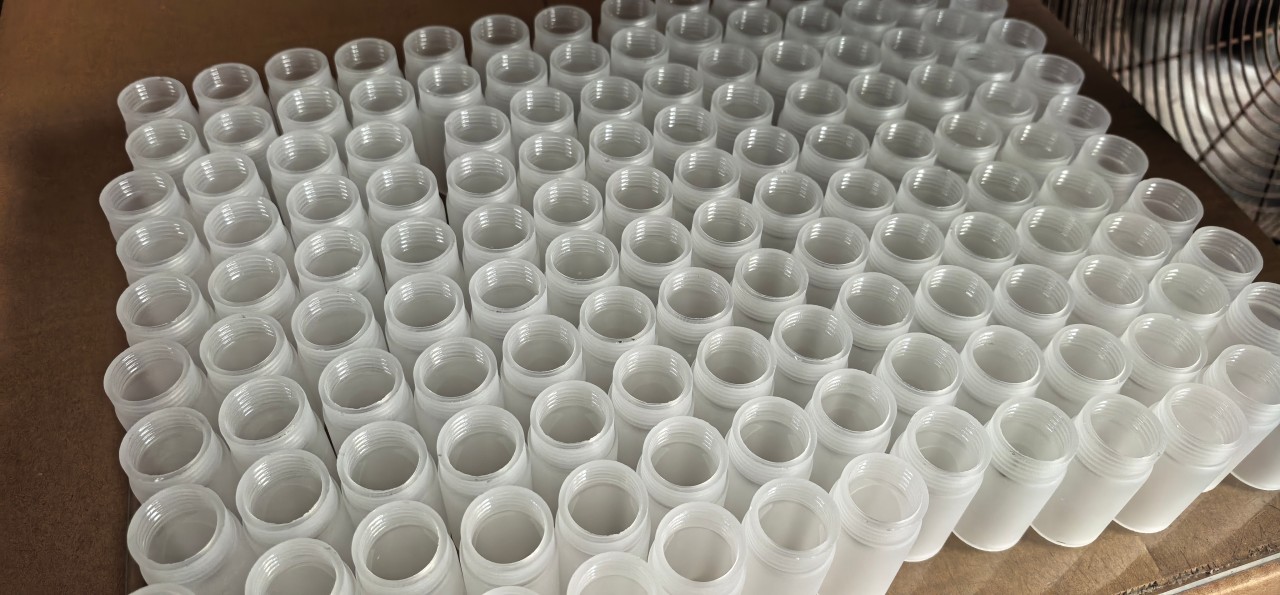
Perfect Retention of Substrate Characteristics: The processing is a purely physical thermal shaping process that does not alter the inherent properties of borosilicate glass: low expansion, thermal shock resistance, high chemical stability, and high light transmission.
No Mold Contact Contamination: The product does not come into contact with a mold. Its surface is a fire-polished surface with high purity, making it especially suitable for chemical and biological laboratory ware and semiconductor components that demand extremely high cleanliness and corrosion resistance.
Controllable Stress: Through skilled flame annealing (“fire polishing”) and subsequent programmable annealing, thermal stress can be effectively eliminated, resulting in products with high strength and safety.
4. Flexibility and Rapid Prototyping Capability
Zero Mold Cost: Single-piece or small-batch production requires no mold investment, resulting in extremely low switching costs.
Real-Time Design and Modification Synchronization: Artisans can adjust the piece while working on it, based on drawings or real-time communication. This makes it an ideal means for rapid prototyping and design verification.
Personalized Customization: Every product can be unique, making it suitable for artistic creation and special-function customization.
Borosilicate Glass Lampworking: Common Problems and Solutions
Q1: The glass suddenly cracks or shatters into pieces during operation or shortly after completion?
Causes:
Stress Cracking: This is the primary cause. Uneven heating or cooling generates tremendous thermal stress inside the glass, exceeding its strength limit.
Impure or Contaminated Material: The glass tube/rod itself has internal damage or micro-cracks, or its surface is contaminated with oil, dust, or other metal oxides (e.g., from fixtures), which become stress concentration points at high temperatures.
Violation of Material Properties: Attempting to directly fuse two types of glass with mismatched coefficients of thermal expansion (e.g., borosilicate with ordinary soda-lime glass).
Excessively Fast Cooling (“Quenching”): The finished workpiece is directly exposed to cold air without proper flame annealing or programmed annealing.
Solutions:
Uniform Heating is the Golden Rule: Continuously and uniformly rotate the glass in the flame to ensure even heating of the entire working area, avoiding localized overheating.
Perform Flame Annealing: After operation, move the workpiece away from the high-temperature flame and heat it evenly in a low-temperature, soft flame. Then slowly remove it from the flame and place it on a draft-free, insulating vermiculite board or at the entrance of an annealing kiln for slow cooling.
Thoroughly Clean Materials: Wipe the glass surface with alcohol before operation to ensure cleanliness.
Proper Annealing: For large, thick-walled, or complex structures, a programmable annealing kiln must be used, following a precise heating-soaking-cooling curve.
Q2: Fine “hairline” cracks appearing at the weld joint or blown section?
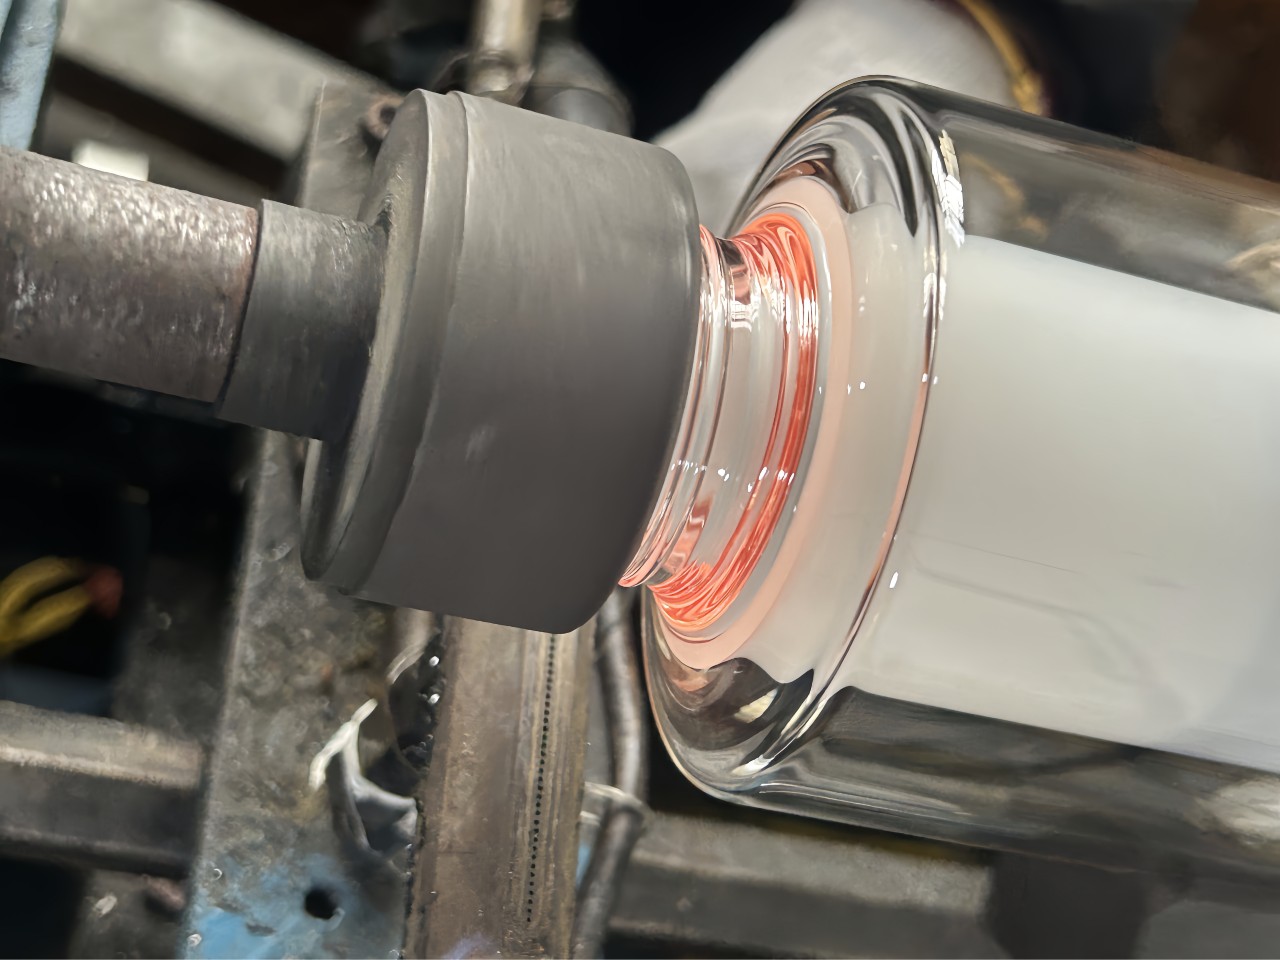
Cause: Thermal shock. This usually occurs when a heated and softened area comes into excessively fast or localized contact with a cold tool (e.g., a graphite paddle, wet tweezers) or when the blown air is too cold or too forceful.
Solutions:
Preheat All Tools: Warm tweezers, graphite paddles, etc., near the flame before use.
Control the Blowing: Blow gently and evenly, avoiding sudden, forceful puffs. Preheat the blowing tube or use a warm, moist air source if possible.
Gentle Manipulation: Ensure movements are gentle when bringing hot glass into contact with tools
Q3: Bubbles or white haze (devitrification) appearing inside or on the surface of the glass?
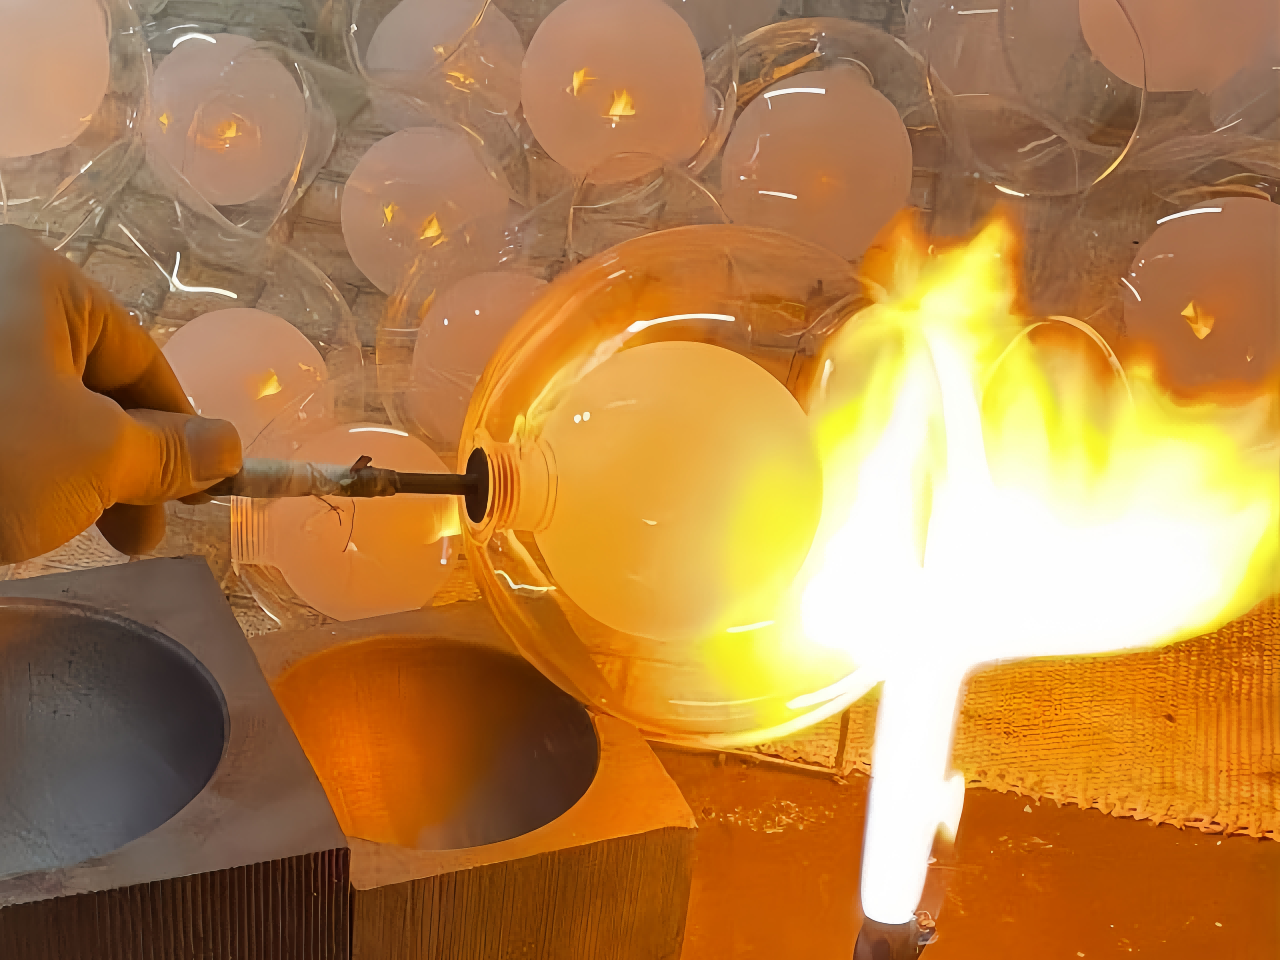
Overheating: Flame temperature is too high or heating time is too long, causing certain components in the glass (such as boron or alkali metals) to volatilize or decompose, forming bubbles or creating a white haze due to surface composition changes.
Contamination: As above, oil or foreign matter carbonizes or reacts at high temperatures, producing gas.
Flame Chemistry Issues: Using a reducing flame (excess fuel gas) can cause the glass surface to be reduced, resulting in a grayish-black haze.
Solutions:
Use a Neutral or Slightly Oxidizing Flame: Adjust the oxygen-to-fuel gas ratio to achieve a bright, powerful flame that does not “flutter.”
Control the Heat: “Just enough is enough.” Once the glass reaches the desired softening point, immediately move it away to shape it, avoiding prolonged “cooking.”
Maintain Cleanliness: Always ensure the material and work environment are clean.
Q4: Blown spheres are asymmetrical, tubes are bent or not straight, or shape is out of control?
Causes:
Uneven Rotation: Unstable rotation speed or stopping during heating or blowing causes the glass to sag and deform under gravity.
Uneven Temperature: One side of the heated area is soft while the other is hard. When blowing or stretching, it naturally deforms towards the softer side.
Inappropriate Force or Timing of Blowing/Stretching.
Solutions:
Diligently Practice the Fundamentals of Rotation: Coordinating both hands to maintain a uniform rotation is the soul of lampworking.
Observe Closely: Constantly watch whether the heating area is softening evenly and adjust the flame position accordingly.
Utilize Gravity and Tools: When blowing spheres, use gravity to assist forming; use tools like graphite paddles to aid shaping and flattening.
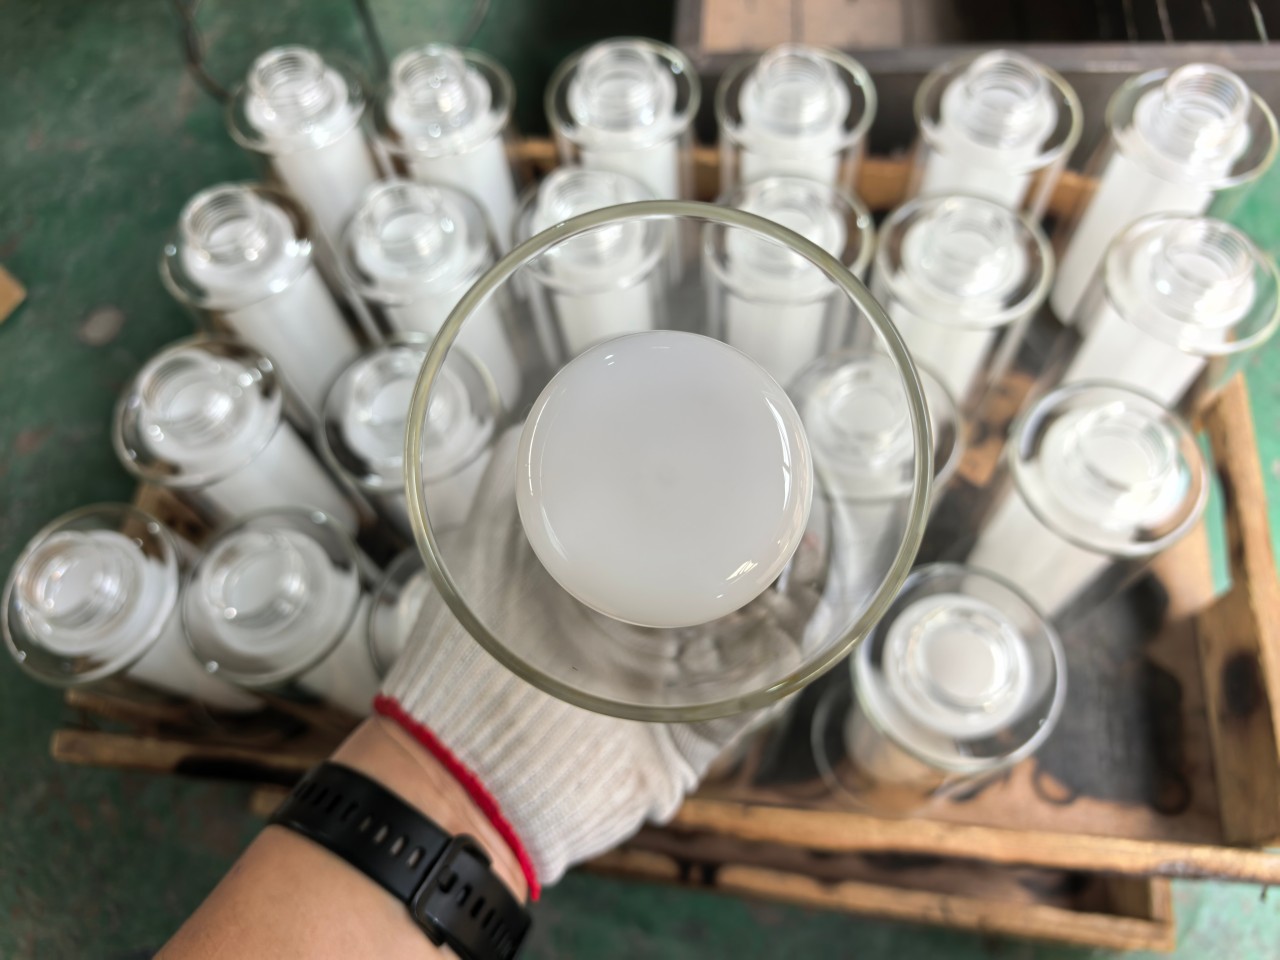
Q5: Significant deviation in dimensions (e.g., tube diameter, wall thickness) from the design drawing?
Causes:
Errors in Empirical Estimation: Manual operation relies on visual observation and experience.
Misjudging Dimensions in the Hot State: Red-hot glass appears larger than it will be after cooling, and it shrinks as it cools.
Solutions:
Use Fixtures and Gauges: Create simple graphite or metal templates for comparative measurements during operation (remember to preheat measuring tools).
Understand the Shrinkage Rate: Know the coefficient of thermal expansion for the borosilicate glass used and estimate the shrinkage after cooling (typically about 1-2%). Leave a margin in the hot state.
Step-by-Step Verification: For complex workpieces, make them in stages, allowing them to cool and measuring before proceeding to the next step.
Q6: Two components are weakly joined, have gaps, or break apart easily?
Causes:
Insufficient Joining Temperature: The two pieces are forced together before both sides have truly reached a molten, flowing state; they are only “stuck” at the surface.
Mismatched Interfaces: The interfaces are not properly prepared (uneven, unclean), leaving gaps.
Solutions:
Achieve the “Honey State”: Ensure both surfaces to be joined are heated in the flame until they are bright, glowing, and in a state of complete molten flow—”dripping but not yet dripping.”
Precise Joining and Fusion: Apply slight pressure after joining and continue heating in the flame until the glass at the interface is completely fused and the seam line disappears.
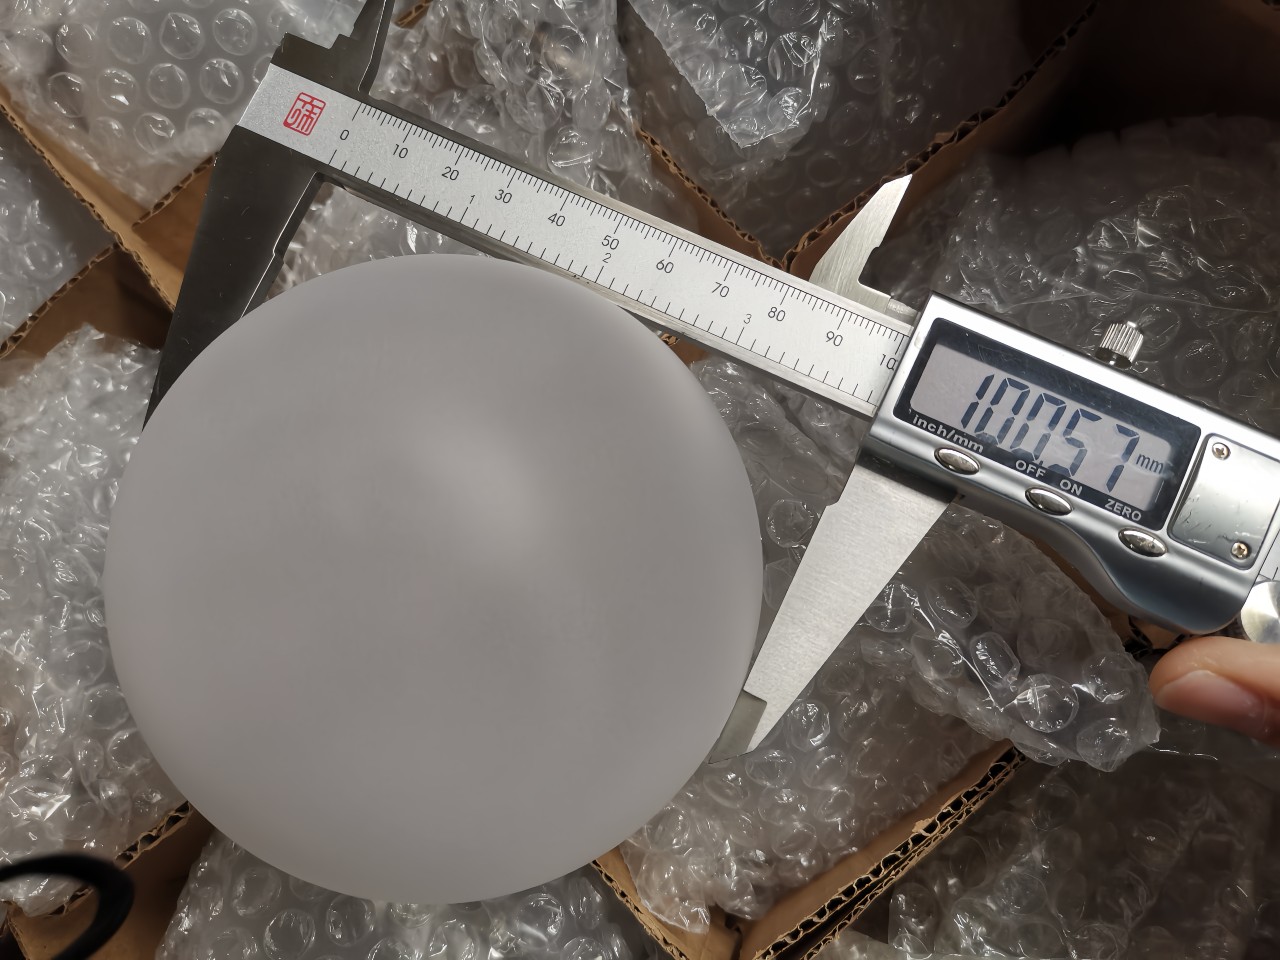
Q7: Severe wrinkles or lumps appearing at the weld joint?
Cause: Excessive accumulation of glass material. This usually happens when too much glass is melted to compensate for a gap during joining, or when incorrect angles during joining cause compression.
Solution: Prepare the interfaces smoothly and join them gently and precisely. If there is excess material, while it is still soft, gently roll it flat with a graphite paddle or pull away the excess.
Part 3
Advantages and Disadvantages of Borosilicate Glass Lampworking
Core Advantages
Unparalleled Geometric Freedom and Design Flexibility
Capability: It can manufacture components with complex three-dimensional hollow structures, multi-branch connections, irregular curved surfaces, and gradually varying wall thicknesses, achieving almost unlimited possibilities. This is unattainable by any mold-dependent process (such as pressing or blow molding).
Advantage: Particularly suitable for creating integrated, seamlessly connected complex systems (such as custom chemical reaction devices, artistic lighting fixtures), avoiding the risk of leakage and strength weaknesses associated with multi-component assembly.
Zero Mold Cost, Perfectly Adapted for Small Batches and Customization
Capability: From single pieces to small batches of hundreds of units, production requires no expensive mold investment or lengthy mold opening lead times.
Advantage: The economic threshold is extremely low, making it an ideal choice for rapid prototyping, scientific research customization, and personalized design. Design iteration costs are low and speed is high.
Excellent Retention of Material Properties
Capability: The pure flame processing introduces no mold contamination, and the product surface has a high-purity fire-polished finish.
Advantage: It completely retains the intrinsic advantages of borosilicate glass: high-temperature resistance, thermal shock resistance, high chemical stability, and high light transmission. The product is suitable for the most demanding chemical, physical, and optical environments.
High Integration and Repair Capability
Capability: Glass components of different colors and diameters, as well as metal sealing parts (such as electrodes, flanges), can be directly fused together as one.
Advantage: It enables the manufacture of highly functionally integrated components and possesses the unique ability to modify, repair, or add accessories to existing devices on-site.
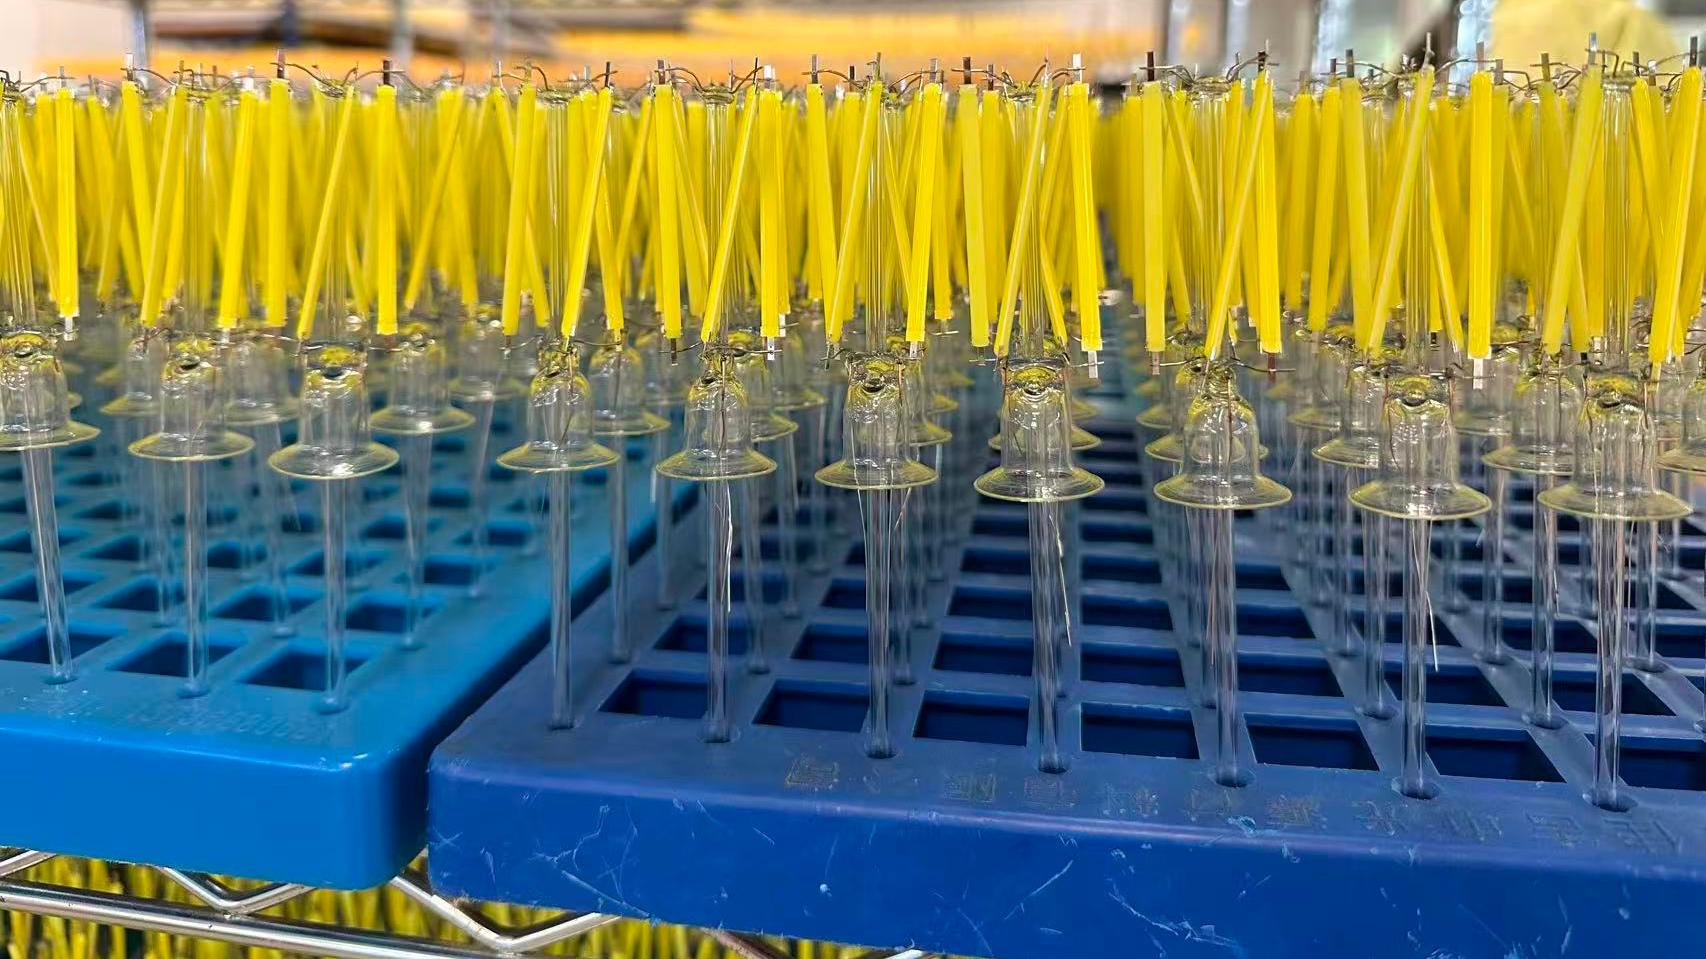

Core Disadvantages
High Dependence on Manual Skill, Significant Consistency Challenges
Limitation: Product quality, precision, and production efficiency rely heavily on the artisan’s experience, condition, and proficiency. Even the same artisan cannot guarantee absolute consistency between pieces.
Consequence: It struggles to meet the requirements of large-scale industrial production that demand extremely high repeatability and micron-level absolute tolerances. It falls under the precision of “handicrafts,” not the precision of “industrial manufacturing.”
Low Production Efficiency, High Cost for Scale
Limitation: It is a completely labor-intensive process, with single-piece production cycles ranging from minutes to hours.
Consequence: When production volume rises to the thousands, the labor cost per piece becomes unbearable, completely losing economic viability. It cannot compete with automated production lines.
Inherent Physical and Skill Boundaries
Limitations:
Size Constraints: Limited by the flame area, heating uniformity, and the operator’s physical stamina, producing excessively large workpieces (Spheres with a diameter greater than 350) is extremely difficult.
Wall Thickness Uniformity: Controlling wall thickness in complex shapes relies on feel and is difficult to achieve as precisely and uniformly as with rotational molding.
Sharp Features: Surface tension naturally rounds off edges, making it impossible to create truly sharp corners.
Consequence: Its capabilities have clear physical upper limits; it is not “all-powerful.”
High Difficulty in Quality Control and Standardization
Limitation: Thermal stress distribution and internal defects (tiny bubbles, striae) are difficult to detect 100% non-destructively and eliminate completely. Reliance is more on process specifications and post-process inspection.
Consequence: For applications requiring extremely high reliability (such as aerospace, high-end medical devices), exceptionally stringent process control and destructive sampling are necessary, further driving up costs.
Our Borosilicate Lampworking Services
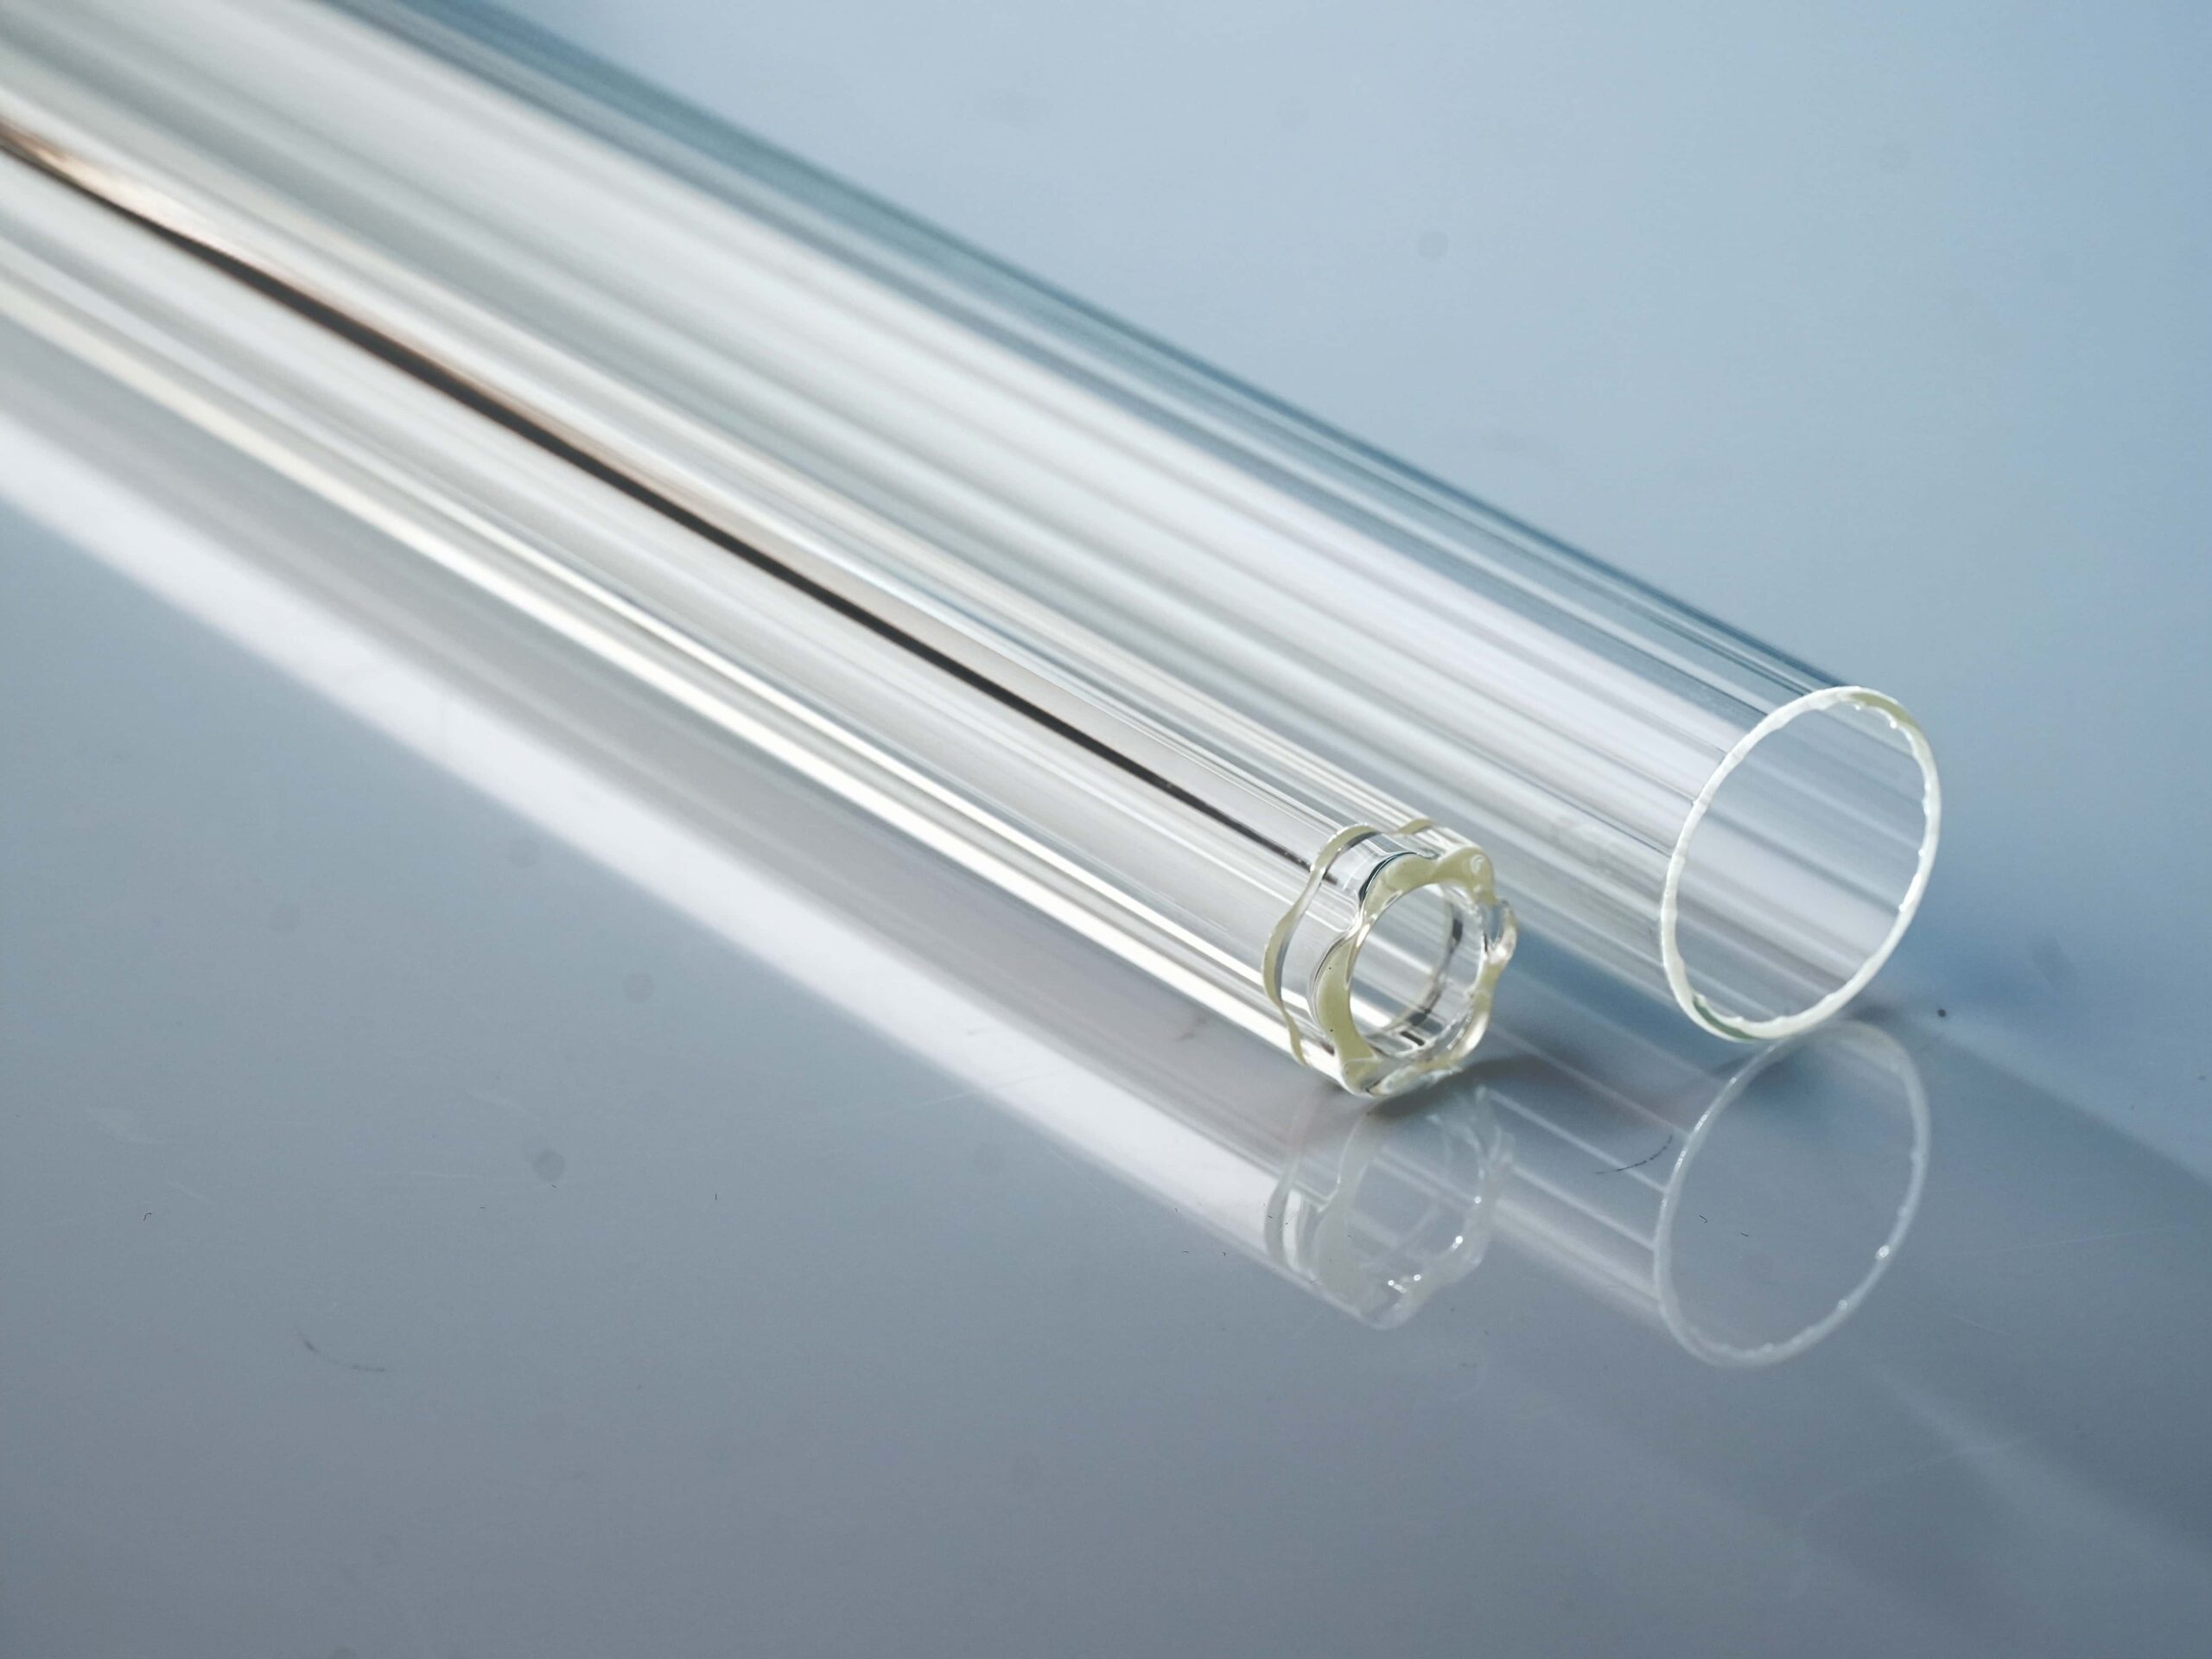
Clear Borosilicate Glass
Thermal Expansion (×10⁻⁶/K) :~3.3
Softening Point (°C) :~820
Max Service Temp (°C):~450(Short-term)
Thermal Shock Resistance (ΔT °C):>160 K
Density (g/cm³): ~2.23 g/cm³
Mechanical Strength (MPa):60 -100 MPa
Acid Resistance (mg/cm²):<0.7 mg/cm? (DIN 12116 Class 1)
Alkali Resistance:<134 mg/cm’(is0 695 Class A2)
Transmission (Visible Light):> 90%
Key Characteristics:Very low coefficient of thermal expansion
Get a product quote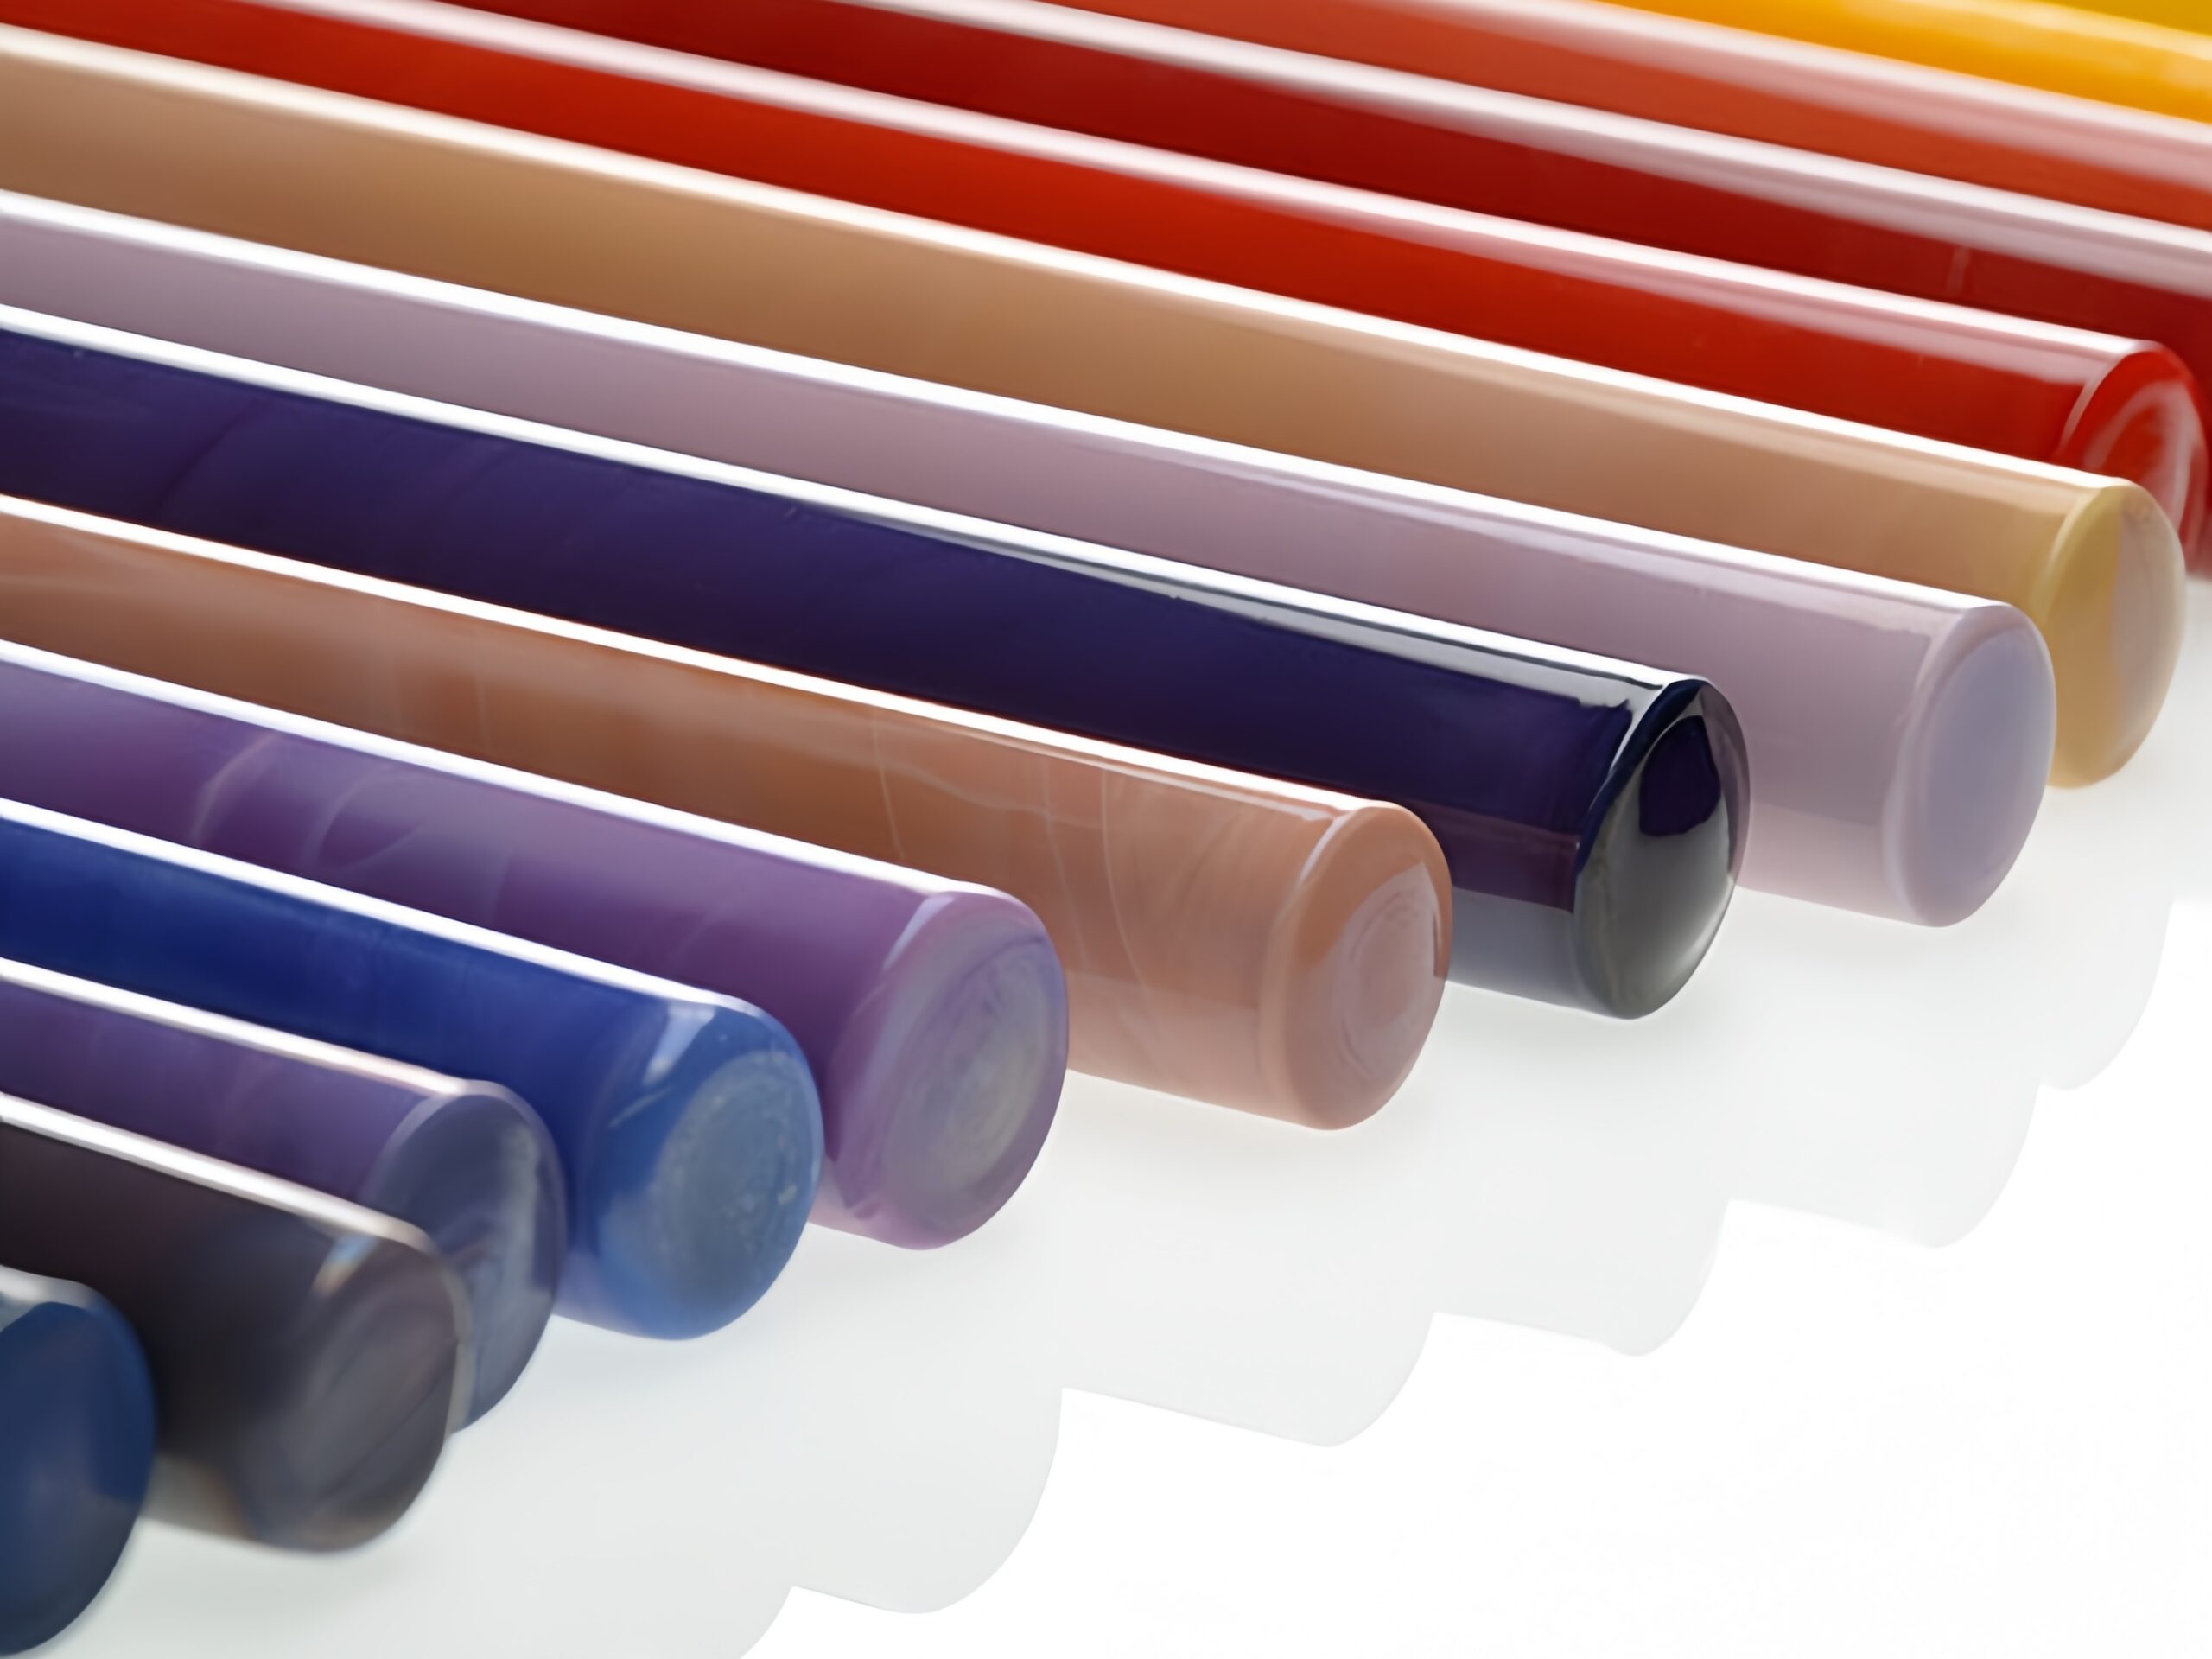
Colored Borosilicate Glass
Thermal Expansion (×10⁻⁶/K) :~3.3-4.0 x10⁻⁶/K
Softening Point (°C) :~780°C-820°C
Max Service Temp (°C):~400°C-450°C(Short-term)
Thermal Shock Resistance (ΔT °C):>150 K
Density (g/cm³): ~2.23-2.40 g/cm3
Mechanical Strength (MPa):50-90 MPa
Acid Resistance (mg/cm²): <1.0 mg/cm? (DIN 12116 Class 1)
Alkali Resistance:Good,but may be slightly lower than clear glass
Transmission (Visible Light):Opaque to Semi-translucent (depends on color & concentration)
Key Characteristics:Core properties similar to clear glass
Typical Applications: Artistic lampworking, decorative glassware, colored lighting, identifiable labware, design objects
Get a product quote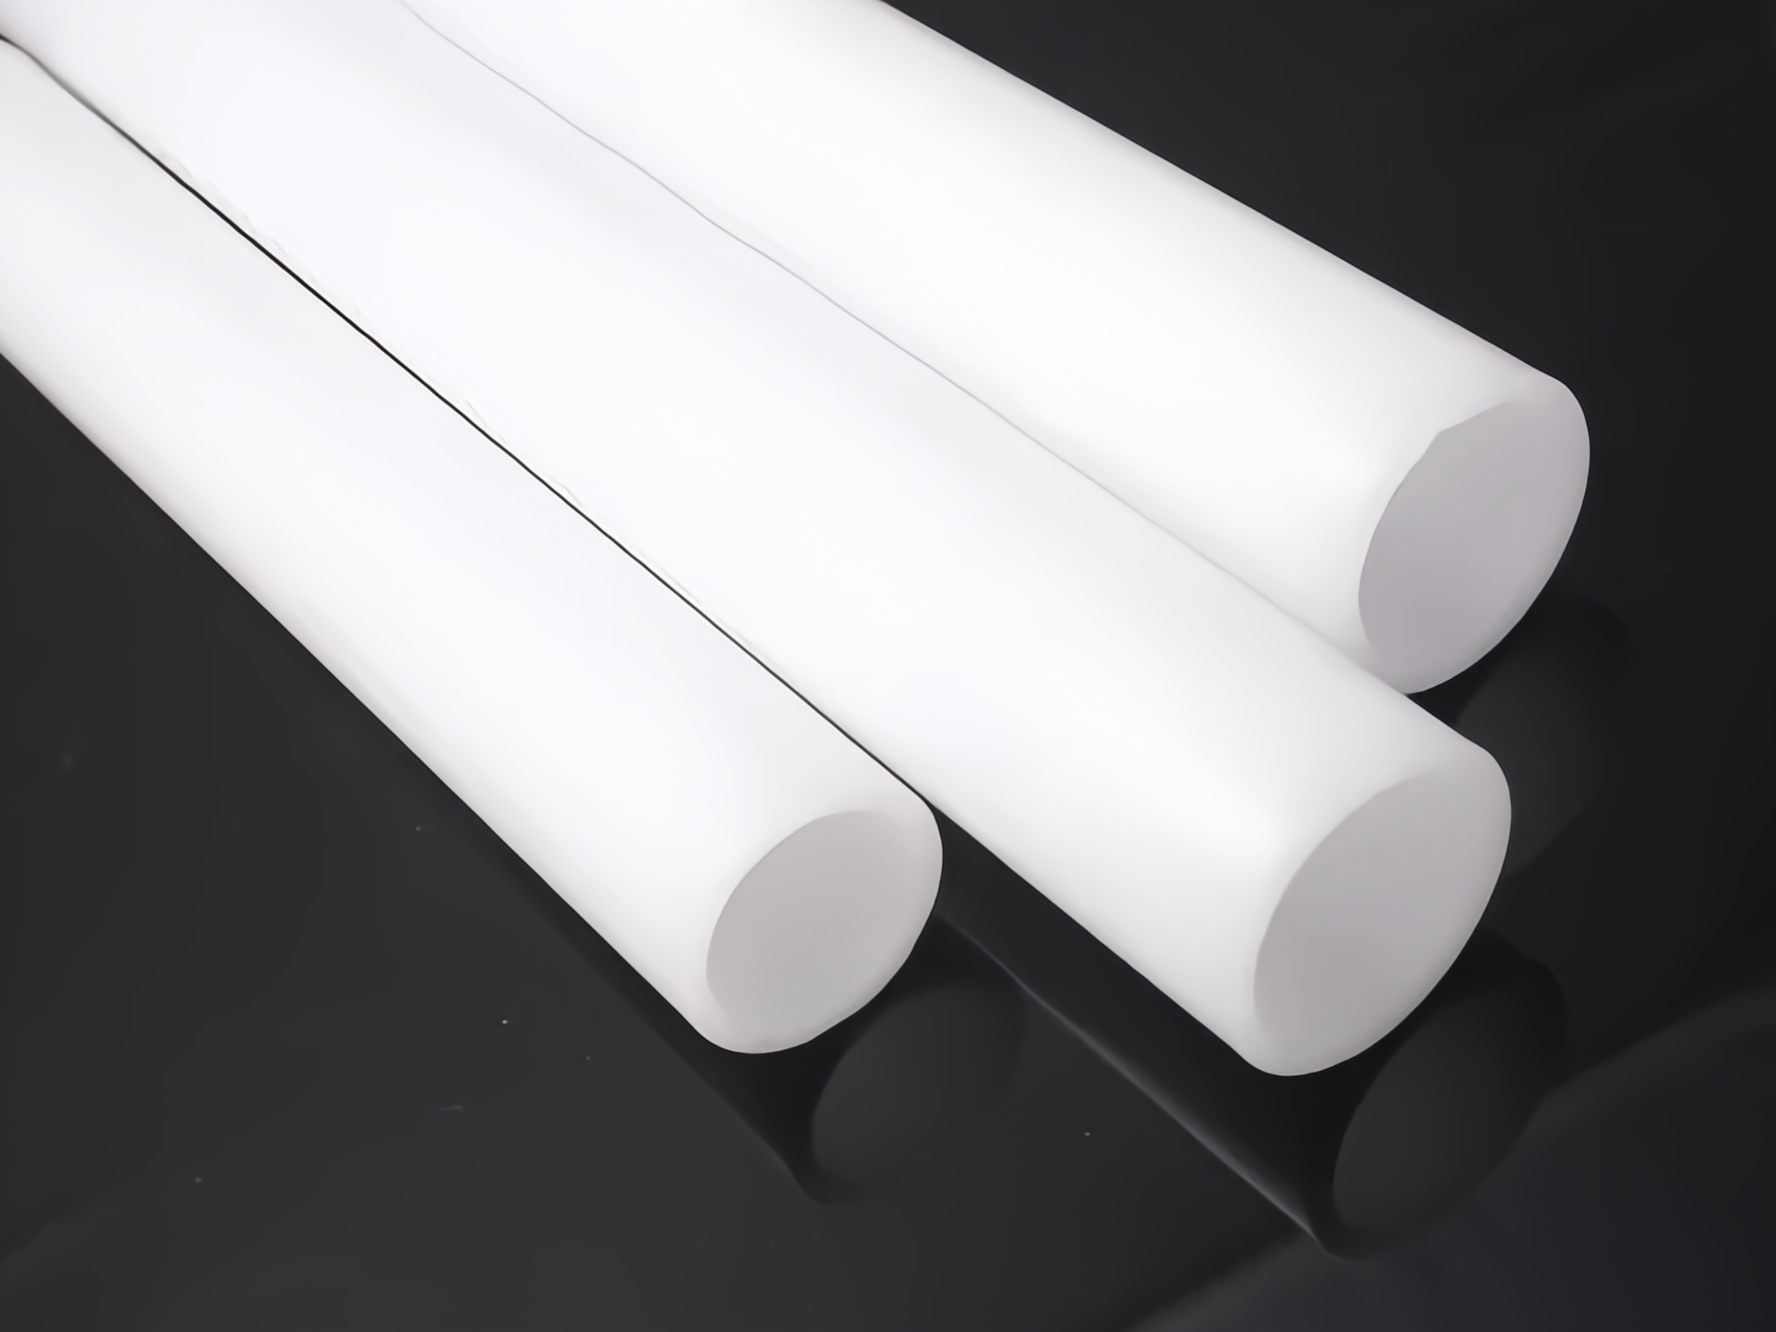
Milky (Opal) Glass Tube
Thermal Expansion (×10⁻⁶/K) :~85 - 92 x 10⁻⁶/K
Softening Point (°C) :~700 - 750°C
Max Service Temp (°C):~450(Short-term)
Thermal Shock Resistance (ΔT °C):Low, typically < 100 K
Density (g/cm³):~2.45 - 2.55 g/cm³
Mechanical Strength (MPa):~40 - 70 MPa
Acid Resistance (mg/cm²):Fair, significantly lower than borosilicate (DIN 12116 Class 2-3)
Alkali Resistance:Poor
Transmission (Visible Light):Opaque, high diffuse reflectance (>95% diffuse reflection)
Key Characteristics:High diffuse reflection and light diffusion capability
Typical Applications: Decorative lighting, artistic lampworking Get a product quote
Part 4
Company Standards for Borosilicate Lampworking
1.Material and Pretreatment Standards
Core Raw Materials
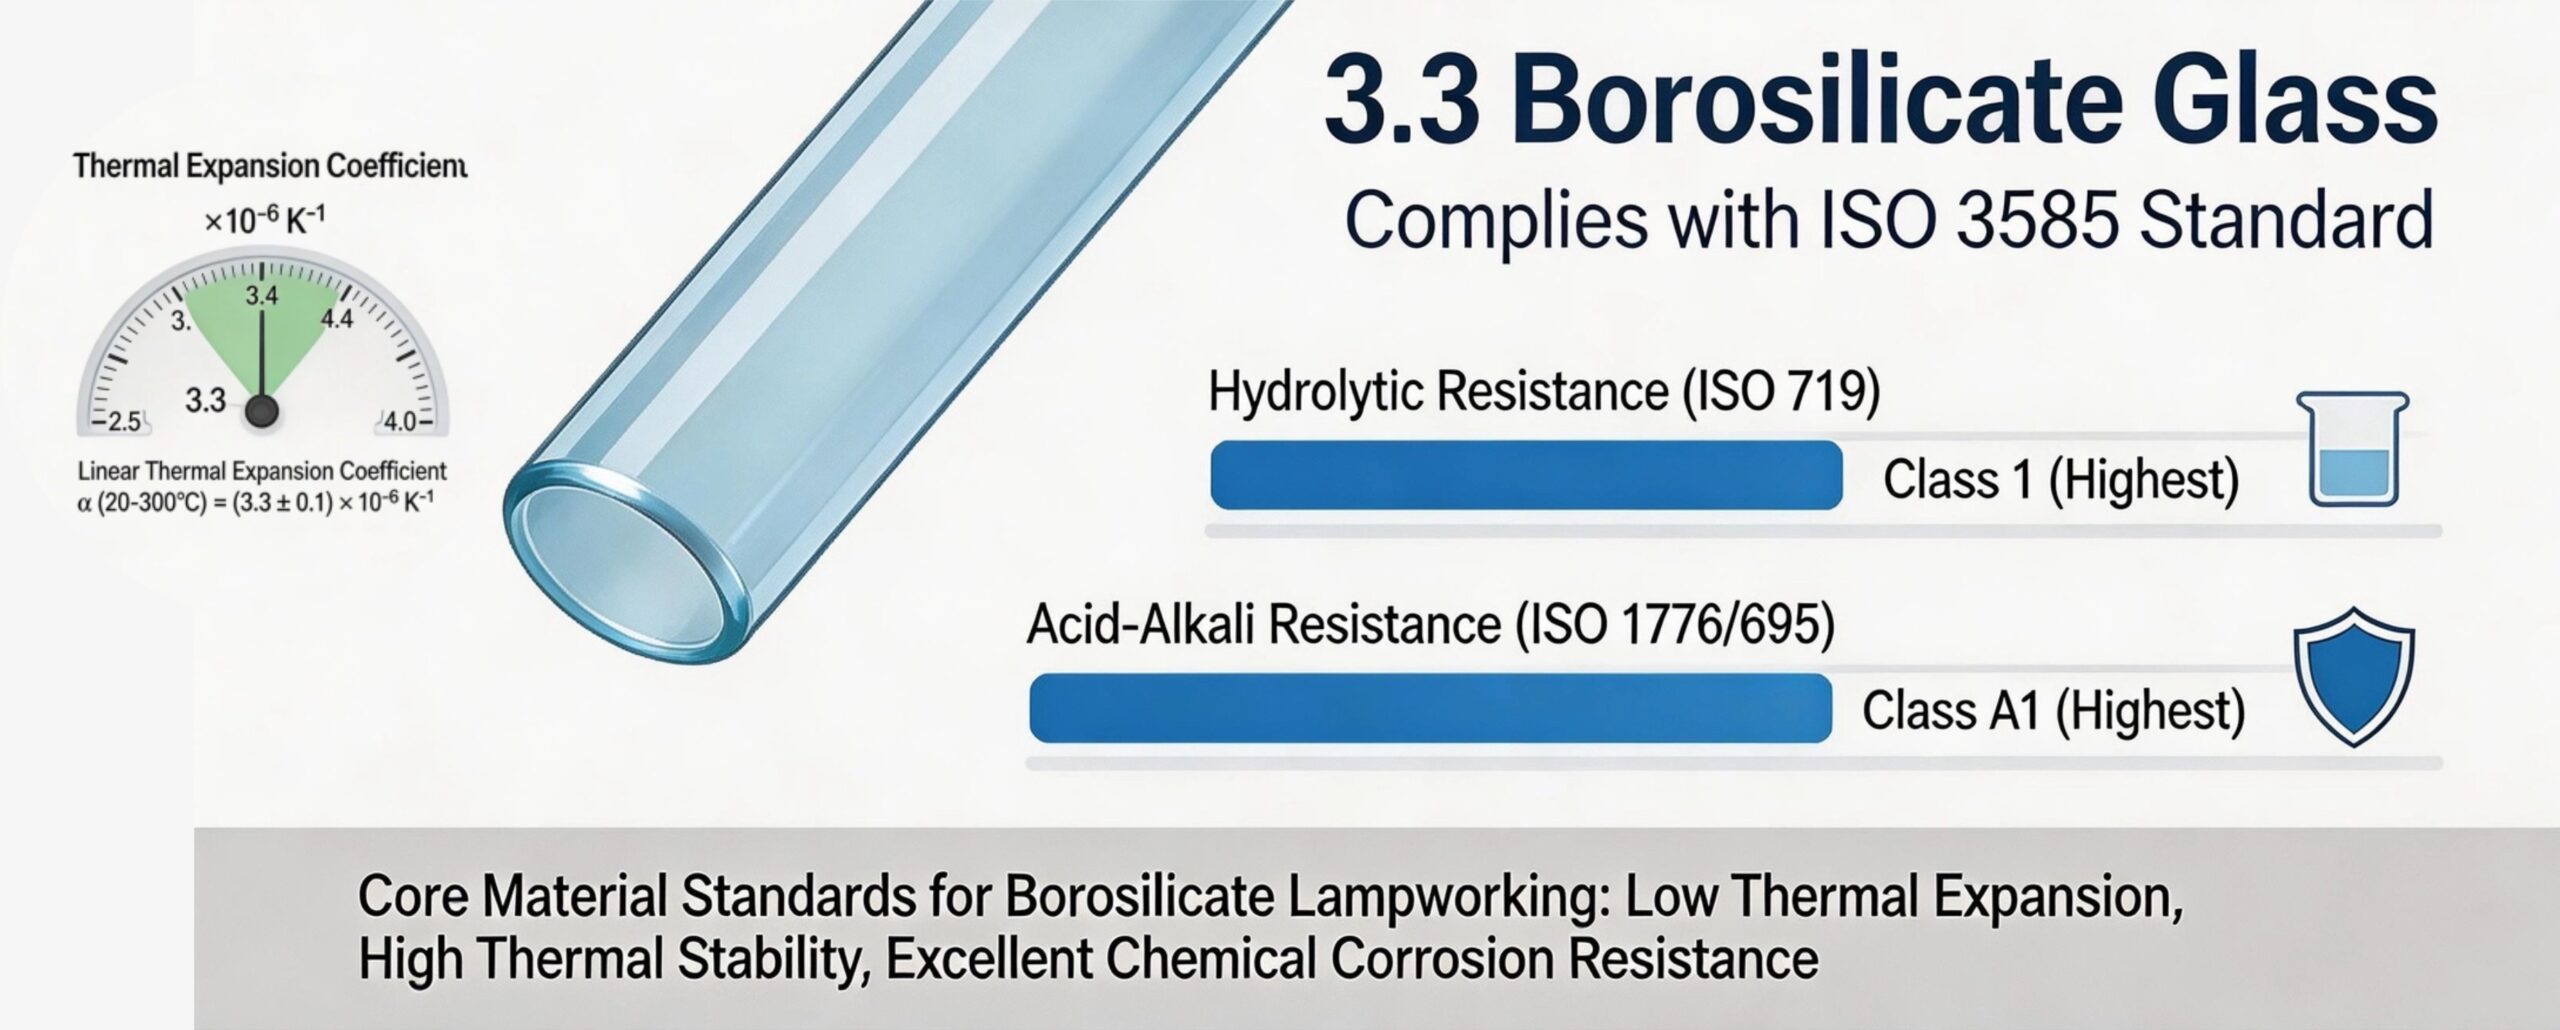
Glass Material: 3.3 borosilicate glass conforming to ISO 3585 standards or equivalent higher grades. The main performance requirements must meet:
Linear thermal expansion coefficient α (20-300°C): (3.3 ± 0.1) × 10⁻⁶ K⁻¹
Strain point ≥ 520°C, Annealing point ≥ 560°C, Softening point ≥ 820°C
Hydrolytic resistance (ISO 719) reaching Class 1, acid and alkali resistance (ISO 1776/695) reaching Class A1.
Incoming Inspection: Each batch of raw materials must be accompanied by a material test report, and sampling shall be conducted for verification of thermal expansion coefficient and stress uniformity (polariscope inspection).
Material Pretreatment
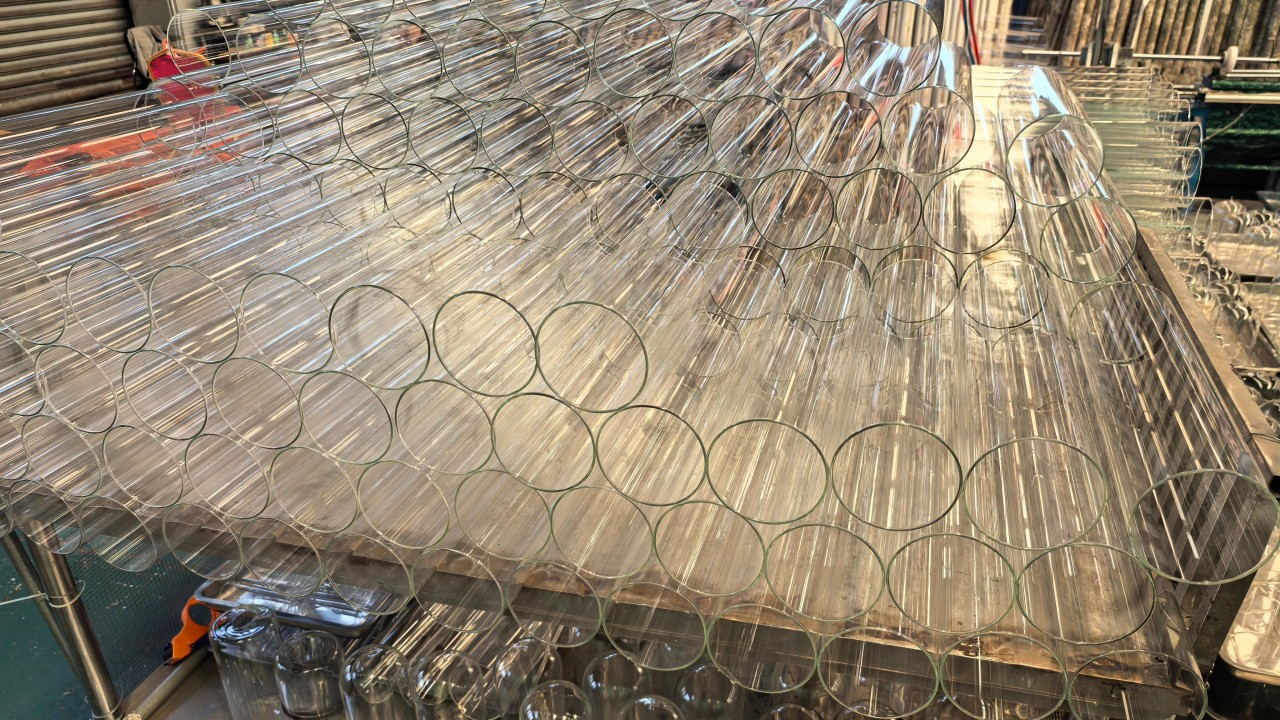
All tubes and rods must undergo ultrasonic cleaning and wiping with anhydrous ethanol before cutting to ensure the surface is free from grease and dust contamination.
Materials shall be stored in a clean environment with constant temperature and humidity (temperature 22±5°C, humidity <50%).
2. Personnel, Equipment, and Environmental Standards
Artisan Qualifications
All operating artisans must pass the company’s internal “Three-Grade, Nine-Level” skills certification system and hold a license to work. High-level products (such as vacuum systems, precision fluid components) must be led by a Chief or Senior Artisan.
A minimum of 40 hours of skill refresher training and theoretical assessment must be completed annually.
Equipment and Tools
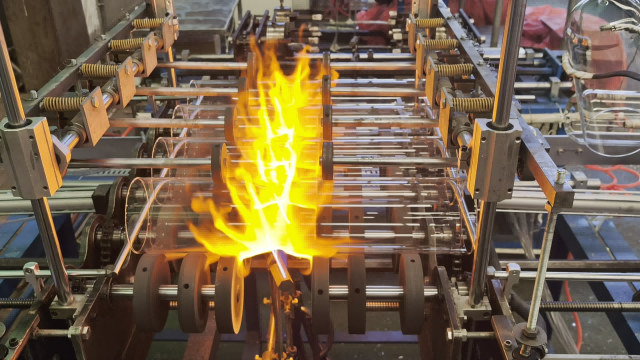
Heat Source System: Utilize high-precision oxygen-natural gas/hydrogen mixed torch systems. Each workstation is equipped with digital pressure and flow controllers, allowing for precise replication and recording of flame status.
Tool Management: All graphite and carbon steel tools shall have a unique identification number and be subject to a regular cleaning and preheating system. The surface roughness of tools contacting hot glass must be maintained at Ra ≤ 1.6μm.
Auxiliary Equipment: Equipped with a programmable annealing kiln (temperature control accuracy ±3°C), laser distance meter, digital calipers, polariscope, etc.
Environmental Control
The operating area shall maintain a positive pressure cleanroom (ISO Class 8), with constant temperature and humidity, and no turbulent airflow. The lighting system must meet the requirements for shadow-free operation.
3. Core Process Control Standards
General Specifications for Thermal Processing
Rotation Principle: Any step requiring uniform heating must maintain constant speed and coaxial rotation. The rotation speed shall be controlled between 15-60 RPM based on the tube diameter.
Flame Control: Strictly use a neutral or slightly oxidizing flame. The use of a reducing flame is prohibited to prevent devitrification caused by reduction reactions on the glass surface.
Temperature Window: Based on the operation type (e.g., joining, inflation, drawing), a clear target temperature range for the glass surface shall be established (e.g., for joining: 1200-1350°C) and used as a key observational indicator for process control.
Stress Management Standards
Process Annealing: After any major forming step, the workpiece must undergo global flame annealing for no less than 30 seconds.
Final Annealing: All products must undergo a corresponding “time-temperature” programmable annealing cycle based on their maximum wall thickness and structural complexity. After annealing, the residual stress at any point on the product, measured by polariscope, shall have an optical path difference ≤ 20 nm/cm.
Dimensional and Shape Tolerances (CTQ – Critical-to-Quality characteristics)
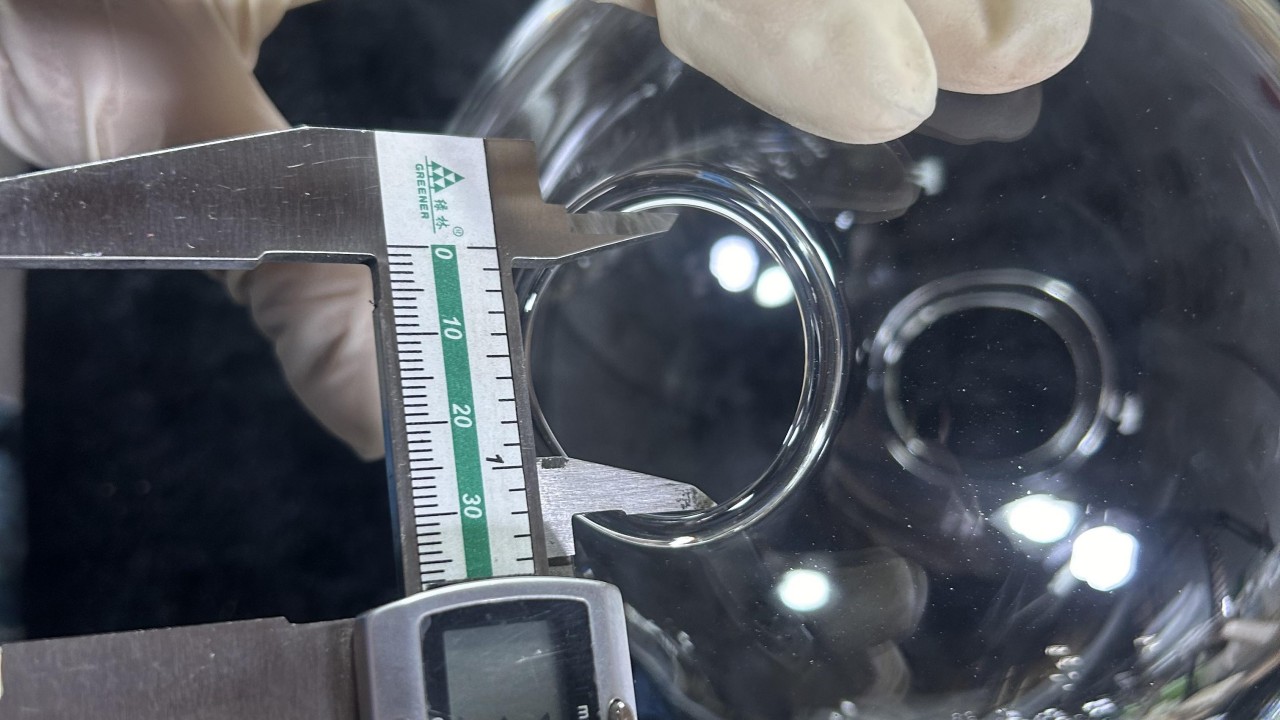
General Tolerances: Linear dimension tolerances default to the ISO 2768-mK class. Critical mounting/interface dimensions must be individually marked on the drawing, typically ±0.2mm.
Special Requirements:
Concentricity/Straightness: For tubular components with a length-to-diameter ratio >10:1, the straightness tolerance ≤ 0.15% of the total length.
Wall Thickness Uniformity: For blown components, the coefficient of variation for wall thickness in specified areas ≤ 15%.
Sphericity: For blown spheres, roundness ≤ 1% of the diameter.
4. Quality Inspection and Release Standards
100% Inspection Items
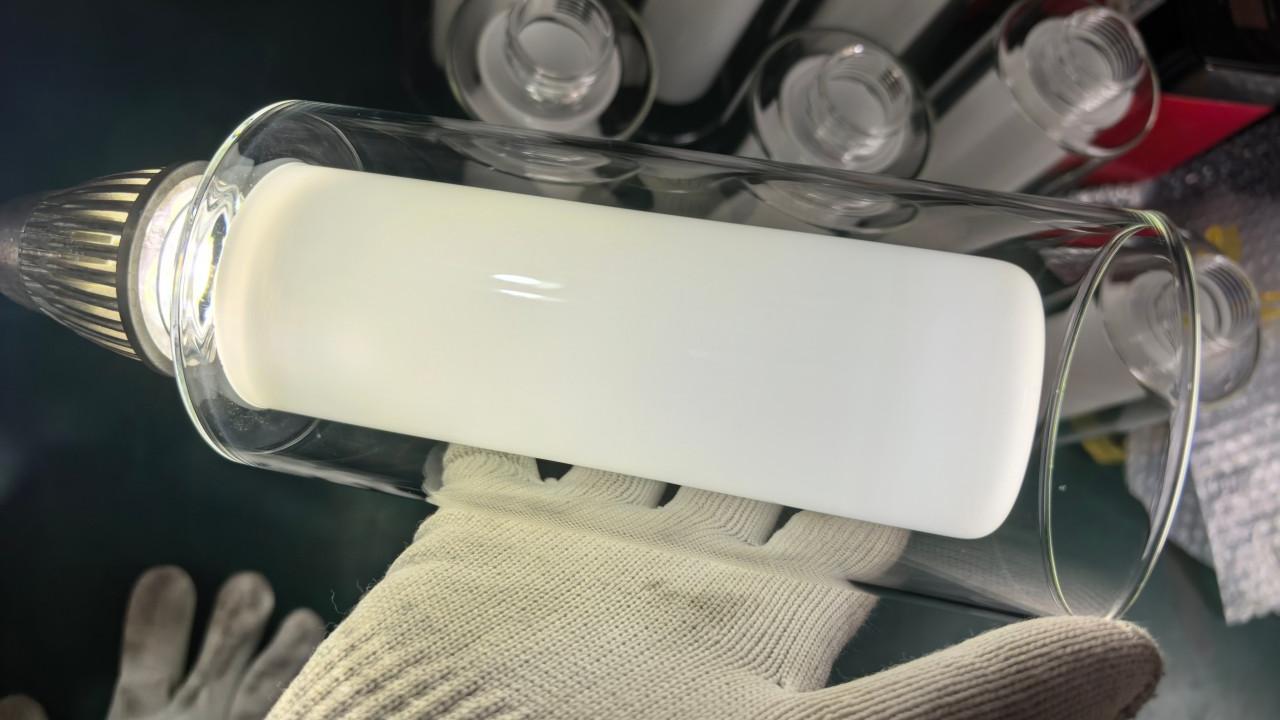
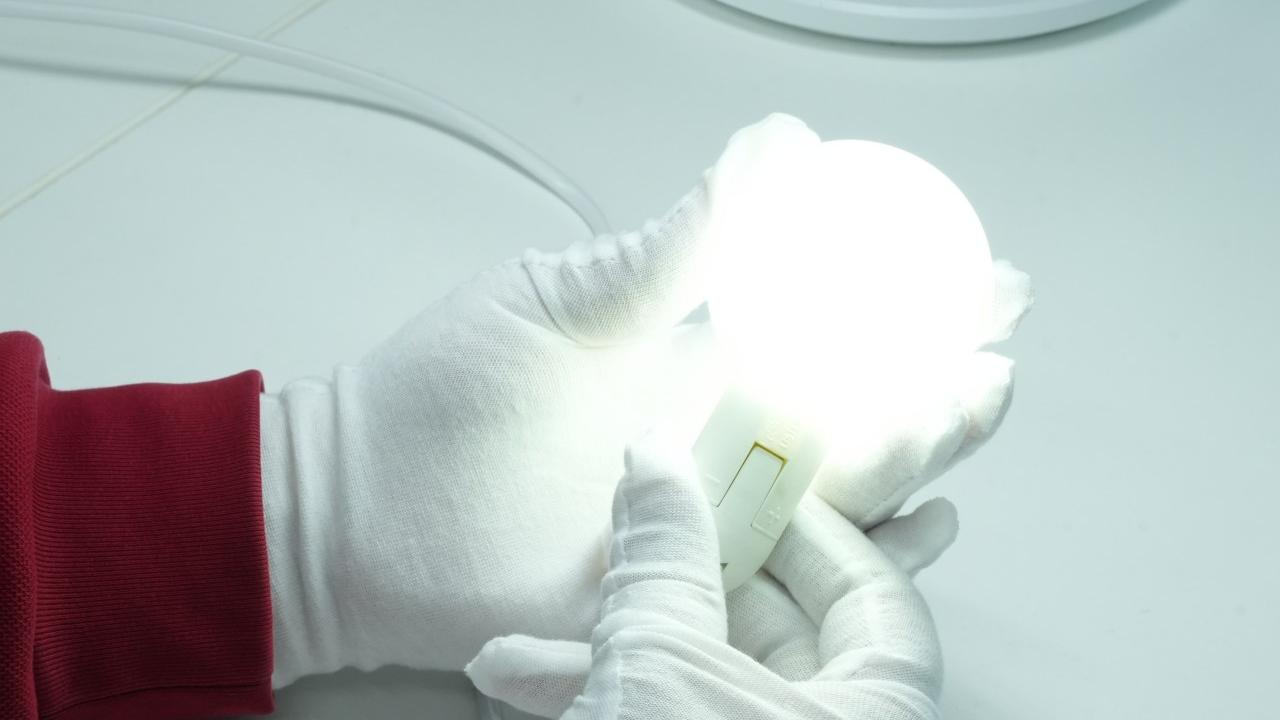
Appearance: Under a standard light source, visual inspection must show no cracks, perforations, unacceptable devitrification, obvious color unevenness, or tool marks. The surface should have a uniform “fire-polished” luster.
Dimensions: Use calibrated measuring tools to perform 100% measurement of all CTQ dimensions marked on the drawing.
Pressure/Vacuum Test: For sealed containers or piping systems, perform 100% nitrogen pressure holding test at 1.5 times the working pressure or helium mass spectrometer leak test (leak rate according to customer requirements, typically ≤ 1×10⁻⁸ mbar·L/s).
Sampling and Type Test Items
Chemical Stability: Quarterly sampling, conduct hydrolytic, acid, and alkali resistance tests according to ISO standards.
Thermal Shock Performance: Sampling for standard temperature difference test (e.g., plunging from 300°C into room temperature deionized water), with no rupture.
Stress Retest: Per batch, use a polariscope for destructive stress sampling to verify the effectiveness of the annealing process.
Part 5
Cost of Borosilicate Glass Lampworking cost introduction
Learn more about the key cost drivers of Borosilicate Glass Lampworking and actionable design tips to help you reduce project costs.
I. Overview of Cost Composition
1. Direct Material Cost (Approximately 10%-25%)
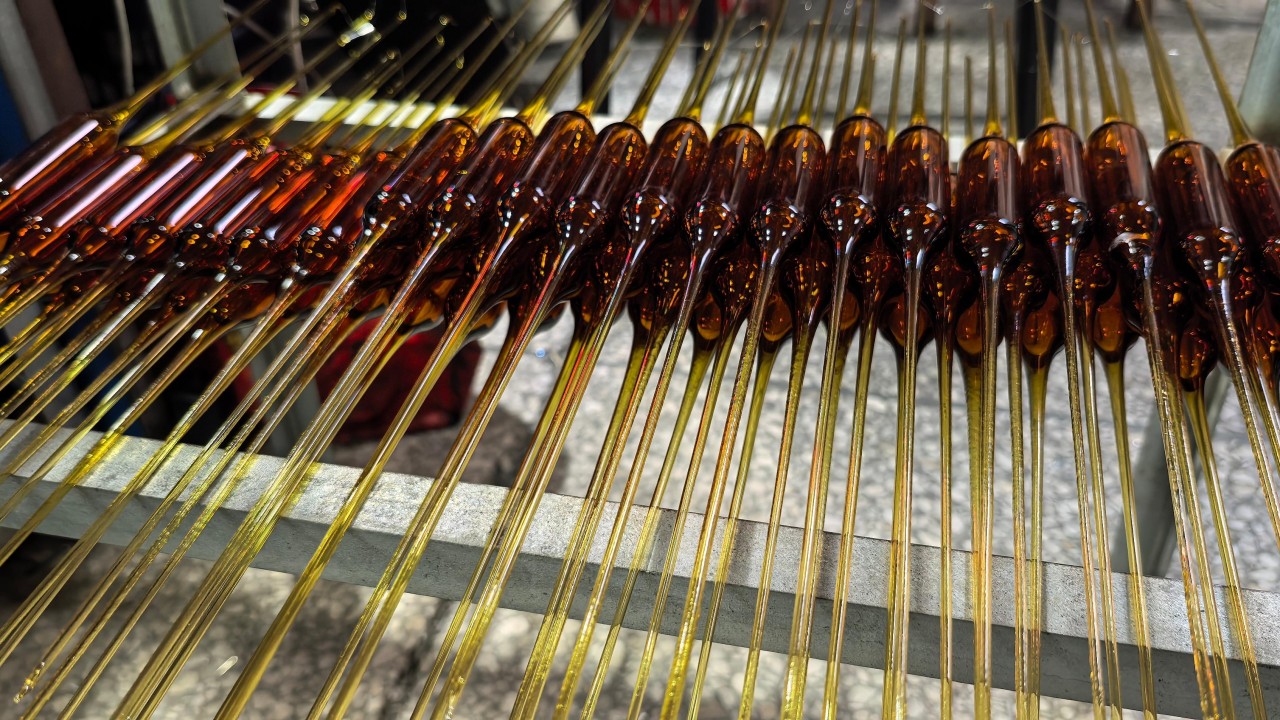
Glass Material: The cost of the borosilicate glass tubes/rods themselves. The price is significantly higher than ordinary glass and is notably affected by specifications (diameter, wall thickness), purity, and color (colored materials are more expensive). Special performance glasses (such as UV-cut, low fluorescence) command even higher prices.
Auxiliary Material Consumption: Oxygen and fuel gases (natural gas, hydrogen, propane, etc.) are continuously consumed. Fuel gas cost is the primary energy expenditure.
Wastage: Includes process allowances (such as holding material, parts needing removal after blowing) and scrap losses. Material utilization rate is typically lower than molding, ranging between 60%-85% .
2. Direct Labor Cost (Approximately 40%-70%, Absolutely Dominant)
This is the core of lampworking cost and its most distinctive feature.
Artisan Compensation: Wages paid to lampworking artisans who possess core skills, reflecting the high value added by technical expertise and experience. Compensation levels are directly linked to the artisan’s grade (Apprentice, Intermediate, Senior, Master).
Labor Hour Cost:
Entirely determined by manual operation time, from drawing interpretation and material preparation to flame shaping and preliminary annealing.
Labor hours increase exponentially with product complexity, size, and precision requirements. A complex multi-branch system may require tens or even hundreds of labor hours.
Core Characteristic: Diseconomies of scale. As production volume increases, total labor cost rises almost linearly and cannot be diluted like in automated production.
3. Equipment, Tool, and Facility Depreciation Cost (Approximately 5%-15%)
Specialized Equipment: Depreciation from the purchase of lampworking benches, high-quality oxygen-fuel torch systems, and programmable annealing kilns. Among these, the high-precision annealing kiln is key equipment for ensuring quality and represents a significant investment.
Tools and Consumables: Purchase and wear replacement of graphite paddles, various forceps, diamond cut-off blades, measuring tools, etc.
Facility and Environment: Requires a special working environment with constant temperature and humidity, being draft-free and clean. Its construction and maintenance costs are higher than those of ordinary workshops.
4. Indirect Costs and Risk Costs (Approximately 10%-20%)
R&D and Prototyping Costs: For entirely new designs, artisan time must be invested in process path exploration and sample prototyping. This cost typically needs to be amortized over the initial orders.
Quality Control and Inspection Costs:
In-process Inspection: Self-inspection and peer inspection by artisans.
Final Inspection: Equipment and labor costs incurred from dimensional measurement, pressure/vacuum leak testing, stress inspection (polariscope), etc.
For high-reliability products, destructive sampling (such as thermal shock testing) is a necessary cost.
Annealing Energy Cost: Programmable annealing kilns run for long durations (potentially over ten hours), representing a major segment of electricity consumption.
Management and Profit Margin: Project management, technical support, corporate operating expenses, and a reasonable profit margin.
Part 6
Borosilicate Lampworking cost introduction
1. Process Initiation: Receiving Inquiry
Trigger Condition: The sales department receives a customer inquiry regarding borosilicate glass lampworking products via email, phone, or system form.
Responsible Role: Sales Representative / Sales Engineer
Key Actions:
Create an “opportunity” in the CRM system.
Initially fill out the “Customer Requirement Information Collection Form.”
Package the preliminary information and initiate the “Pre-sales Technical Review” process through the internal collaboration system (e.g., DingTalk/Enterprise WeChat/Project Management System), designating the Head of the Technical Department and the Lampworking Workshop Supervisor as the default recipients.
2. Pre-sales Technical Review and Feasibility Analysis
Responsible Role: Technical Engineer (Lead), Senior Artisan, Sales Engineer
Key Actions:
Preliminary Technical Review (within 1 working day): The Technical Engineer performs a quick “Go/No-Go” assessment based on the information form and the company’s “Lampworking Process Capability Boundary List.” If clearly infeasible (e.g., material mismatch, severely oversized dimensions), they reply directly to the salesperson with the reasons.
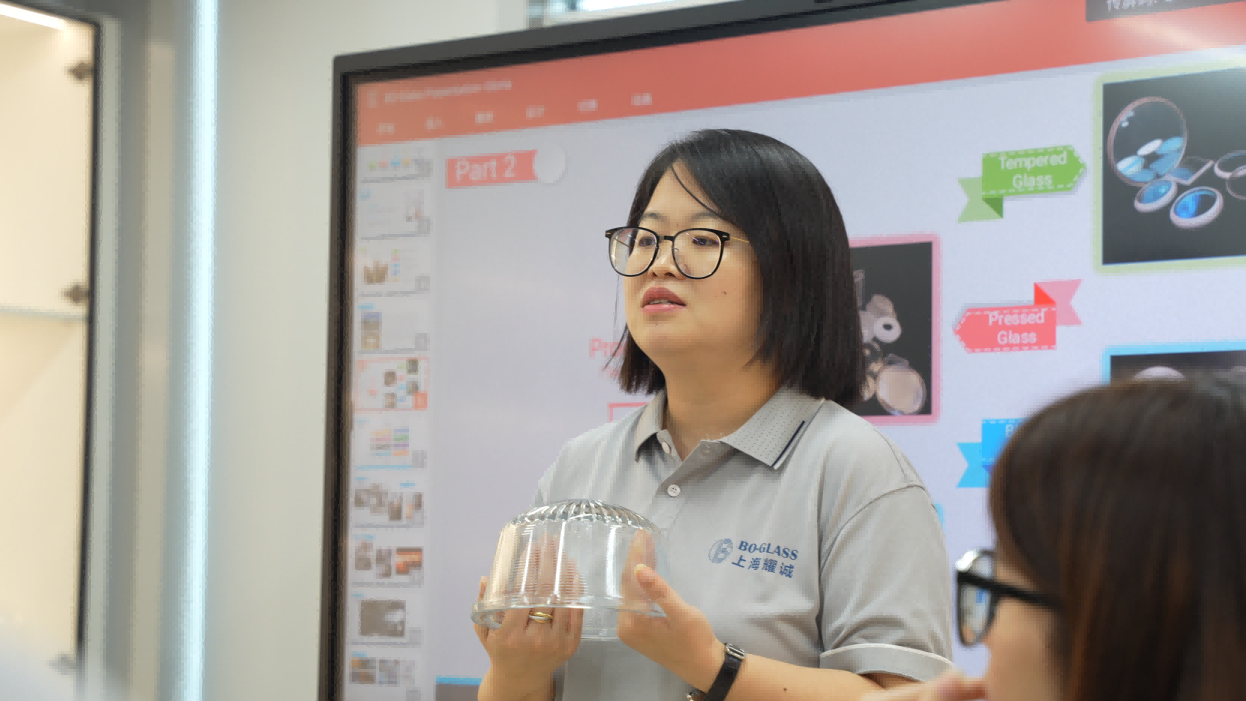
Requirement Clarification Meeting (if needed): For complex or ambiguous requirements, the Technical Engineer leads the effort, convening the Senior Artisan and Sales to hold a remote or on-site meeting with the customer. Objective: To thoroughly clarify all technical requirements, usage conditions, and acceptance criteria. Record findings using the “In-depth Technical Requirements Confirmation Checklist.”
Internal Risk Assessment and Solution Conception:
The Artisan assesses processing complexity and proposes a preliminary process path concept.
The Technical Engineer assesses design feasibility.
Collaboratively perform risk classification (L1-Low: routine modification; L2-Medium: structural innovation; L3-High: breakthrough in principle/material/precision).
Output Review Conclusion: Fill out the “Pre-sales Technical Review Report,” which must include:
Technical feasibility conclusion.
Project risk level (L1/L2/L3).
Recommended technical route and key difficulties.
Preliminary estimated labor hour range (provided by the Artisan).
Suggested next steps (direct quotation / need for prototype / need for special research).
3. Solution Design and Quotation
Responsible Role: Technical Engineer (Design), Production Planner (Cost), Sales Engineer (Integration)
Key Actions:
Detailed Solution Design: For L2/L3 level projects, the Technical Engineer produces detailed 2D drawings or 3D models. The drawings must specify all key dimensions and tolerances, material specifications, and surface treatment requirements.
Cost Calculation:
The Production Planner calculates material costs, standard labor hour costs, energy, and auxiliary material costs based on the drawings and estimated hours.
Add a risk premium based on the risk level (L1: 0-5%, L2: 10-20%, L3: 20-35%).
Develop Project Plan: Preliminarily plan key milestone dates (design freeze, first article approval, batch completion, shipment).
Generate Quotation Documents: The Sales Engineer integrates the “Technical Proposal Description,” “Commercial Quotation” (including itemized costs and total price, payment terms, delivery date), and “Preliminary Project Plan,” and submits them to the customer.
4. Project Initiation and Kick-off
Trigger Condition: Customer accepts the quotation and returns a signed contract/order.
Responsible Role: Project Manager (typically designated by the Technical or Production Department)
Key Actions:
Formally create a project in the project management system, entering all contracts and technical documents.
Hold a Project Kick-off Meeting, convening core members from Technology, Production, and Quality Inspection. Issue the “Project Task Order,” clarifying:
- Project objectives and scope (reconfirmed).
- Team members and RACI matrix.
- Designated Lead Artisan.
- Critical-to-Quality (CTQ) control points.
- Communication mechanism and meeting frequency.
5.Process Detailing and Production Preparation
Responsible Role: Lead Artisan (Lead), Technical Engineer
Key Actions:
Process Detailing: The Lead Artisan, based on the final drawings, develops a “Work Instruction,” detailing each step for heating, blowing, joining, heat control, tool usage, and intermediate inspection points.
Final Design Review and Freeze: Tripartite signing by Technology, Process, and Quality Inspection to confirm the design drawings and “Work Instruction” are correct. After signing, any changes must follow the formal Engineering Change Request (ECR) process.
Material and Equipment Preparation:
The Purchasing Department procures glass tubes and auxiliary materials of the specified brand/specifications according to the order.
The Production Department prepares and calibrates specialized tools and molds (if any), ensuring the annealing kiln programs are ready.
6. First Article Production, Inspection, and Approval
Responsible Role: Lead Artisan, Quality Inspector
Key Actions:
First Article Production: The Lead Artisan operates strictly according to the “Work Instruction” and fills out the “Production Process Record Sheet,” recording key parameters (heating time, temperature sensation, abnormal situations).
First Article Inspection:
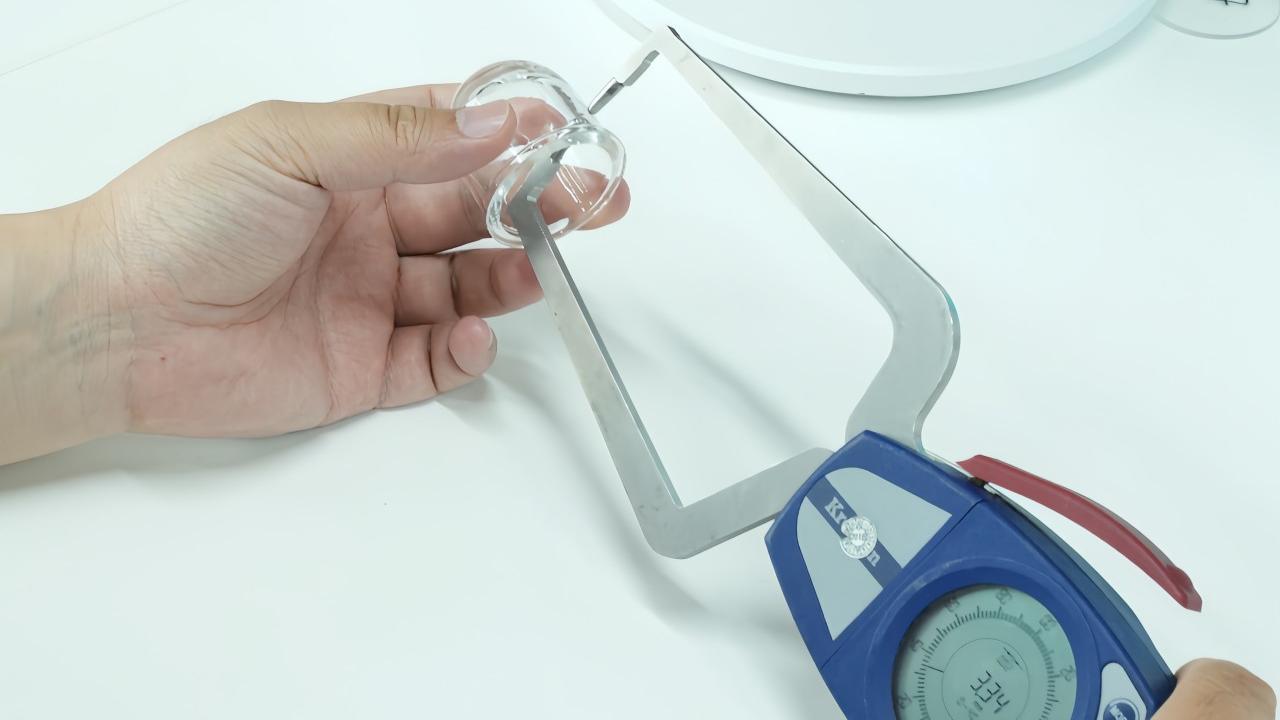
Geometric Dimensions: The Quality Inspector performs 100% inspection according to the drawings using CMM, calipers, etc.
Functional Testing: Conduct air tightness, pressure, vacuum level tests, etc., as agreed.
Preliminary Stress Check: Inspect using a polariscope.
Customer Approval (if stipulated in the contract): Send photos of the first article and the inspection report to the customer for written confirmation. Mass production can only proceed after receiving the customer’s “First Article Approval” email/document.
7. Mass Production and Process Control
Responsible Role: Operating Artisan, Quality Inspector (Patrol Inspection)
Key Actions:
Standardized Operation: Operating artisans (potentially not the Lead Artisan) produce according to the approved first article process and the “Work Instruction.”
Patrol Inspection and Sampling: Quality inspectors conduct periodic patrol inspections and product sampling according to the “Quality Inspection Plan,” focusing on consistency with the first article.
Batch Management: Assign batch numbers to products to ensure traceability.
Annealing Management: Each batch of products must undergo the “Standardized Annealing Procedure” and have the annealing curve number recorded.
Outputs: Batch products, “Patrol Inspection Record Sheet,” “Annealing Record.”
8. Final Inspection, Packaging, and Shipment
Responsible Role: Quality Inspector, Warehouse/Logistics Staff
Key Actions:
Final 100% Inspection: The Quality Inspector performs a final 100% inspection on finished products and issues the “Product Release Certificate”.
Document Packaging: Organize product drawings, inspection reports, material certificates, instruction manuals, etc., to be shipped with the goods.
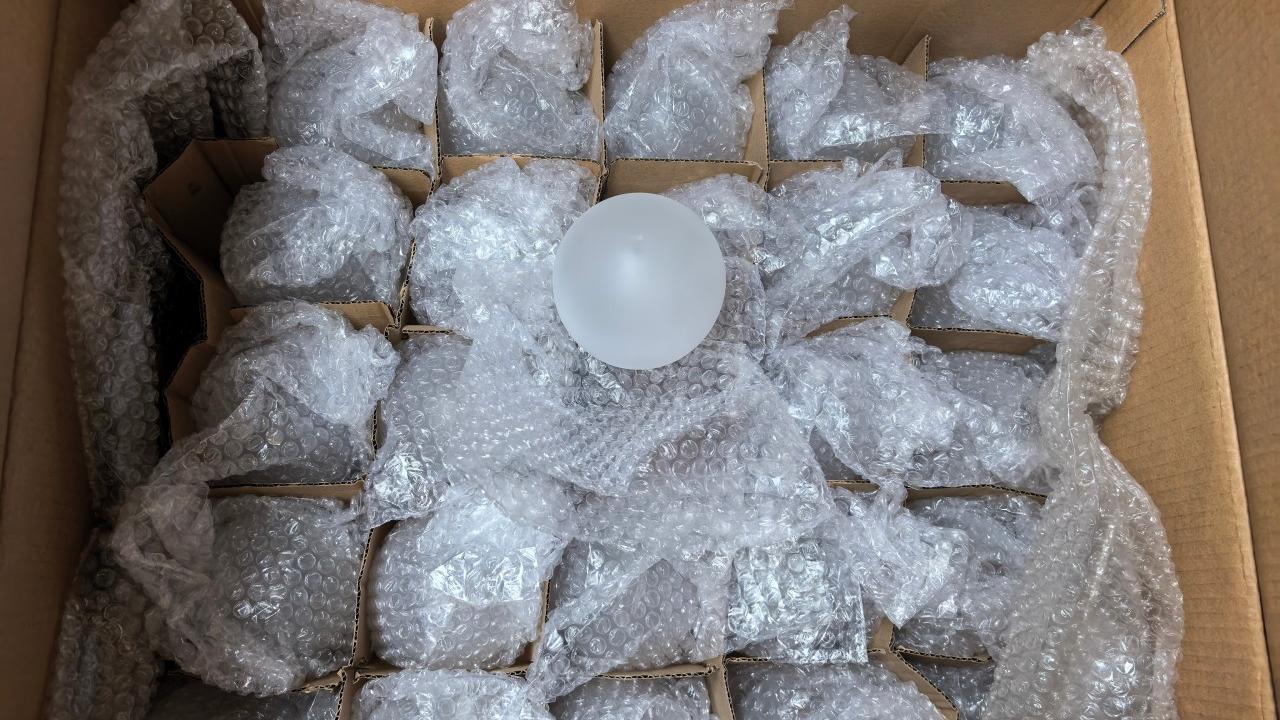
Protective Packaging: Use custom foam, pallets, etc., to ensure the safe transport of glass products. Affix fragile labels and project numbers to the outer carton.
Shipment Notification: The Logistics department ships the goods and notifies the sales team/customer of the shipping information.
Contact Us
Your feedback fuels our growth, and your questions drive our solutions.
We value your feedback, inquiries, and suggestions. Please feel free to get in touch with us
General inquiries
Please contact us via sales@bo-glass.com, and we will reply to you as soon as possible.
Interested to work with us
Drop your resume at info@bo-glass.com
and we will get back to you shortly.
We uses the contact information you provide to us to contact you about our relevent content, products, and services.